Trash to treasure. Our reclaimed wood adventures...

Something I dearly love about my hubby is that he loves old stuff. When we met, the only vehicle he owned was his rusted out, old '67 International pickup. I loved it.  I remember admiring his small corner collection of old records, scouting a vintage Hawaiiana print on his wall, admired an old tablecloth of his grandmother's on the table at his place.   My momma used to work in antiques and was forever finding treasures, which my whole life I've been surrounded with.

Jeremiah and I both love one-of-a-kind items with a story to tell.  One of our favorite dates is walking through thrift stores together, antique malls, hitting up a garage sale or a good flea market... in fact - he will even tell me "slow down! We're going to miss something.." if my meandering pace is too swift and makes him feel rushed.  This year - two highlights of our anniversary date were collecting driftwood at our favorite lake, and going to the recycle yard to collect discarded fence paneling.

...which brings me to THIS post!

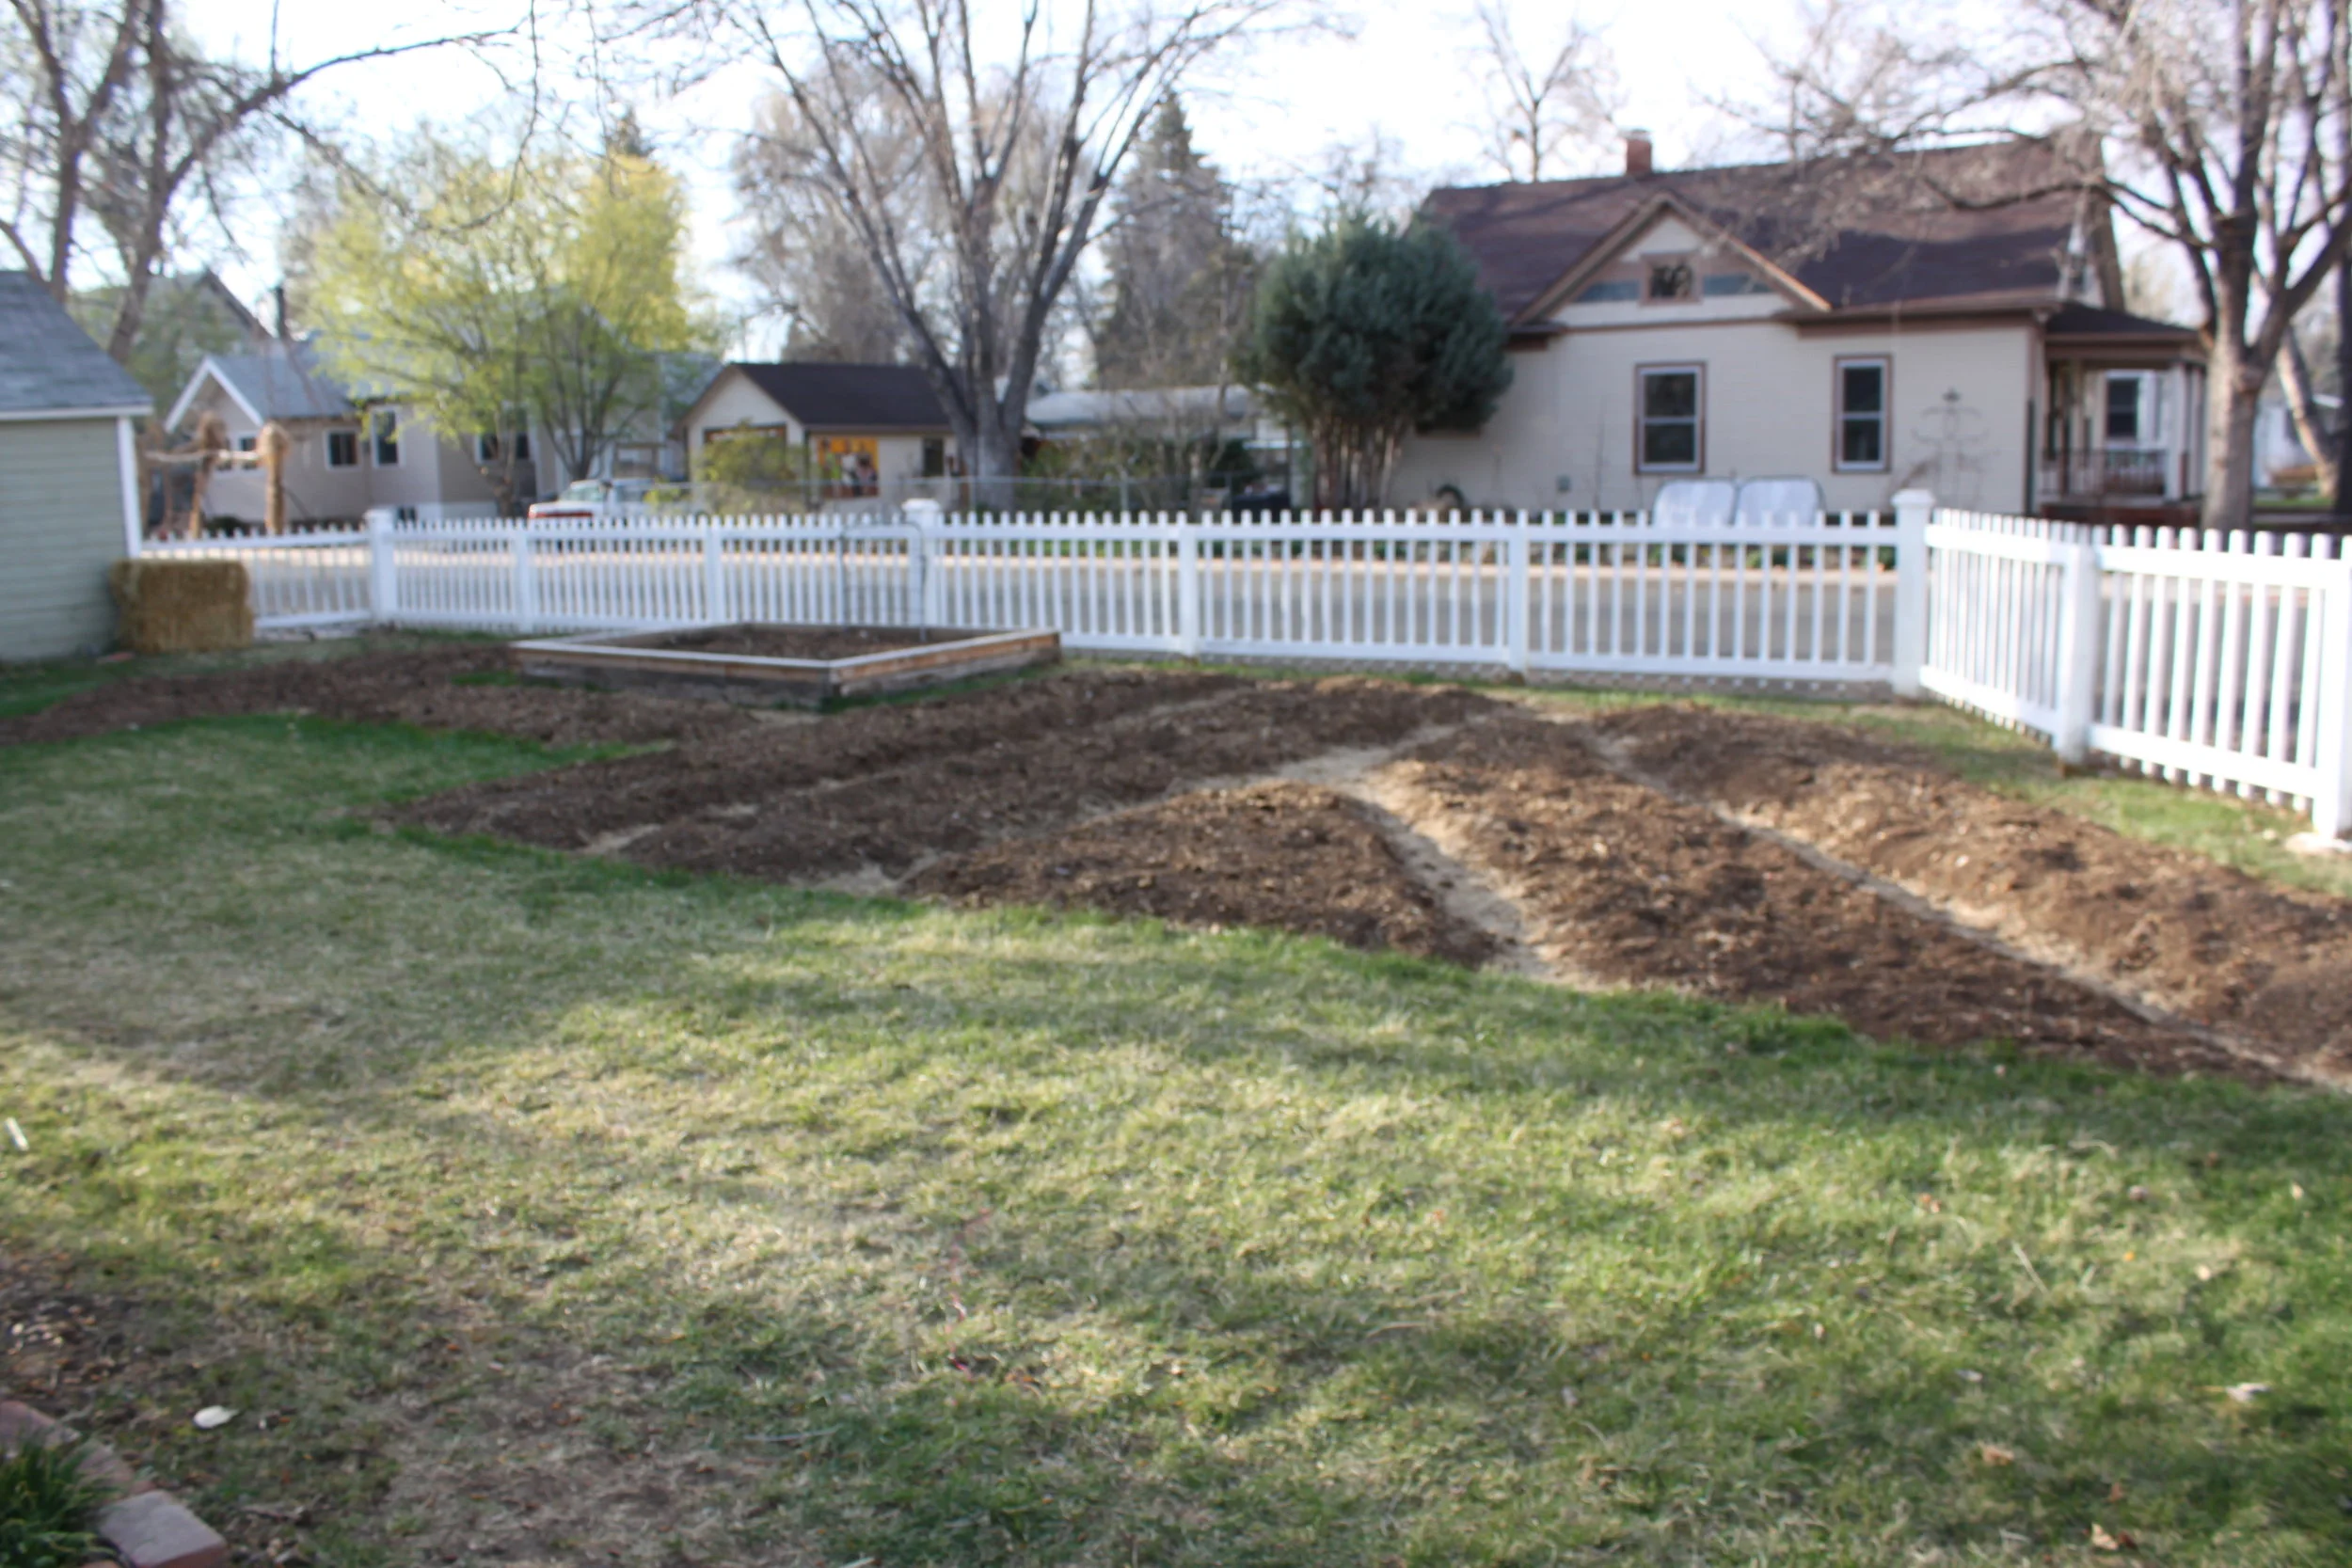
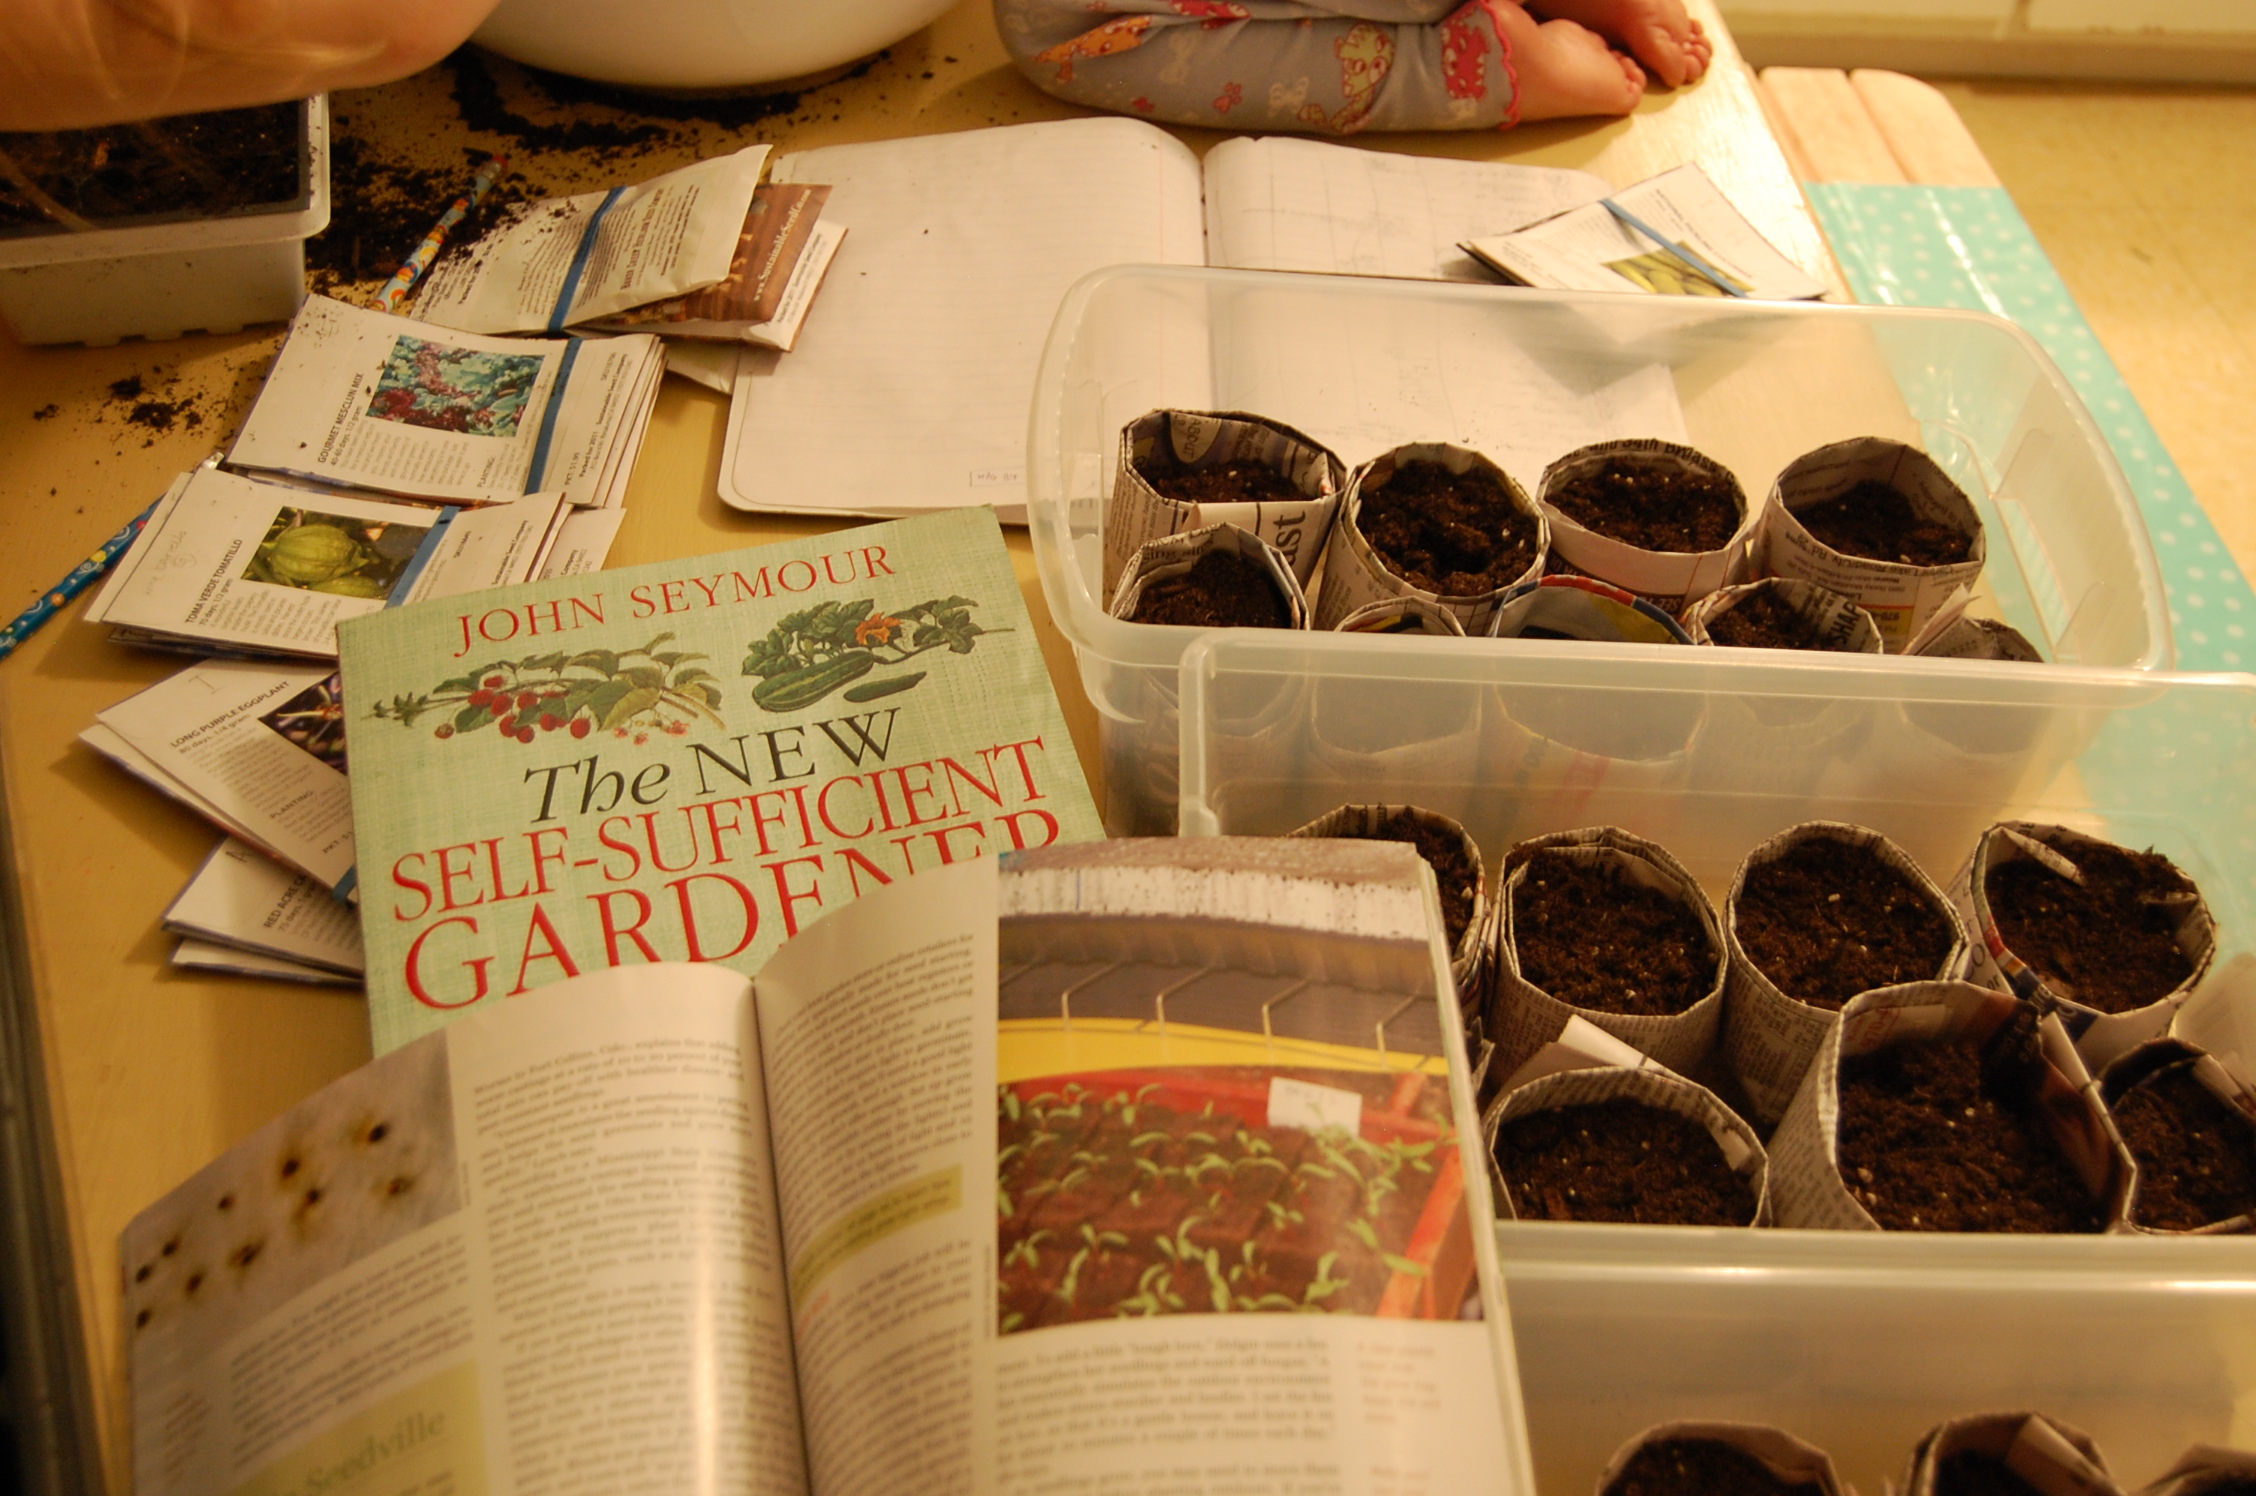
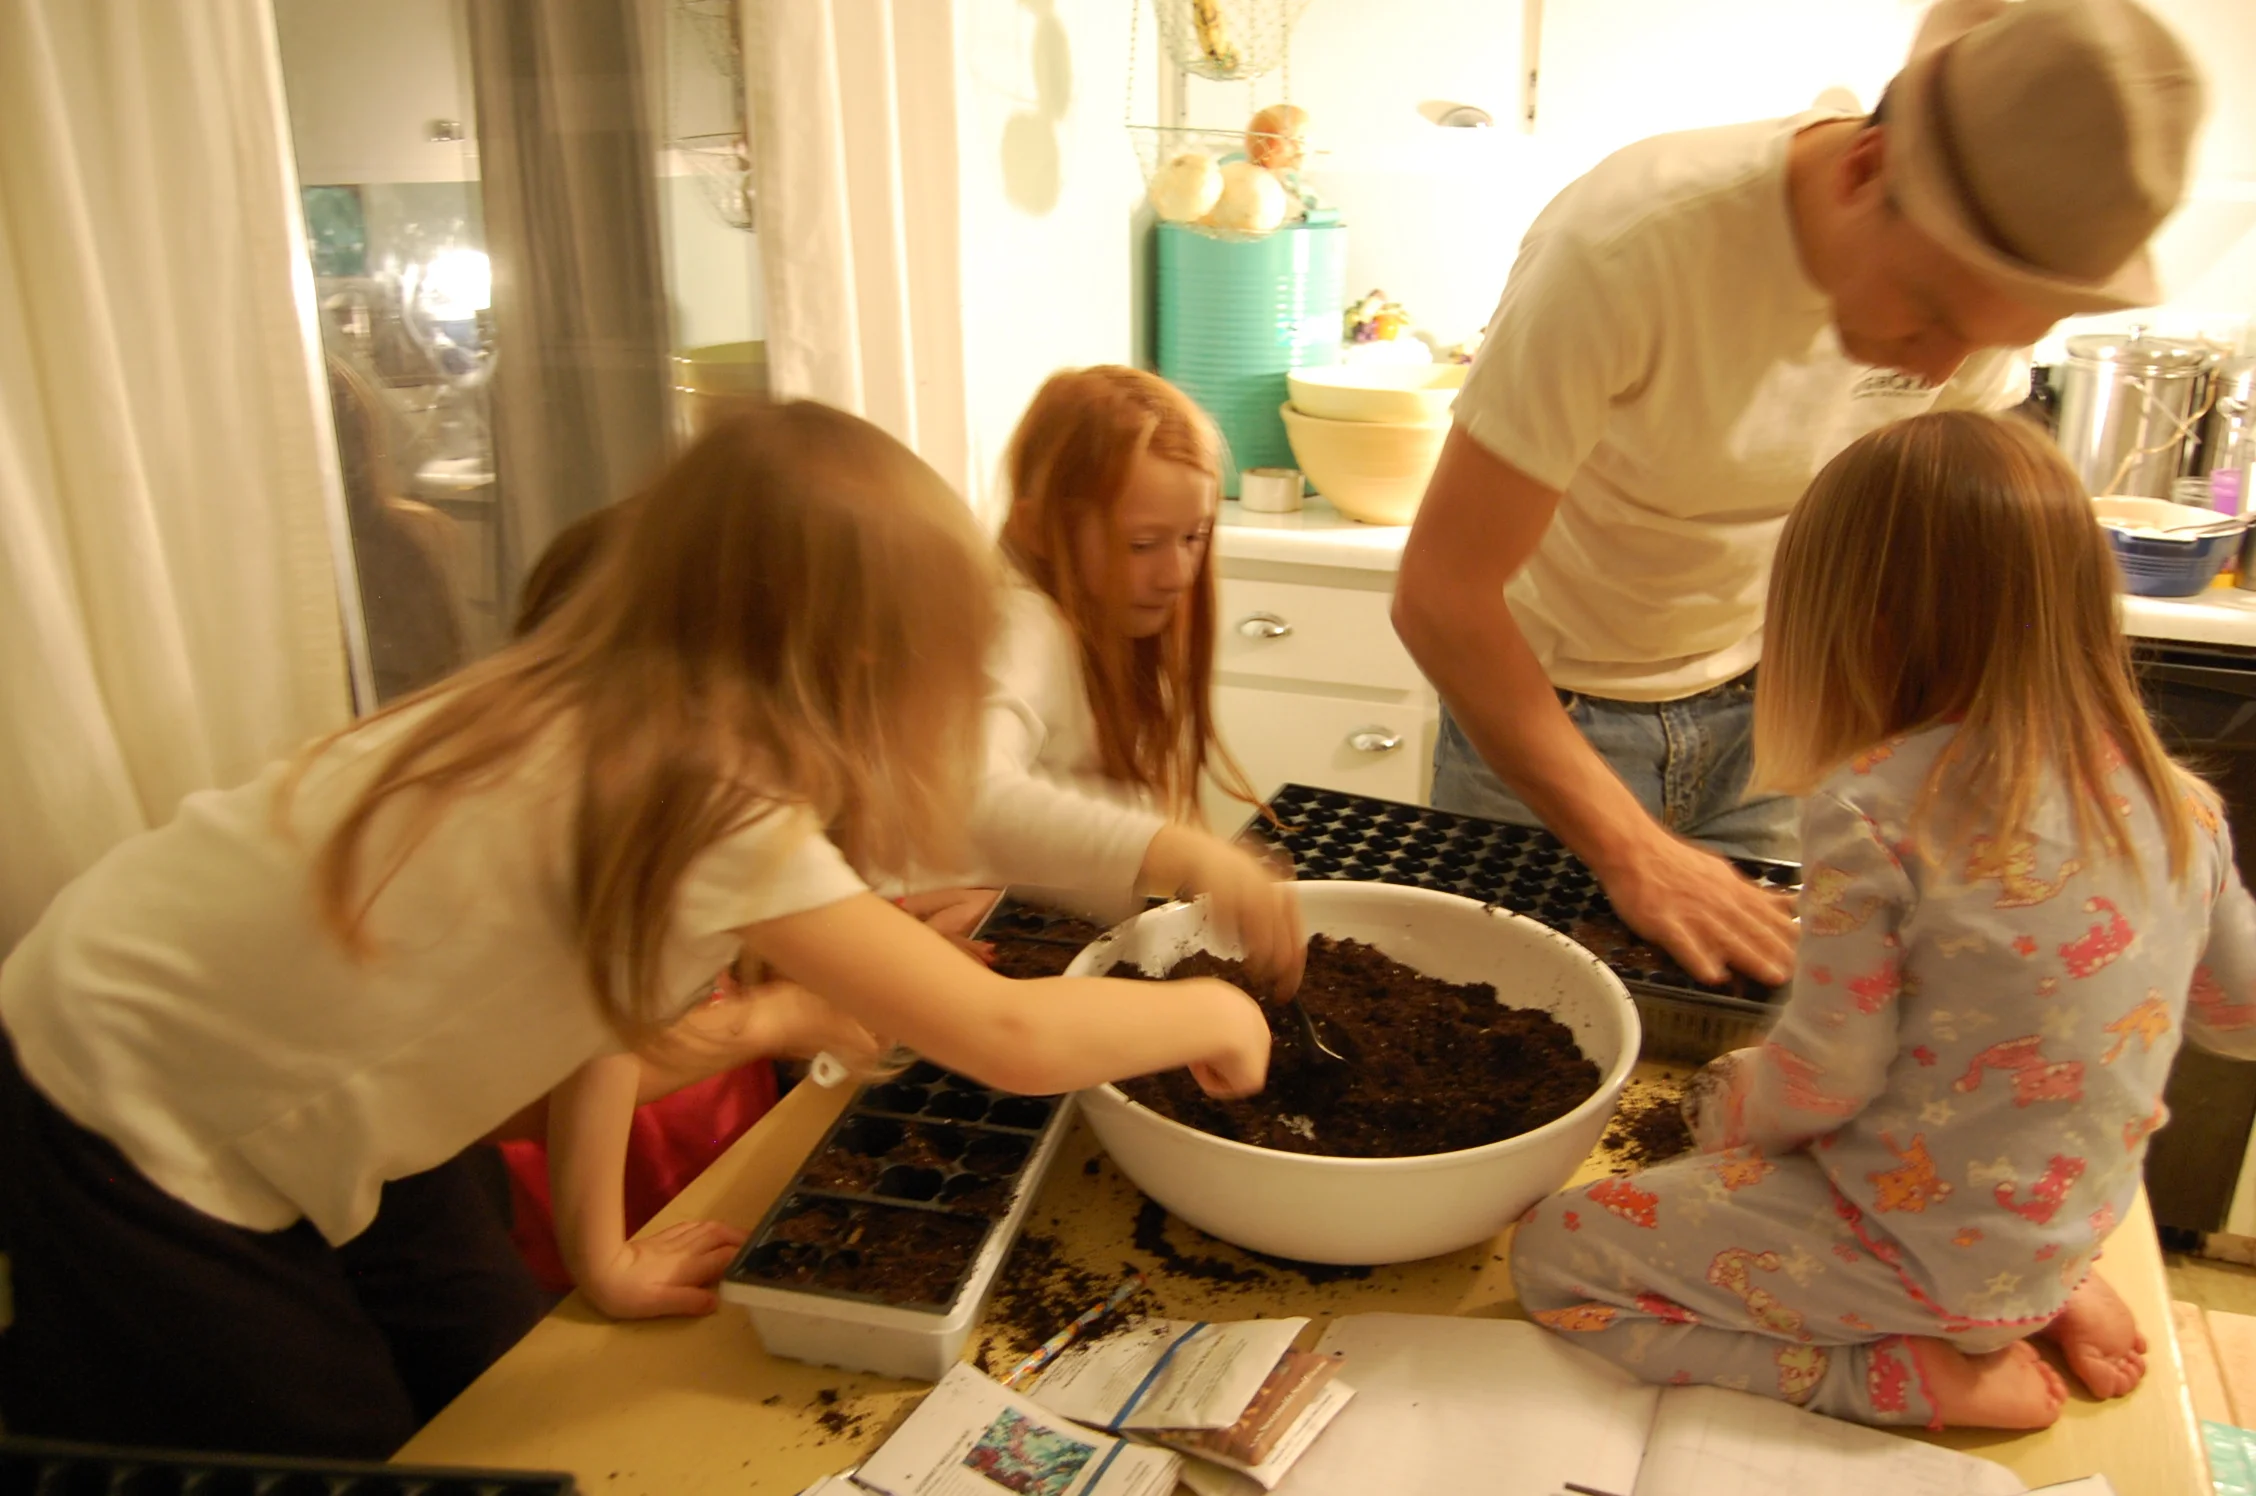
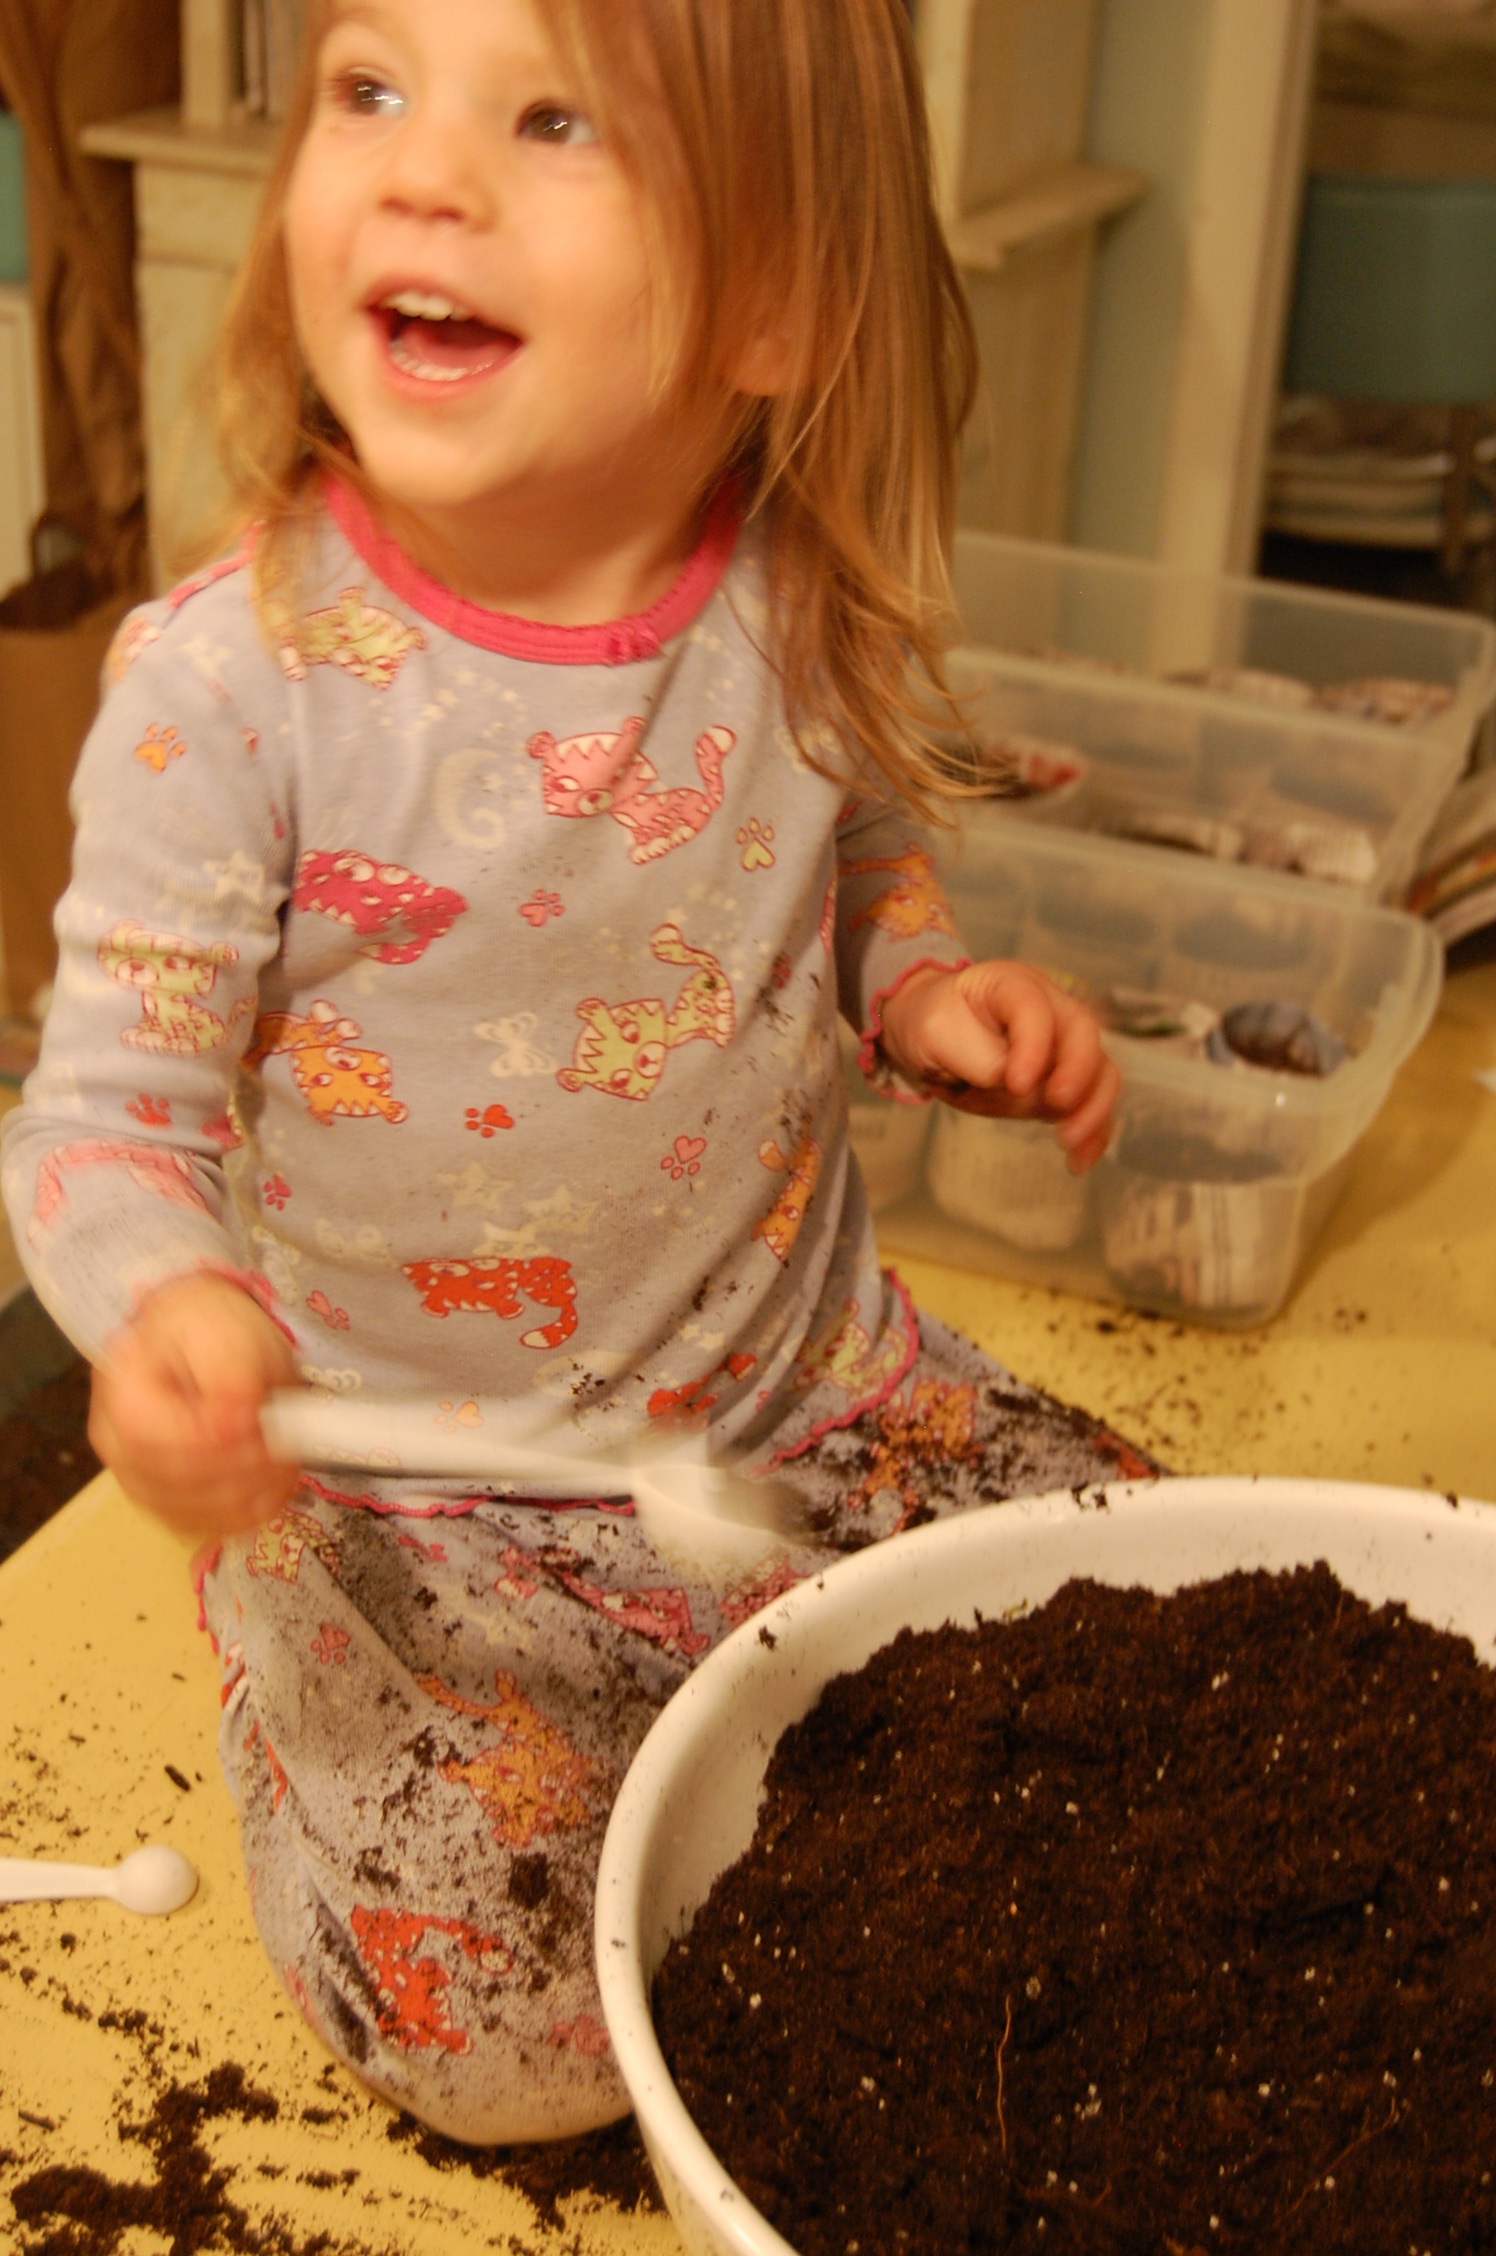
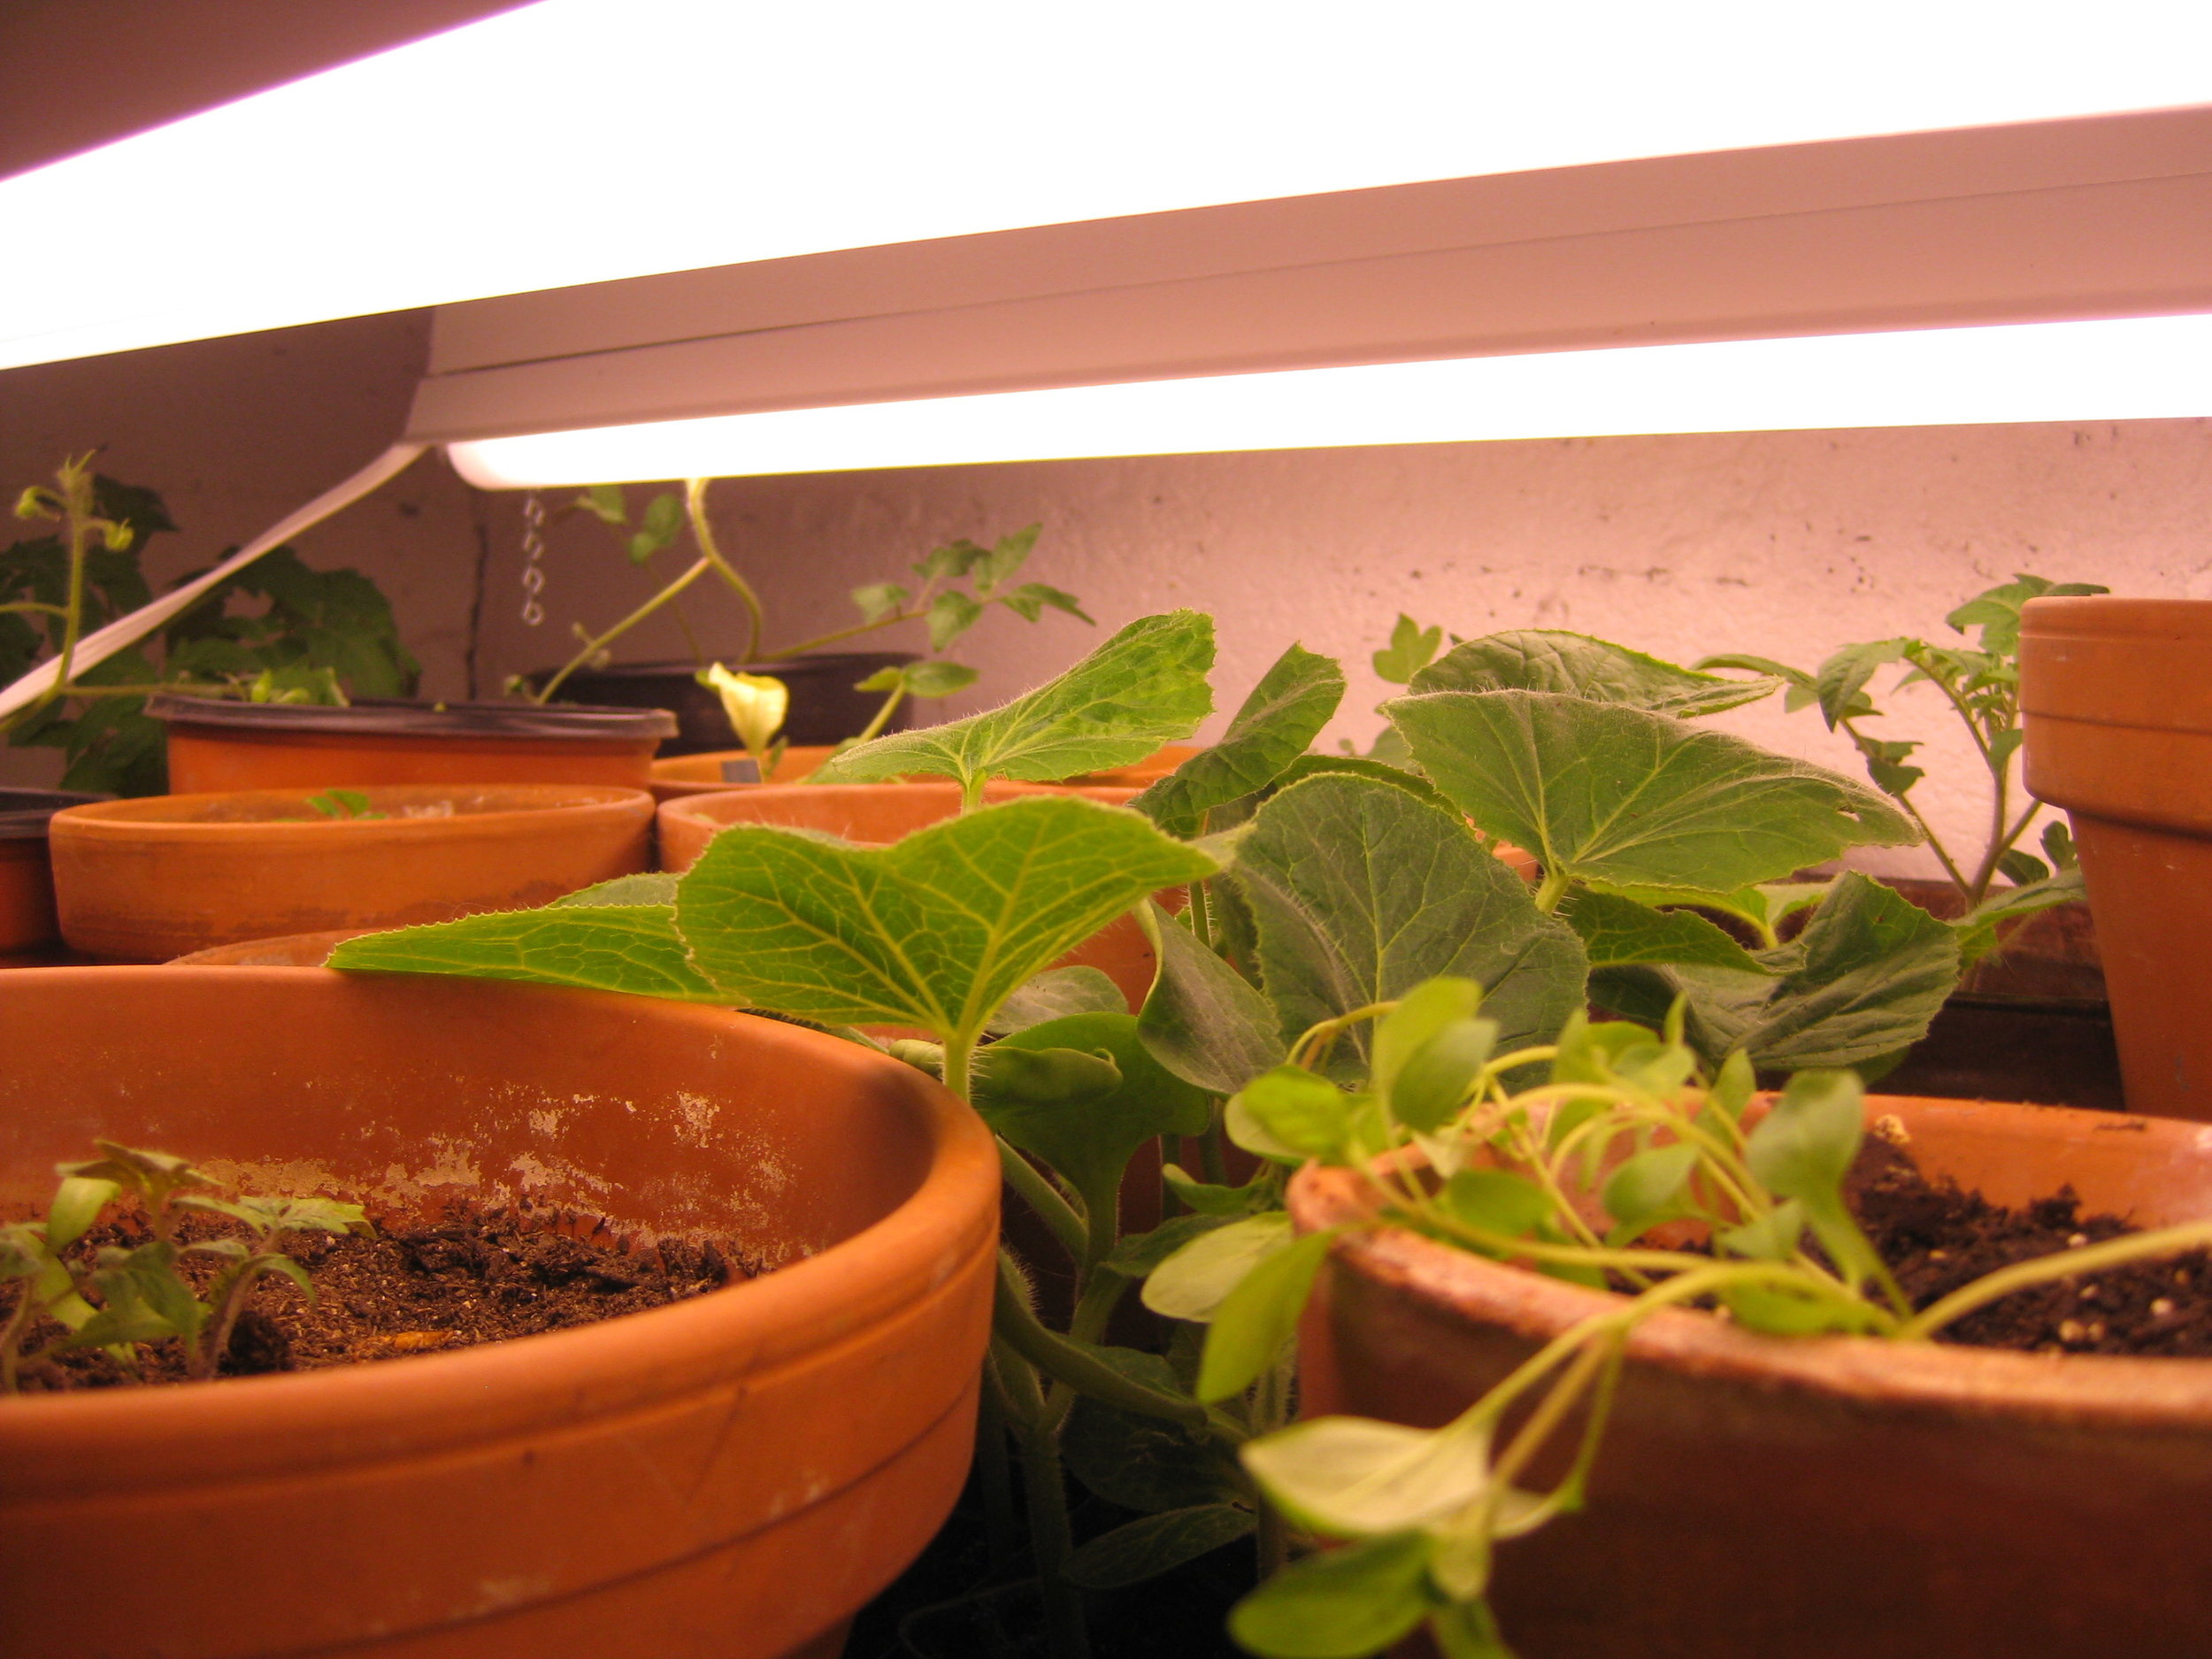
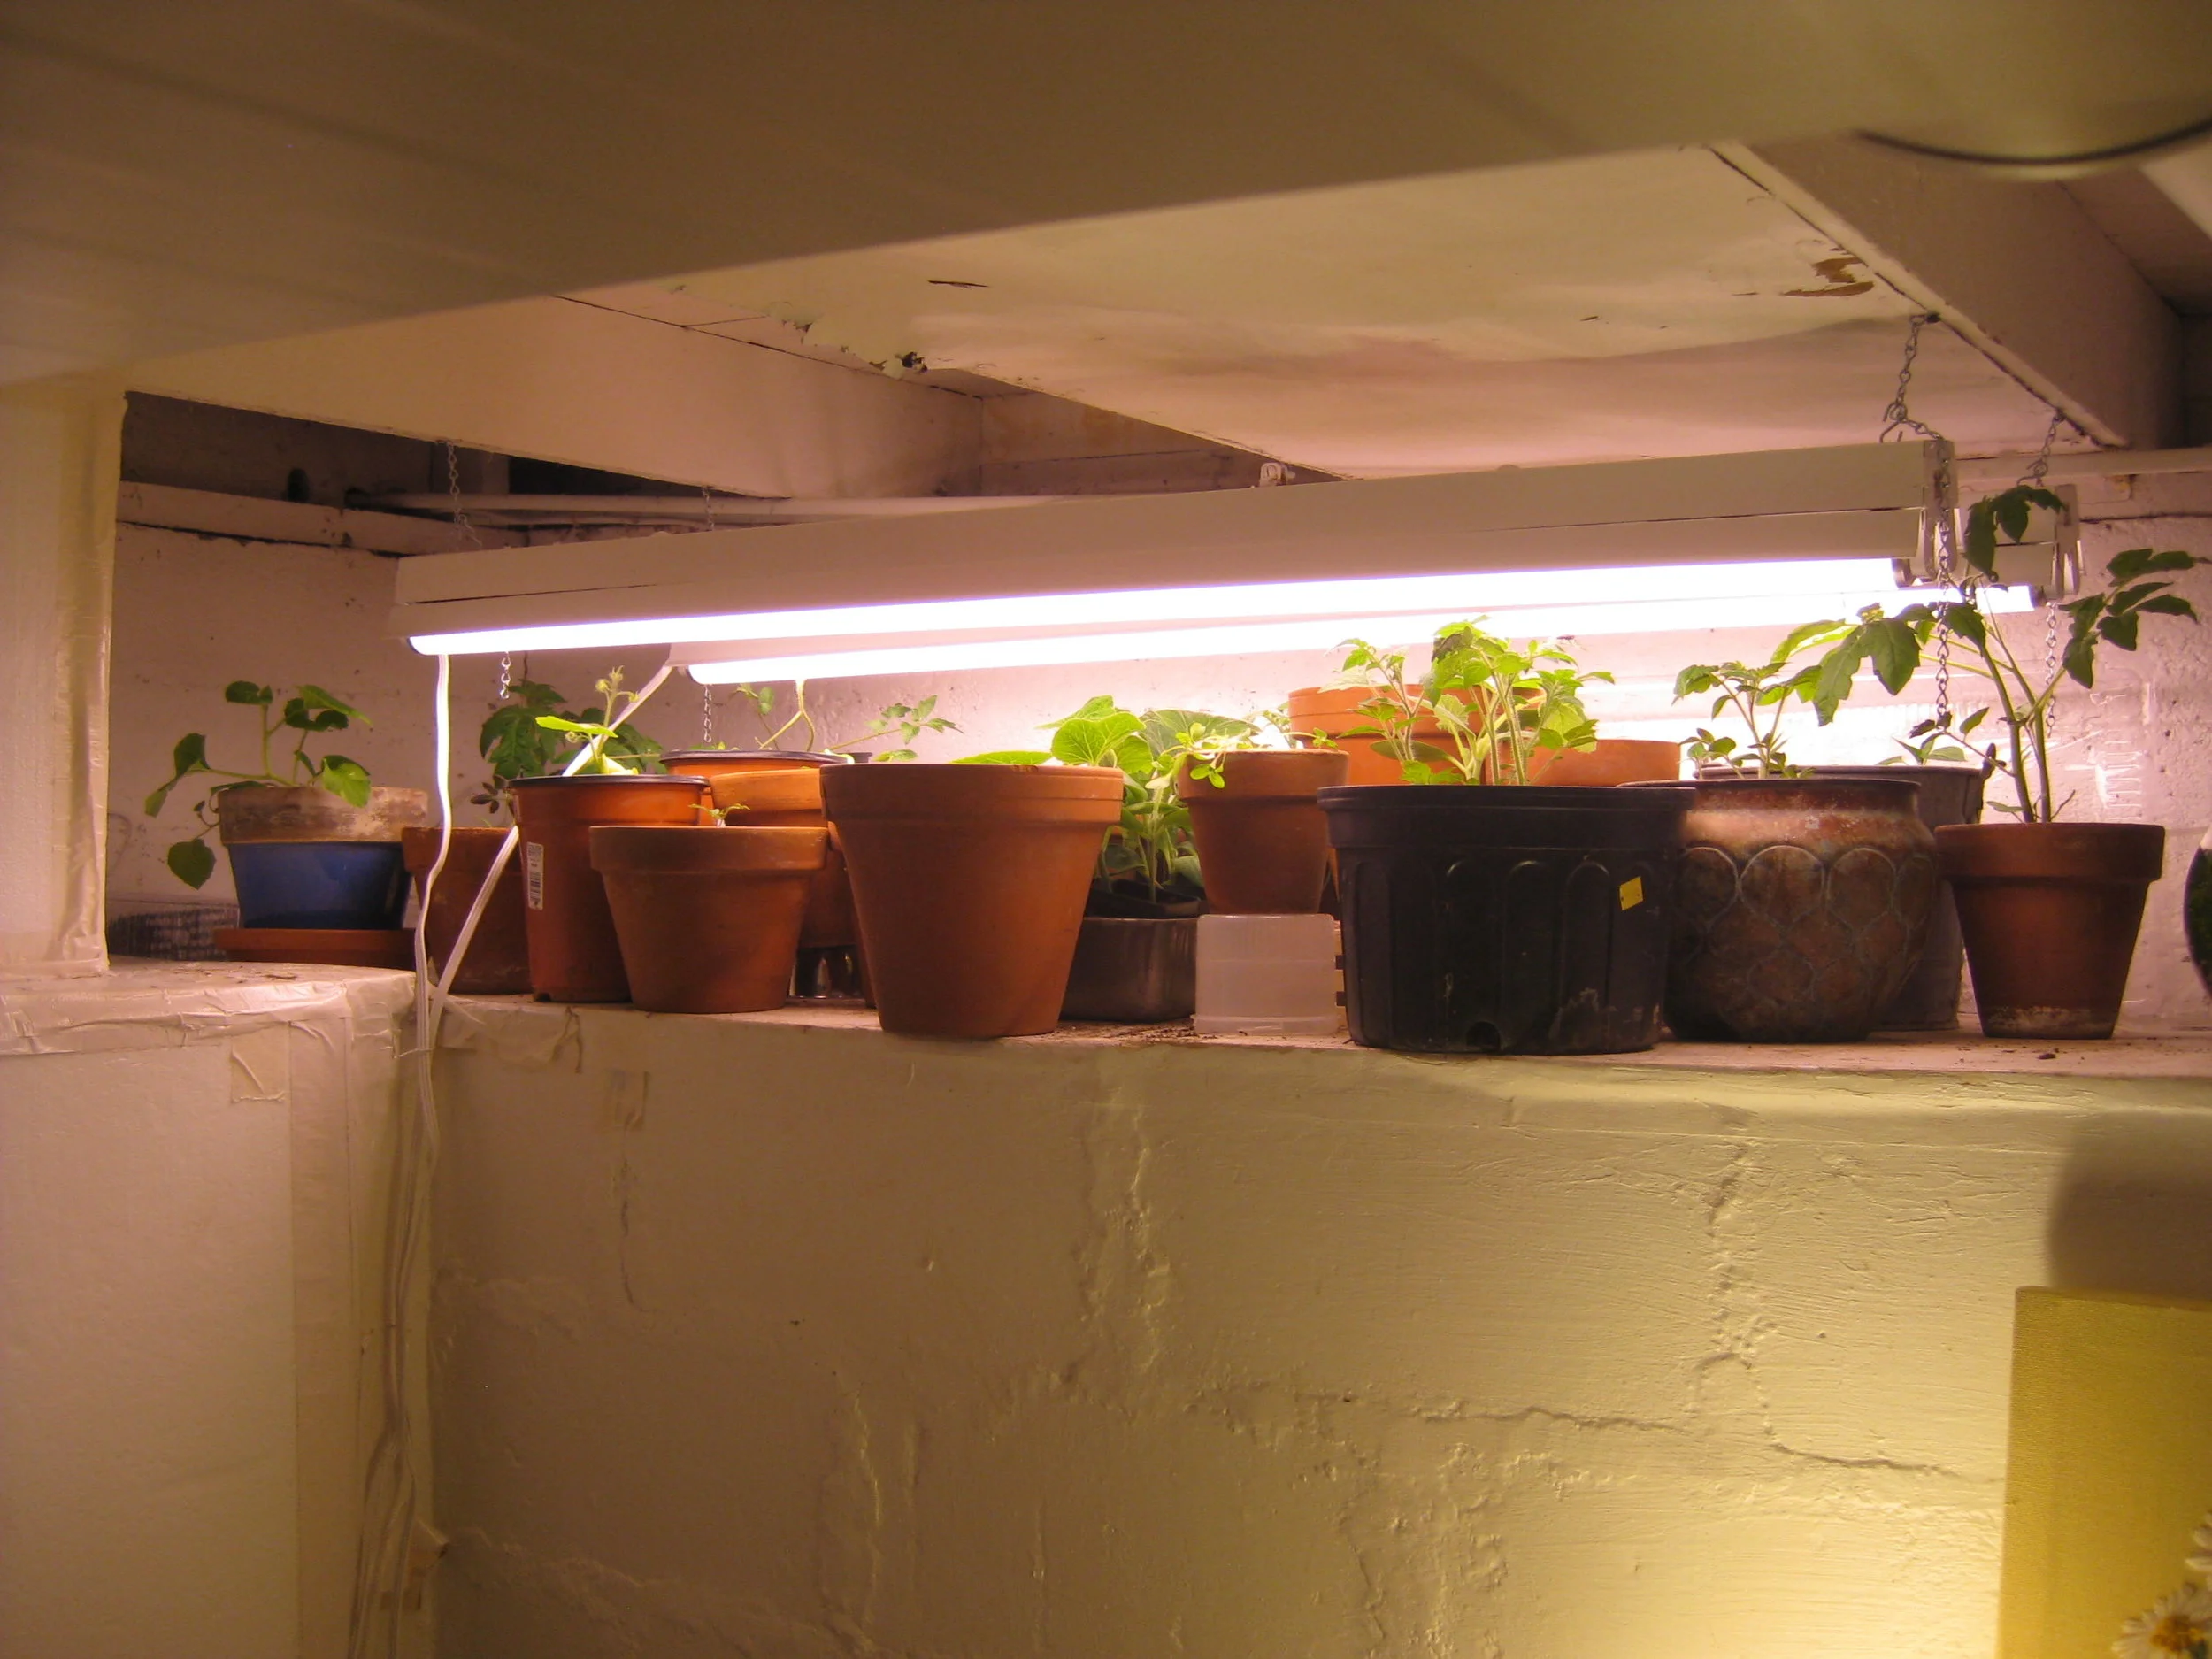
A couple of years ago - I fell in love with vegetable gardening - and Jeremiah got behind my dream of growing as much produce as possible on our (less than) 1/5 of an acre lot.  We start seeds in the basement under grow lights every winter, now - and since last February - I get to transfer them to my very own greenhouse in the early spring!

2012-07-08_19-04-57_477

One of the most exciting parts of watching him build this greenhouse - was seeing the way that the materials for the project came together.  We are often not in the position to just go right out and purchase a lot of the things we desire - (even if they will eventually save us money).

We dream.

Clip from magazines.

Sit on the floor at the bookstore with a stack of home and garden books and say "ooh" a lot.

But little by little - as we wait and watch and trust... I can see how God loves to blow our socks off by providing even more creative ways to give us little pieces of our dreams.  Small and big gifts that speak love to my heart.

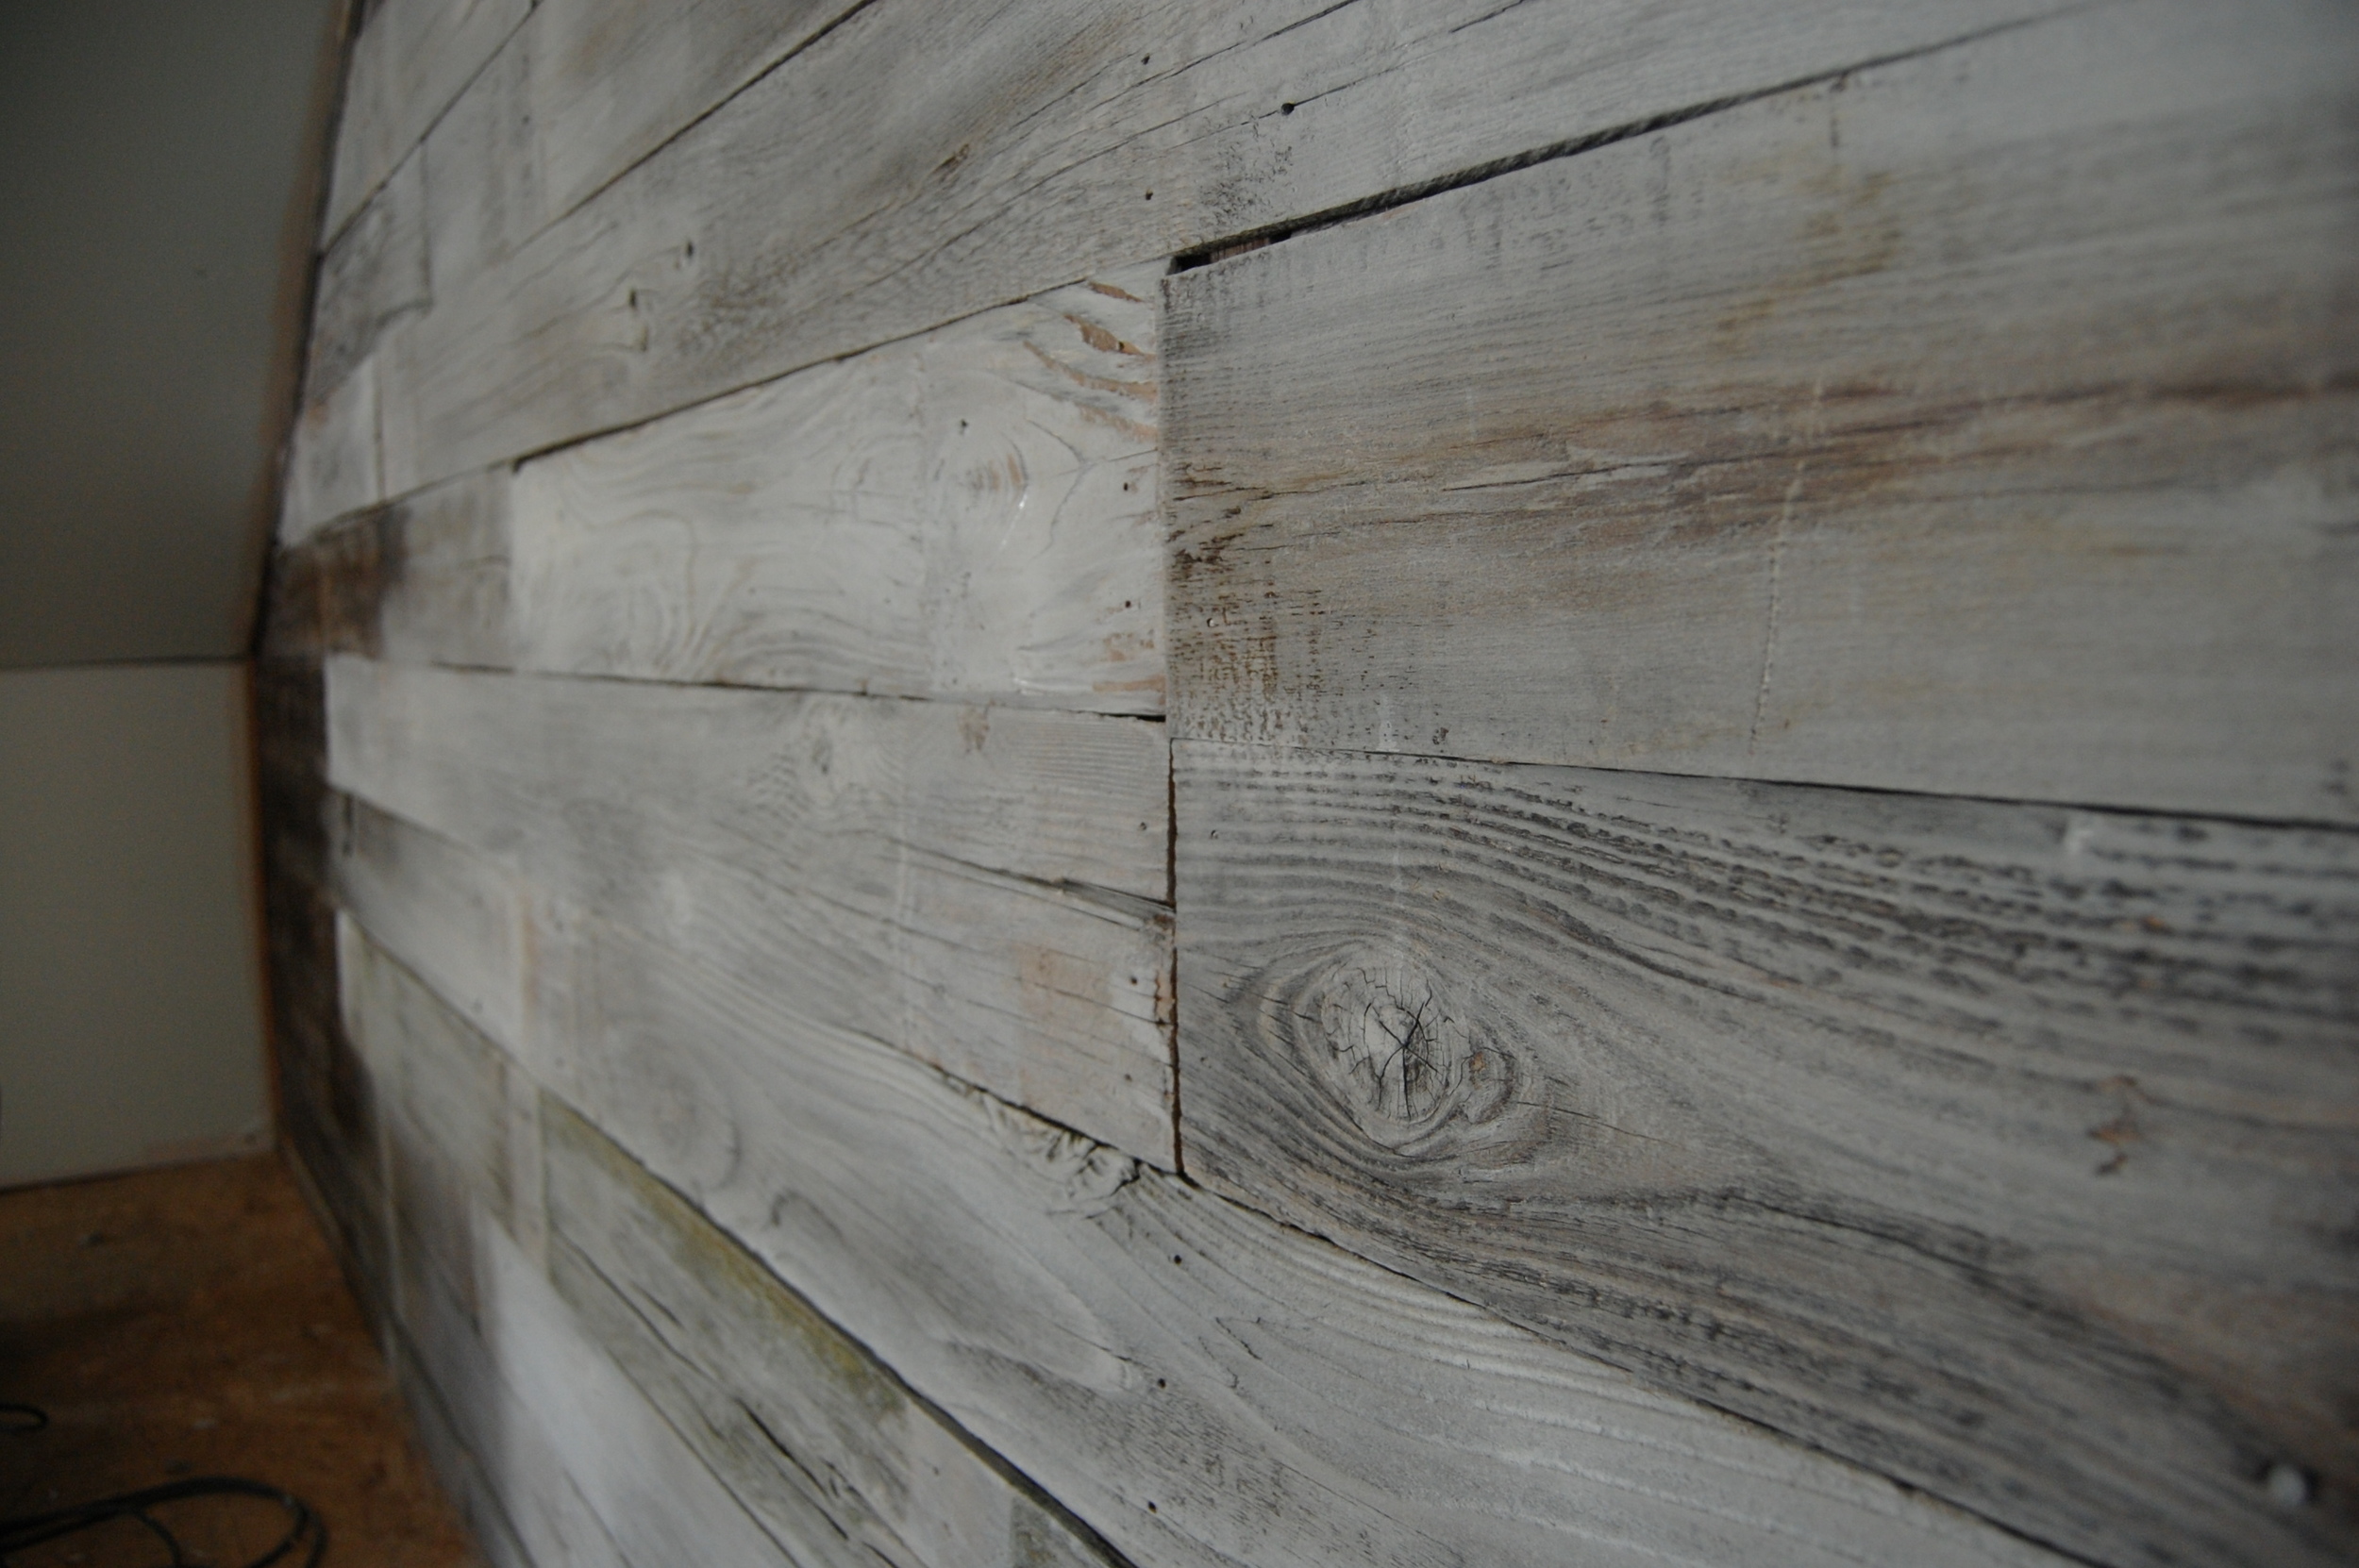
This greenhouse came together so beautifully - as the skills that he has acquired through years of struggle and hard work - worked their magic alongside traded windows from a dear neighbor, reclaimed doors, hardware, collected bricks and yes... some new material from the big box stores.  I absolutely love the way it turned out.... but my FAVORITE part is the inside walls.  We used wood from discarded cedar fence paneling.

feb mar 2012 199
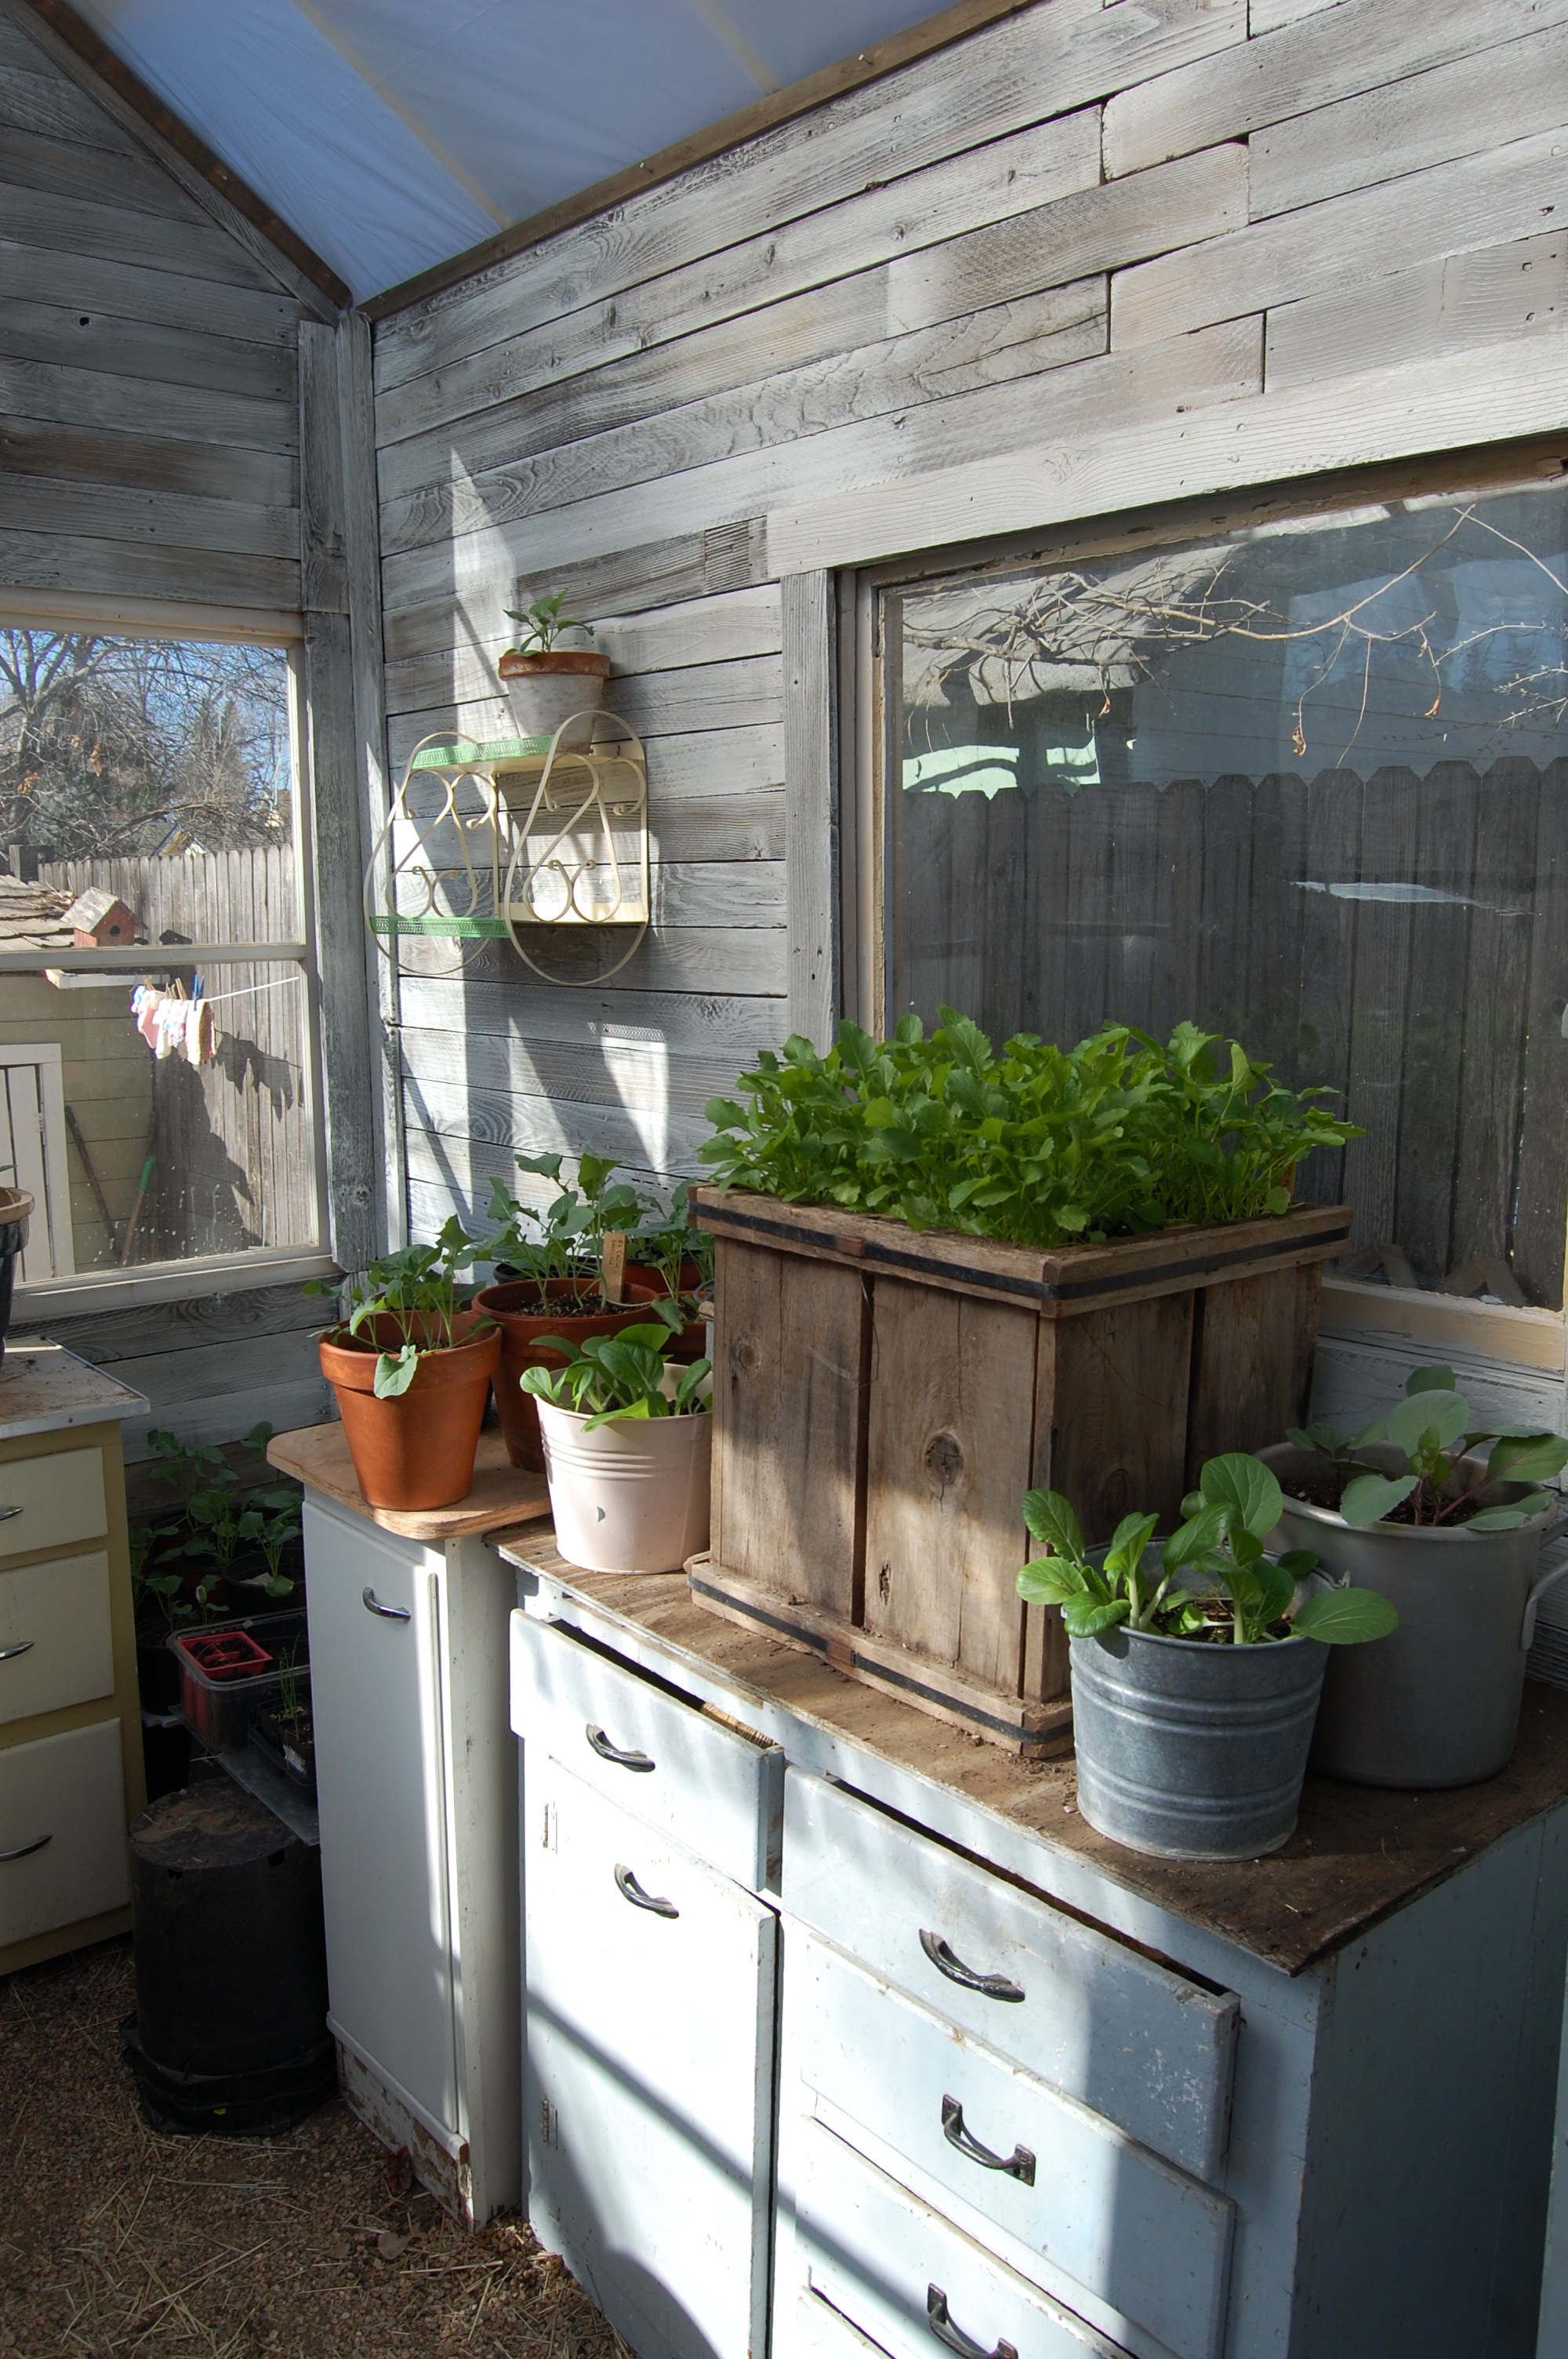
Because a greenhouse needs optimum light for plants to grow, we decided it was best to whitewash the wonderful old distressed wood.

It was such a fun project and made us start to think... what ELSE can we use this (free) wonderful recycled lumber for??DSC_0013

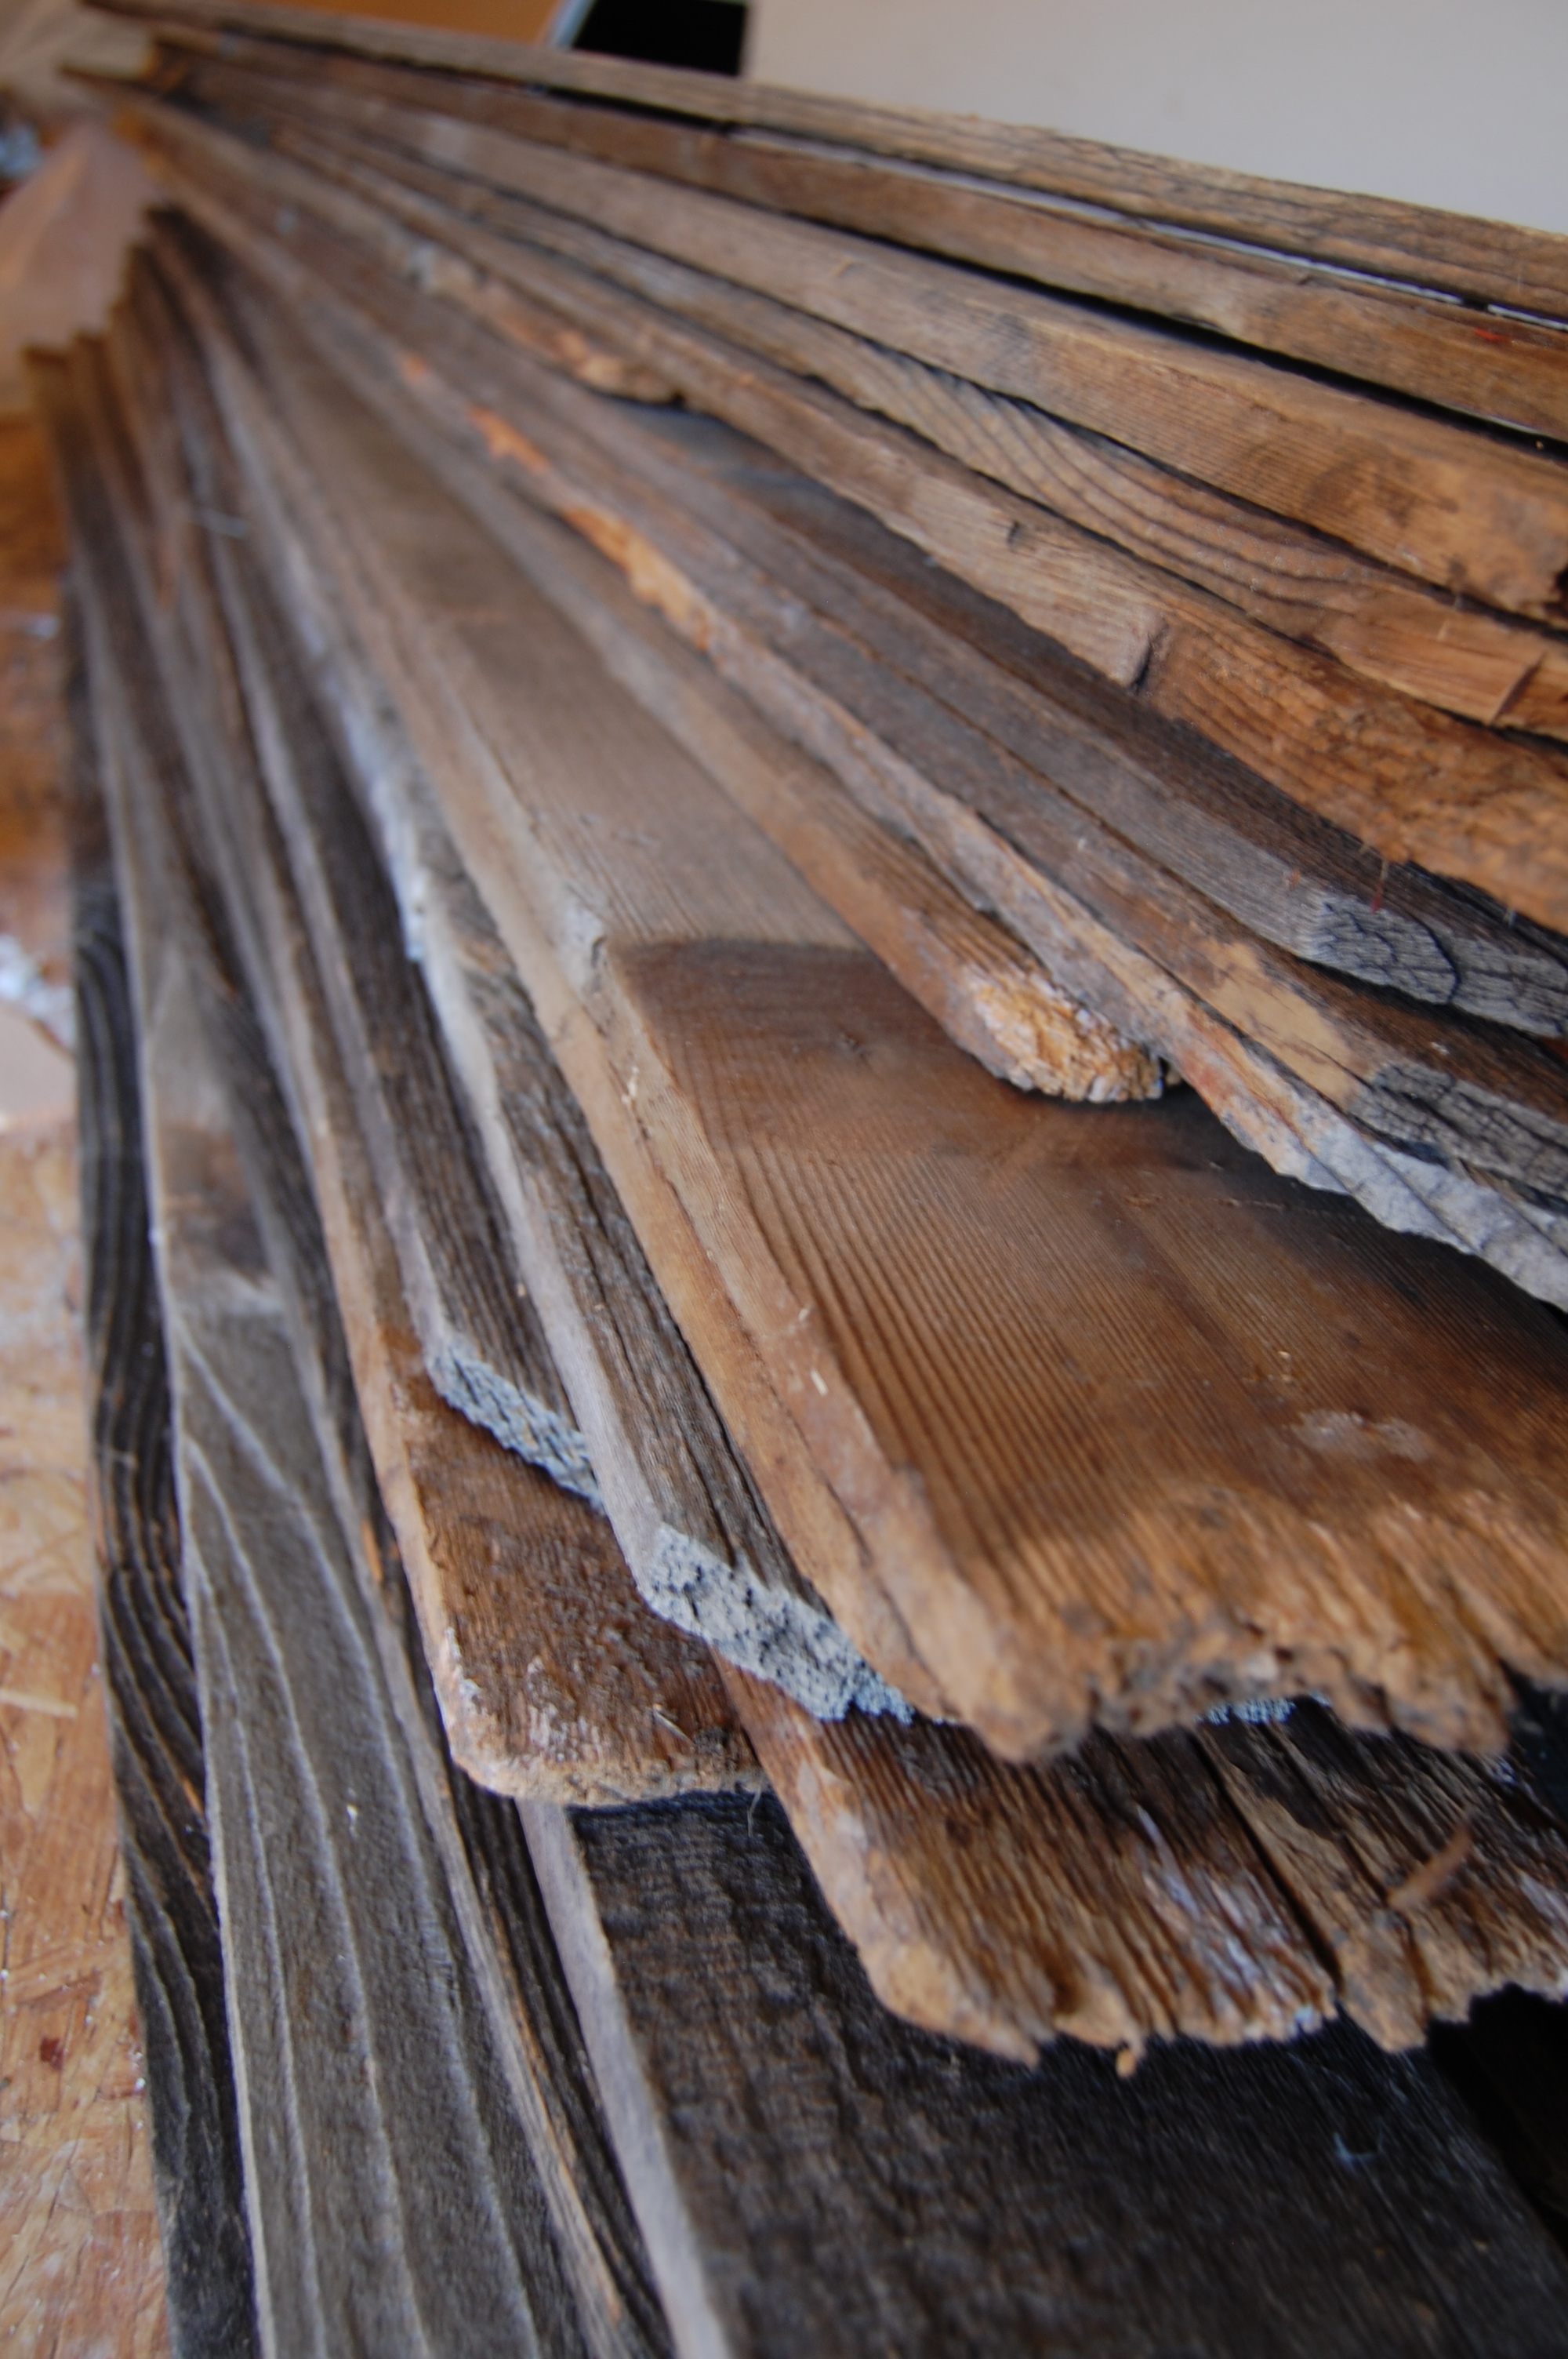
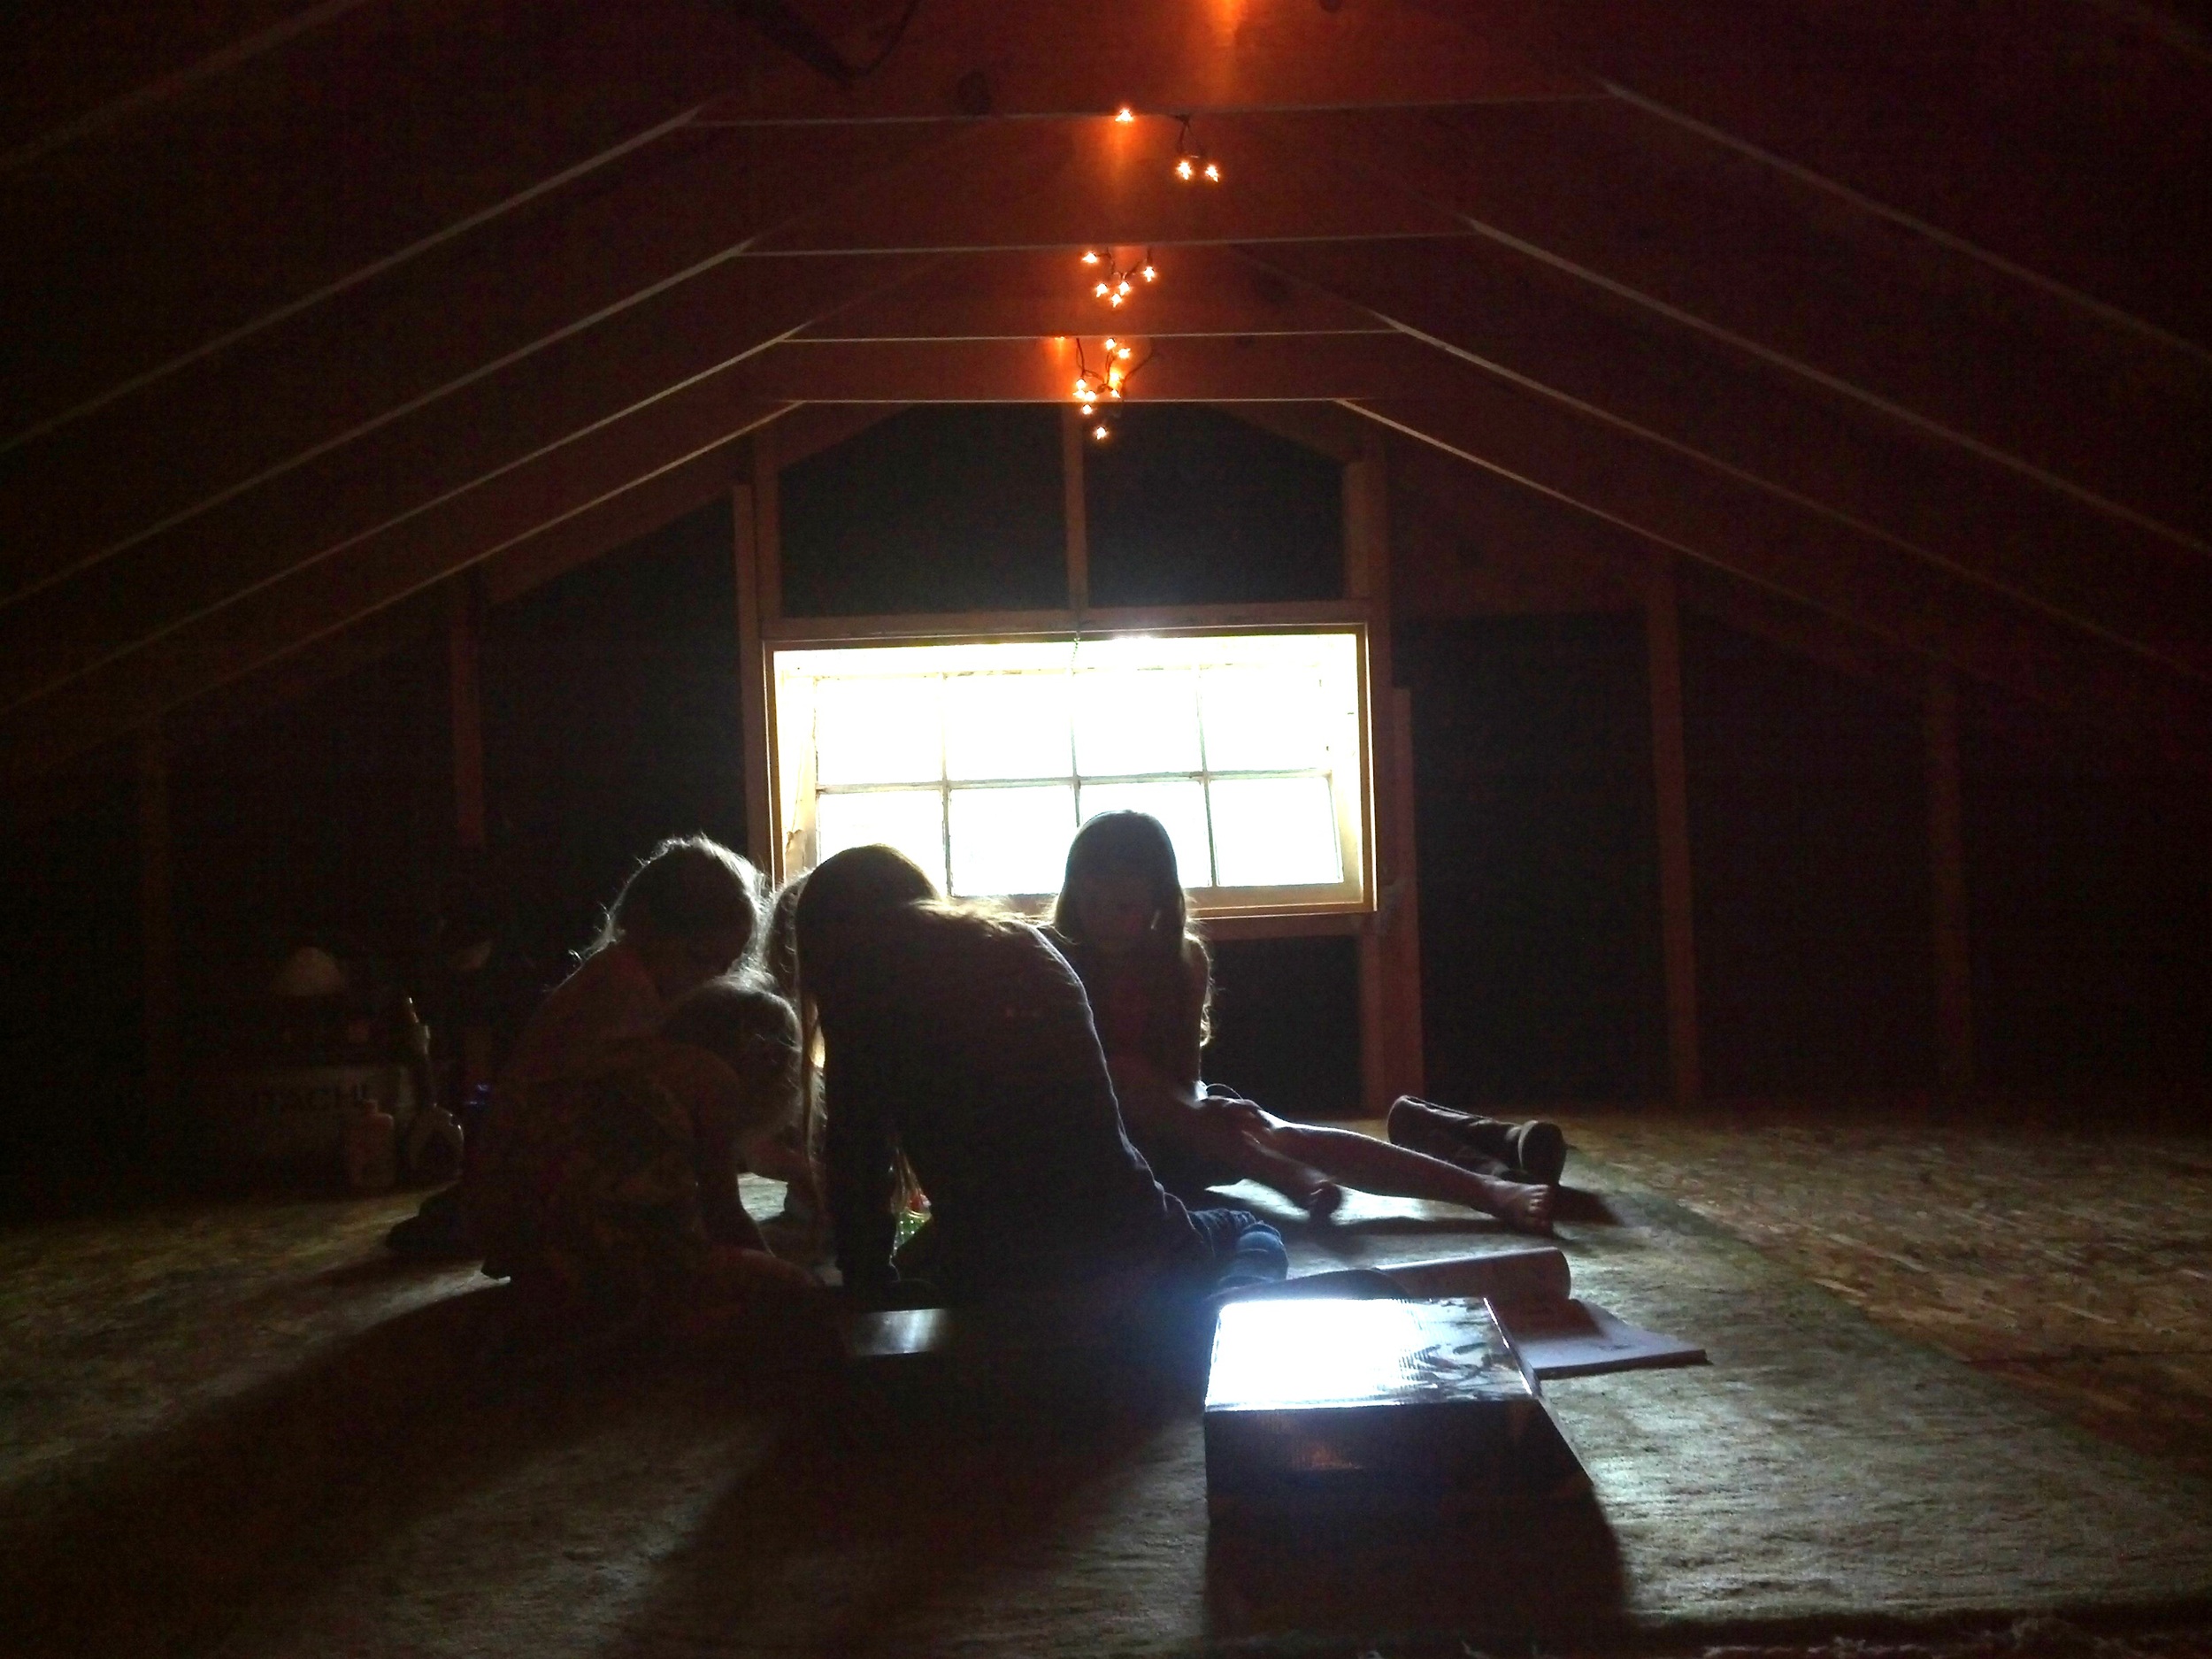
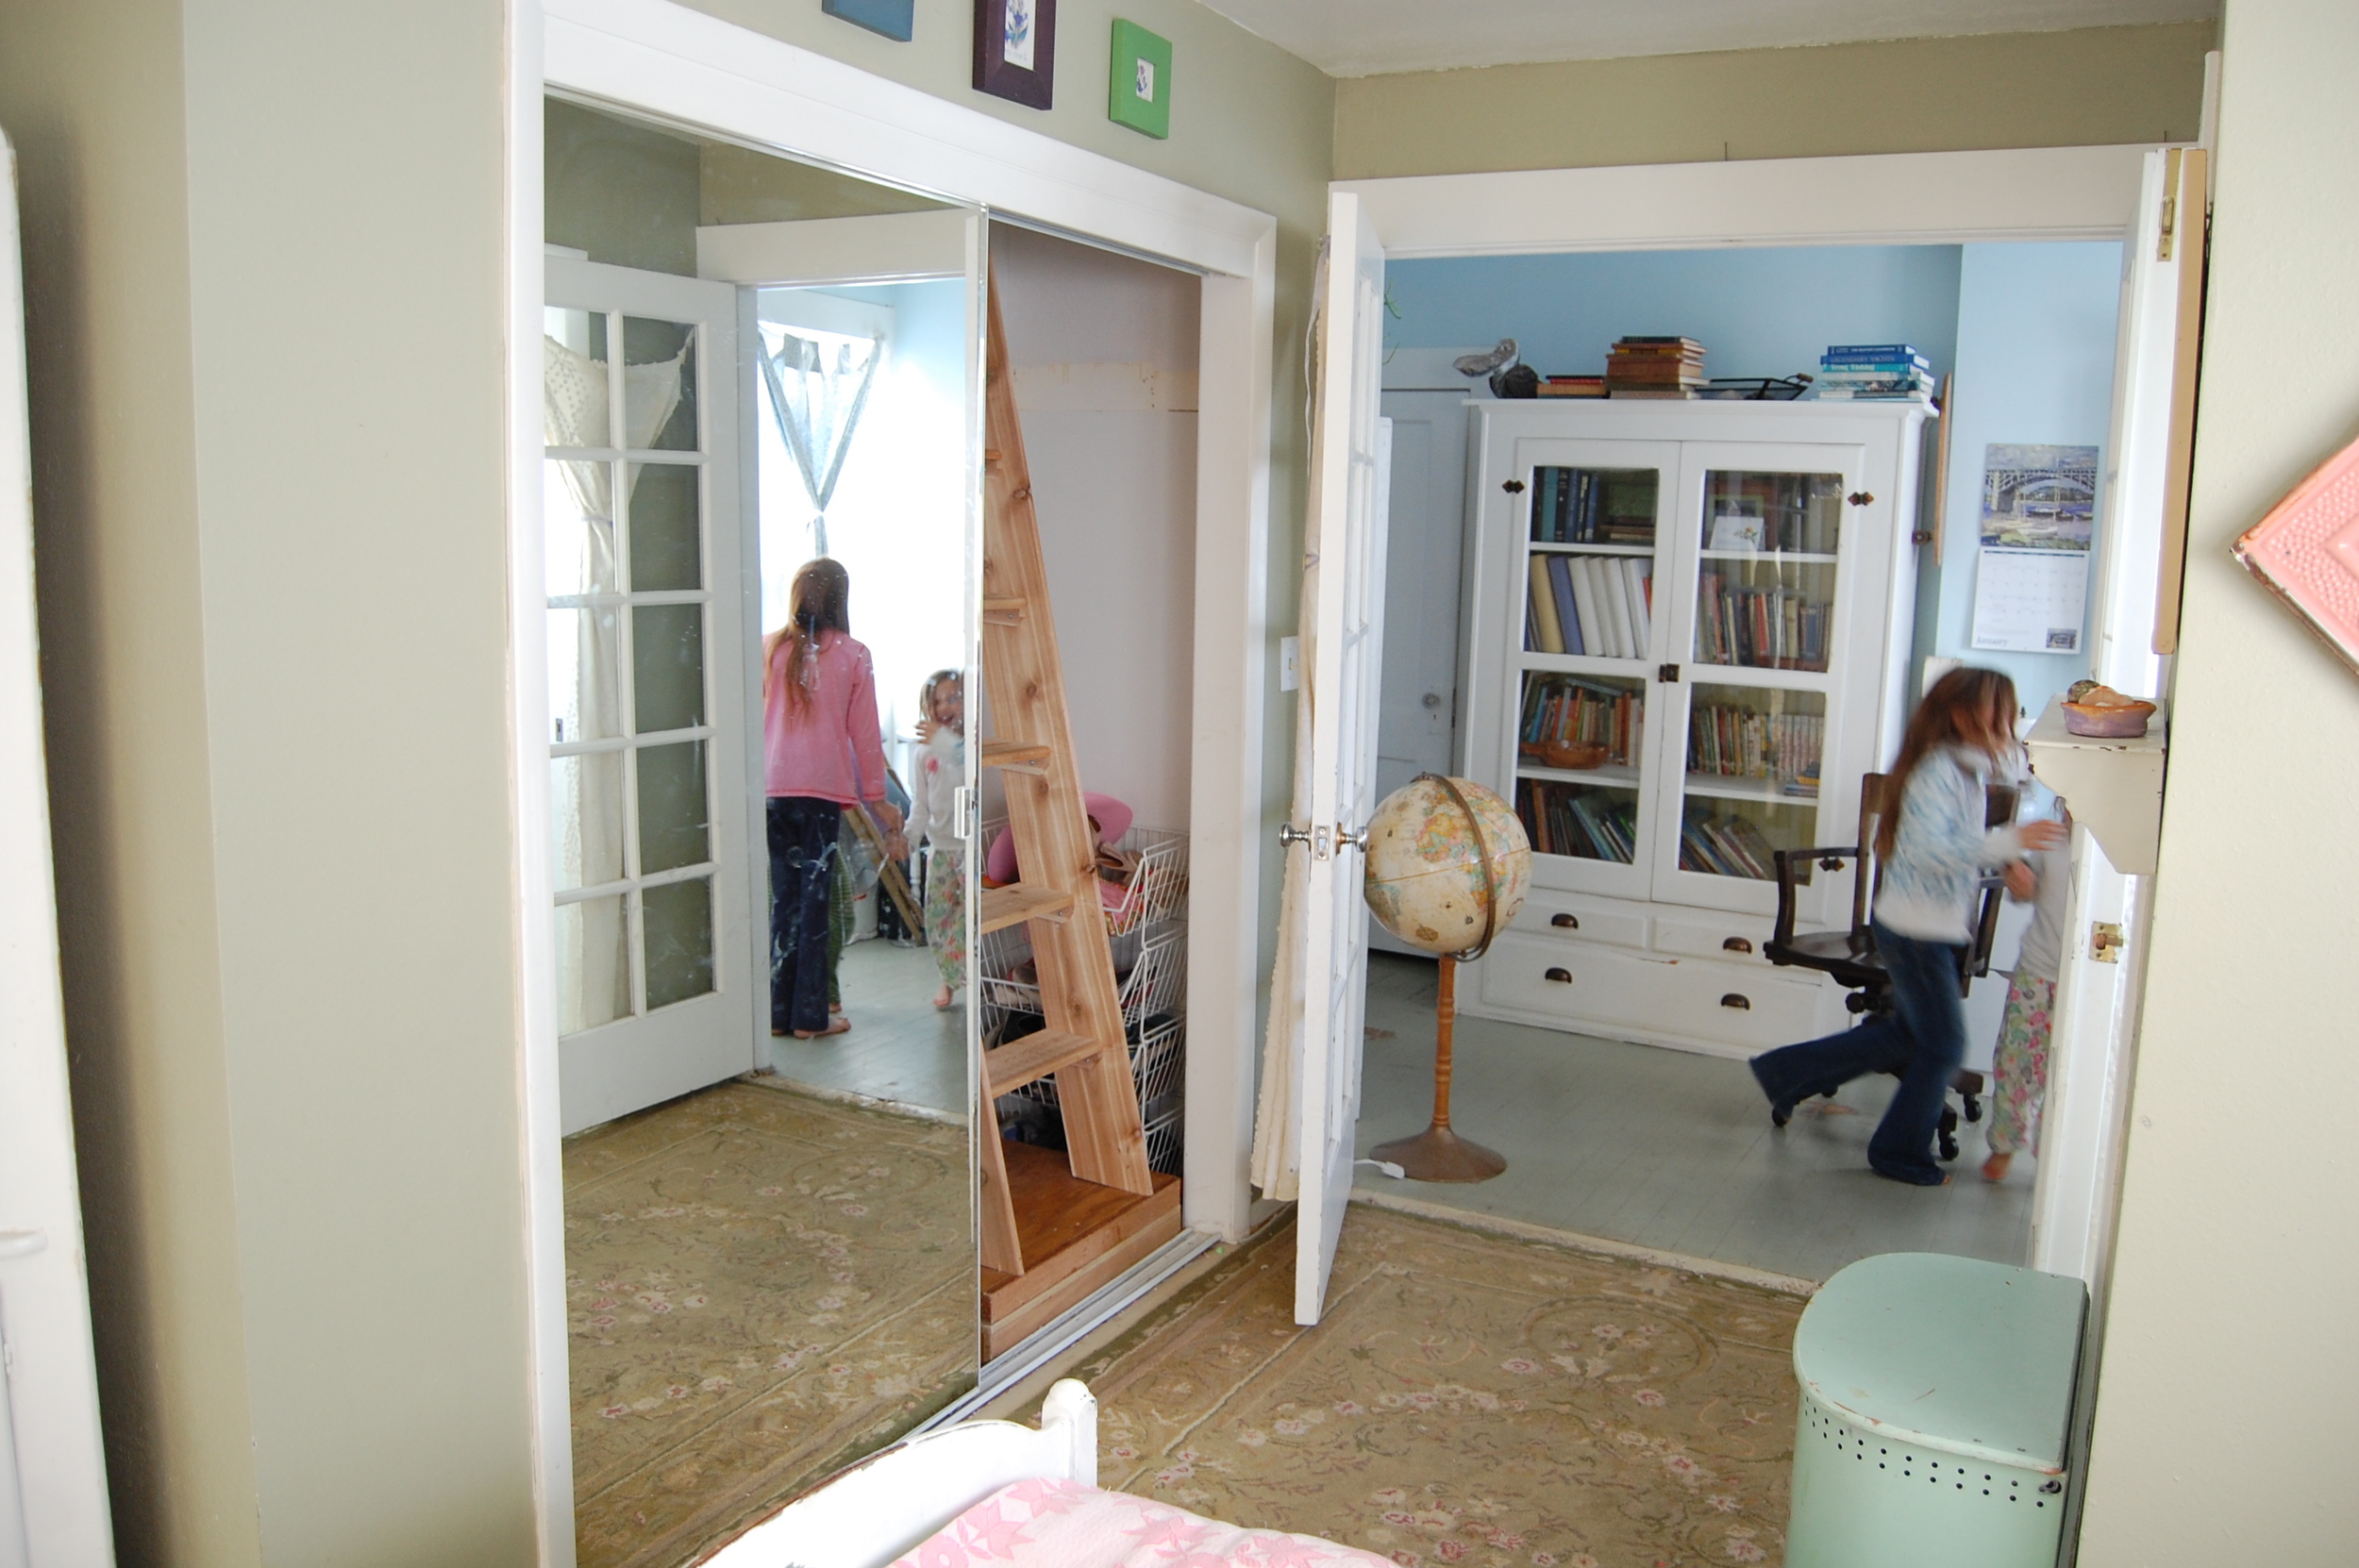
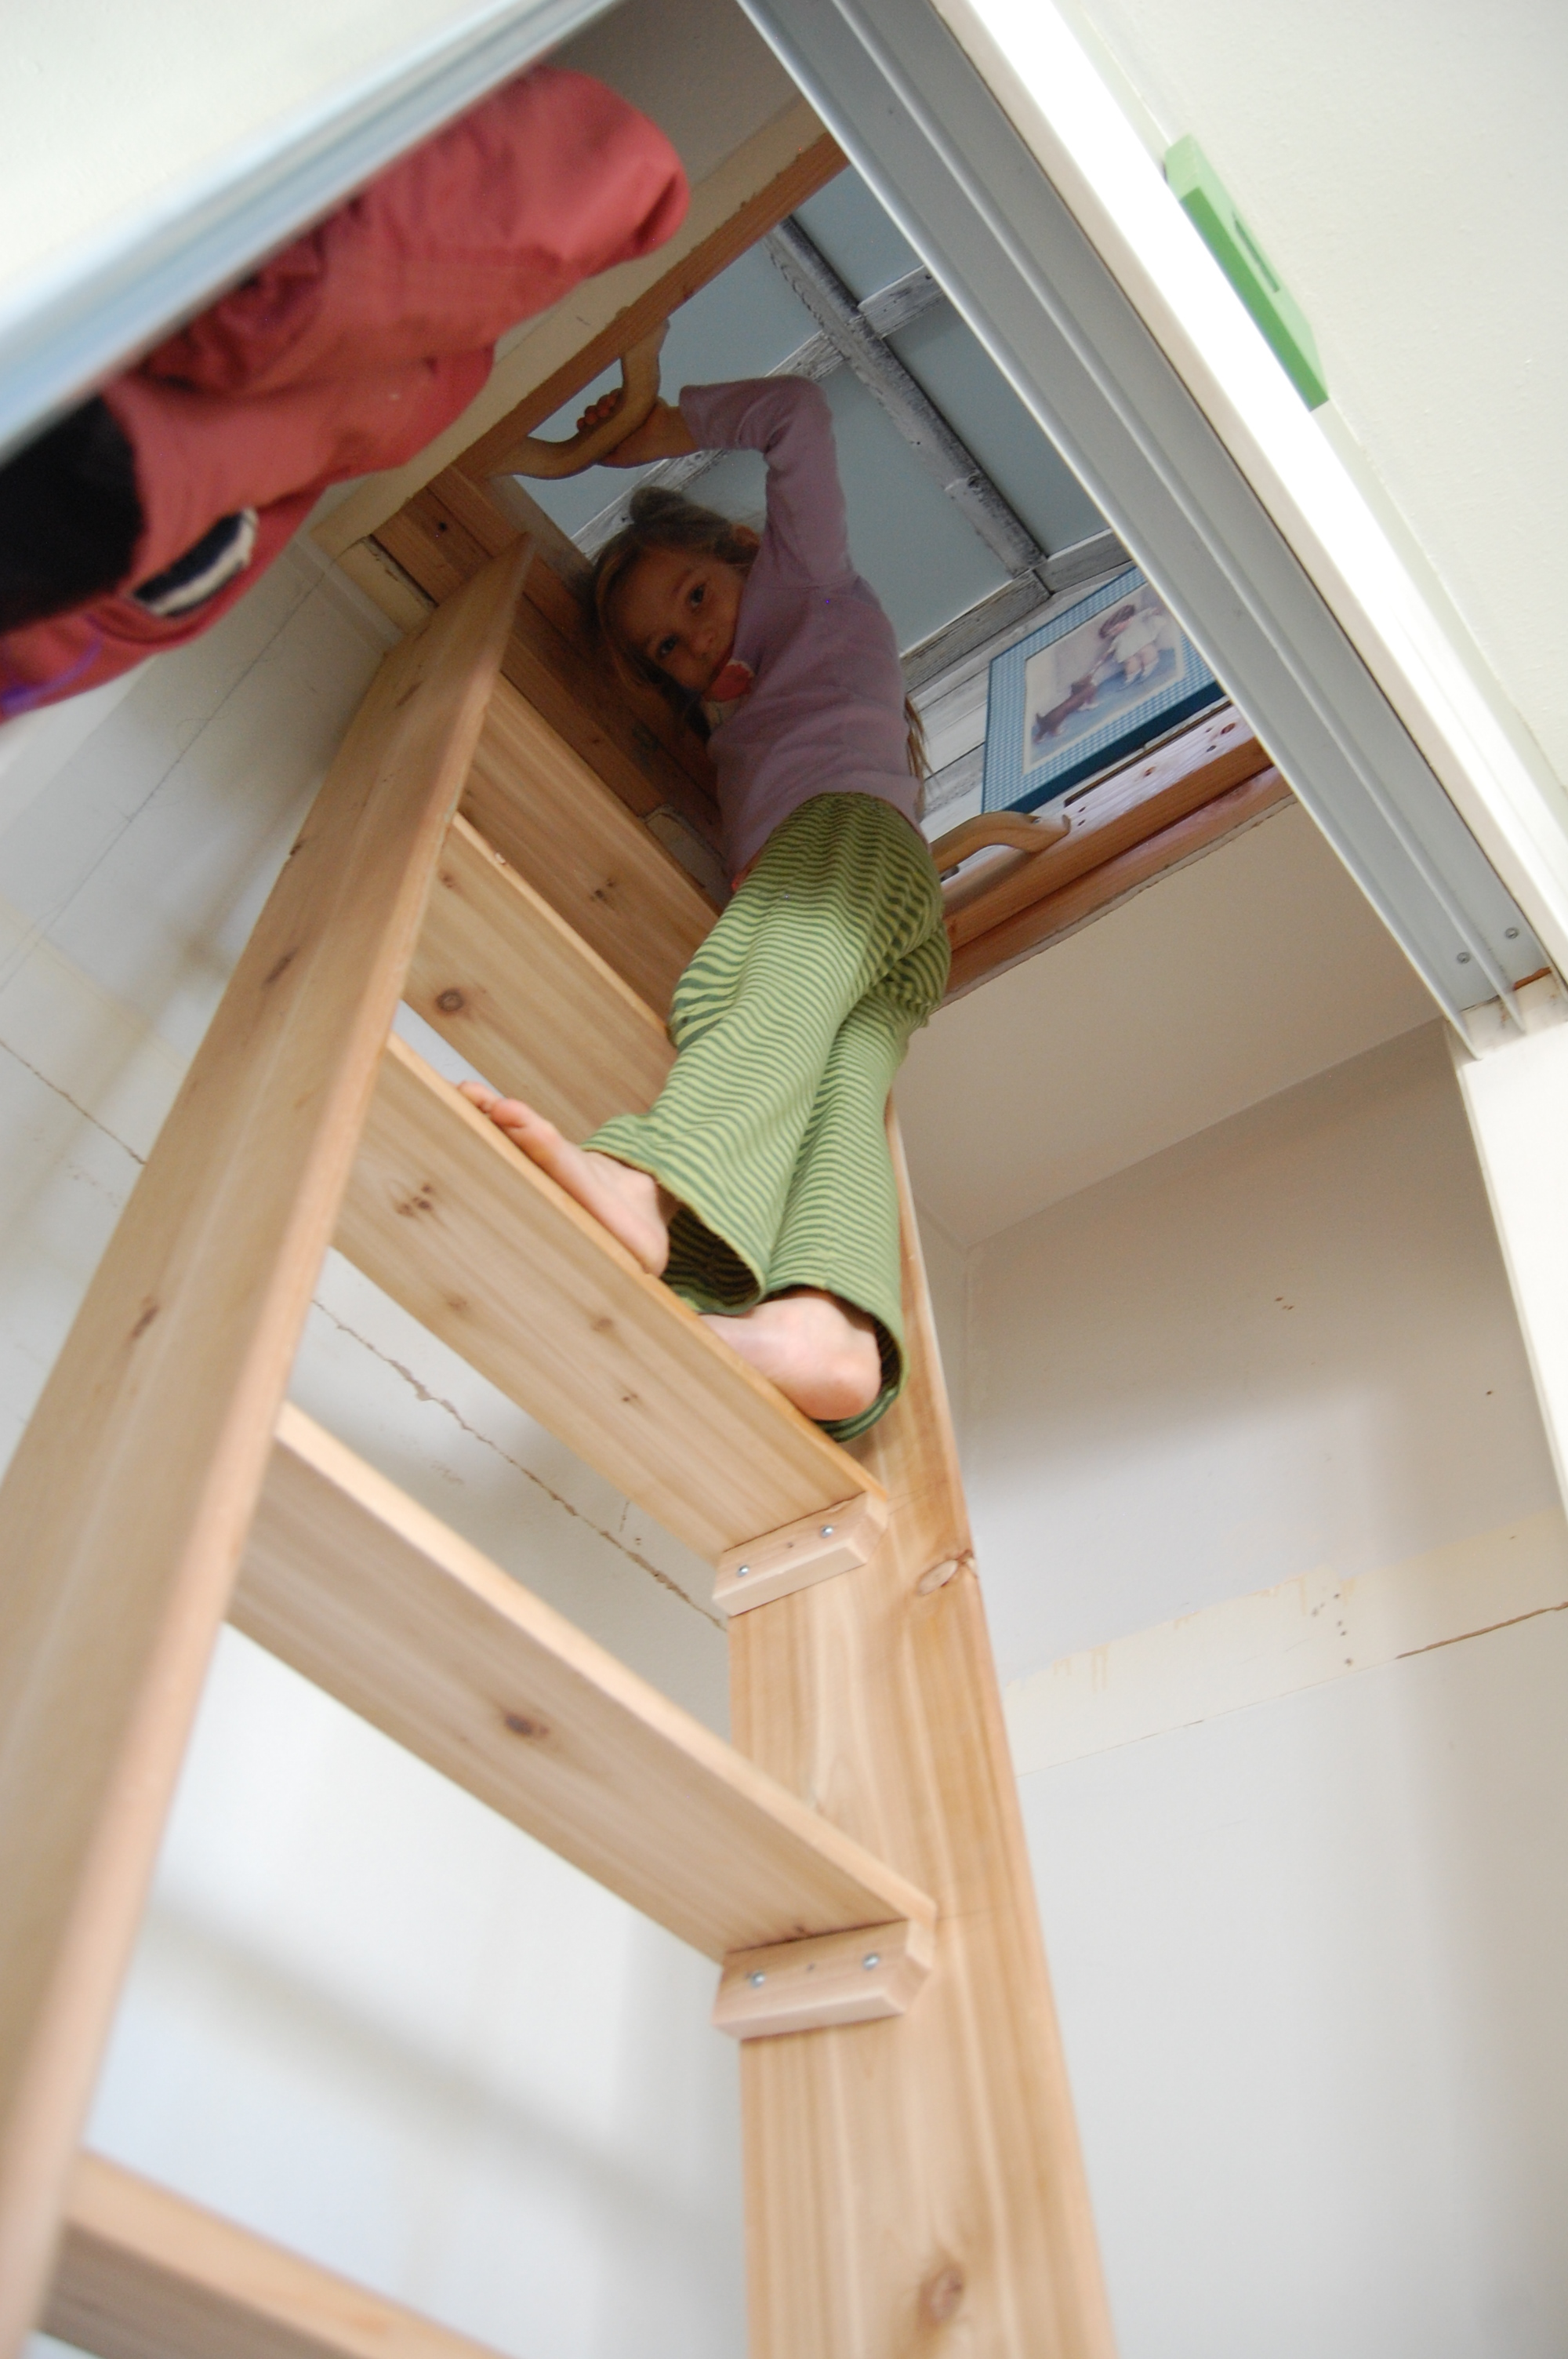
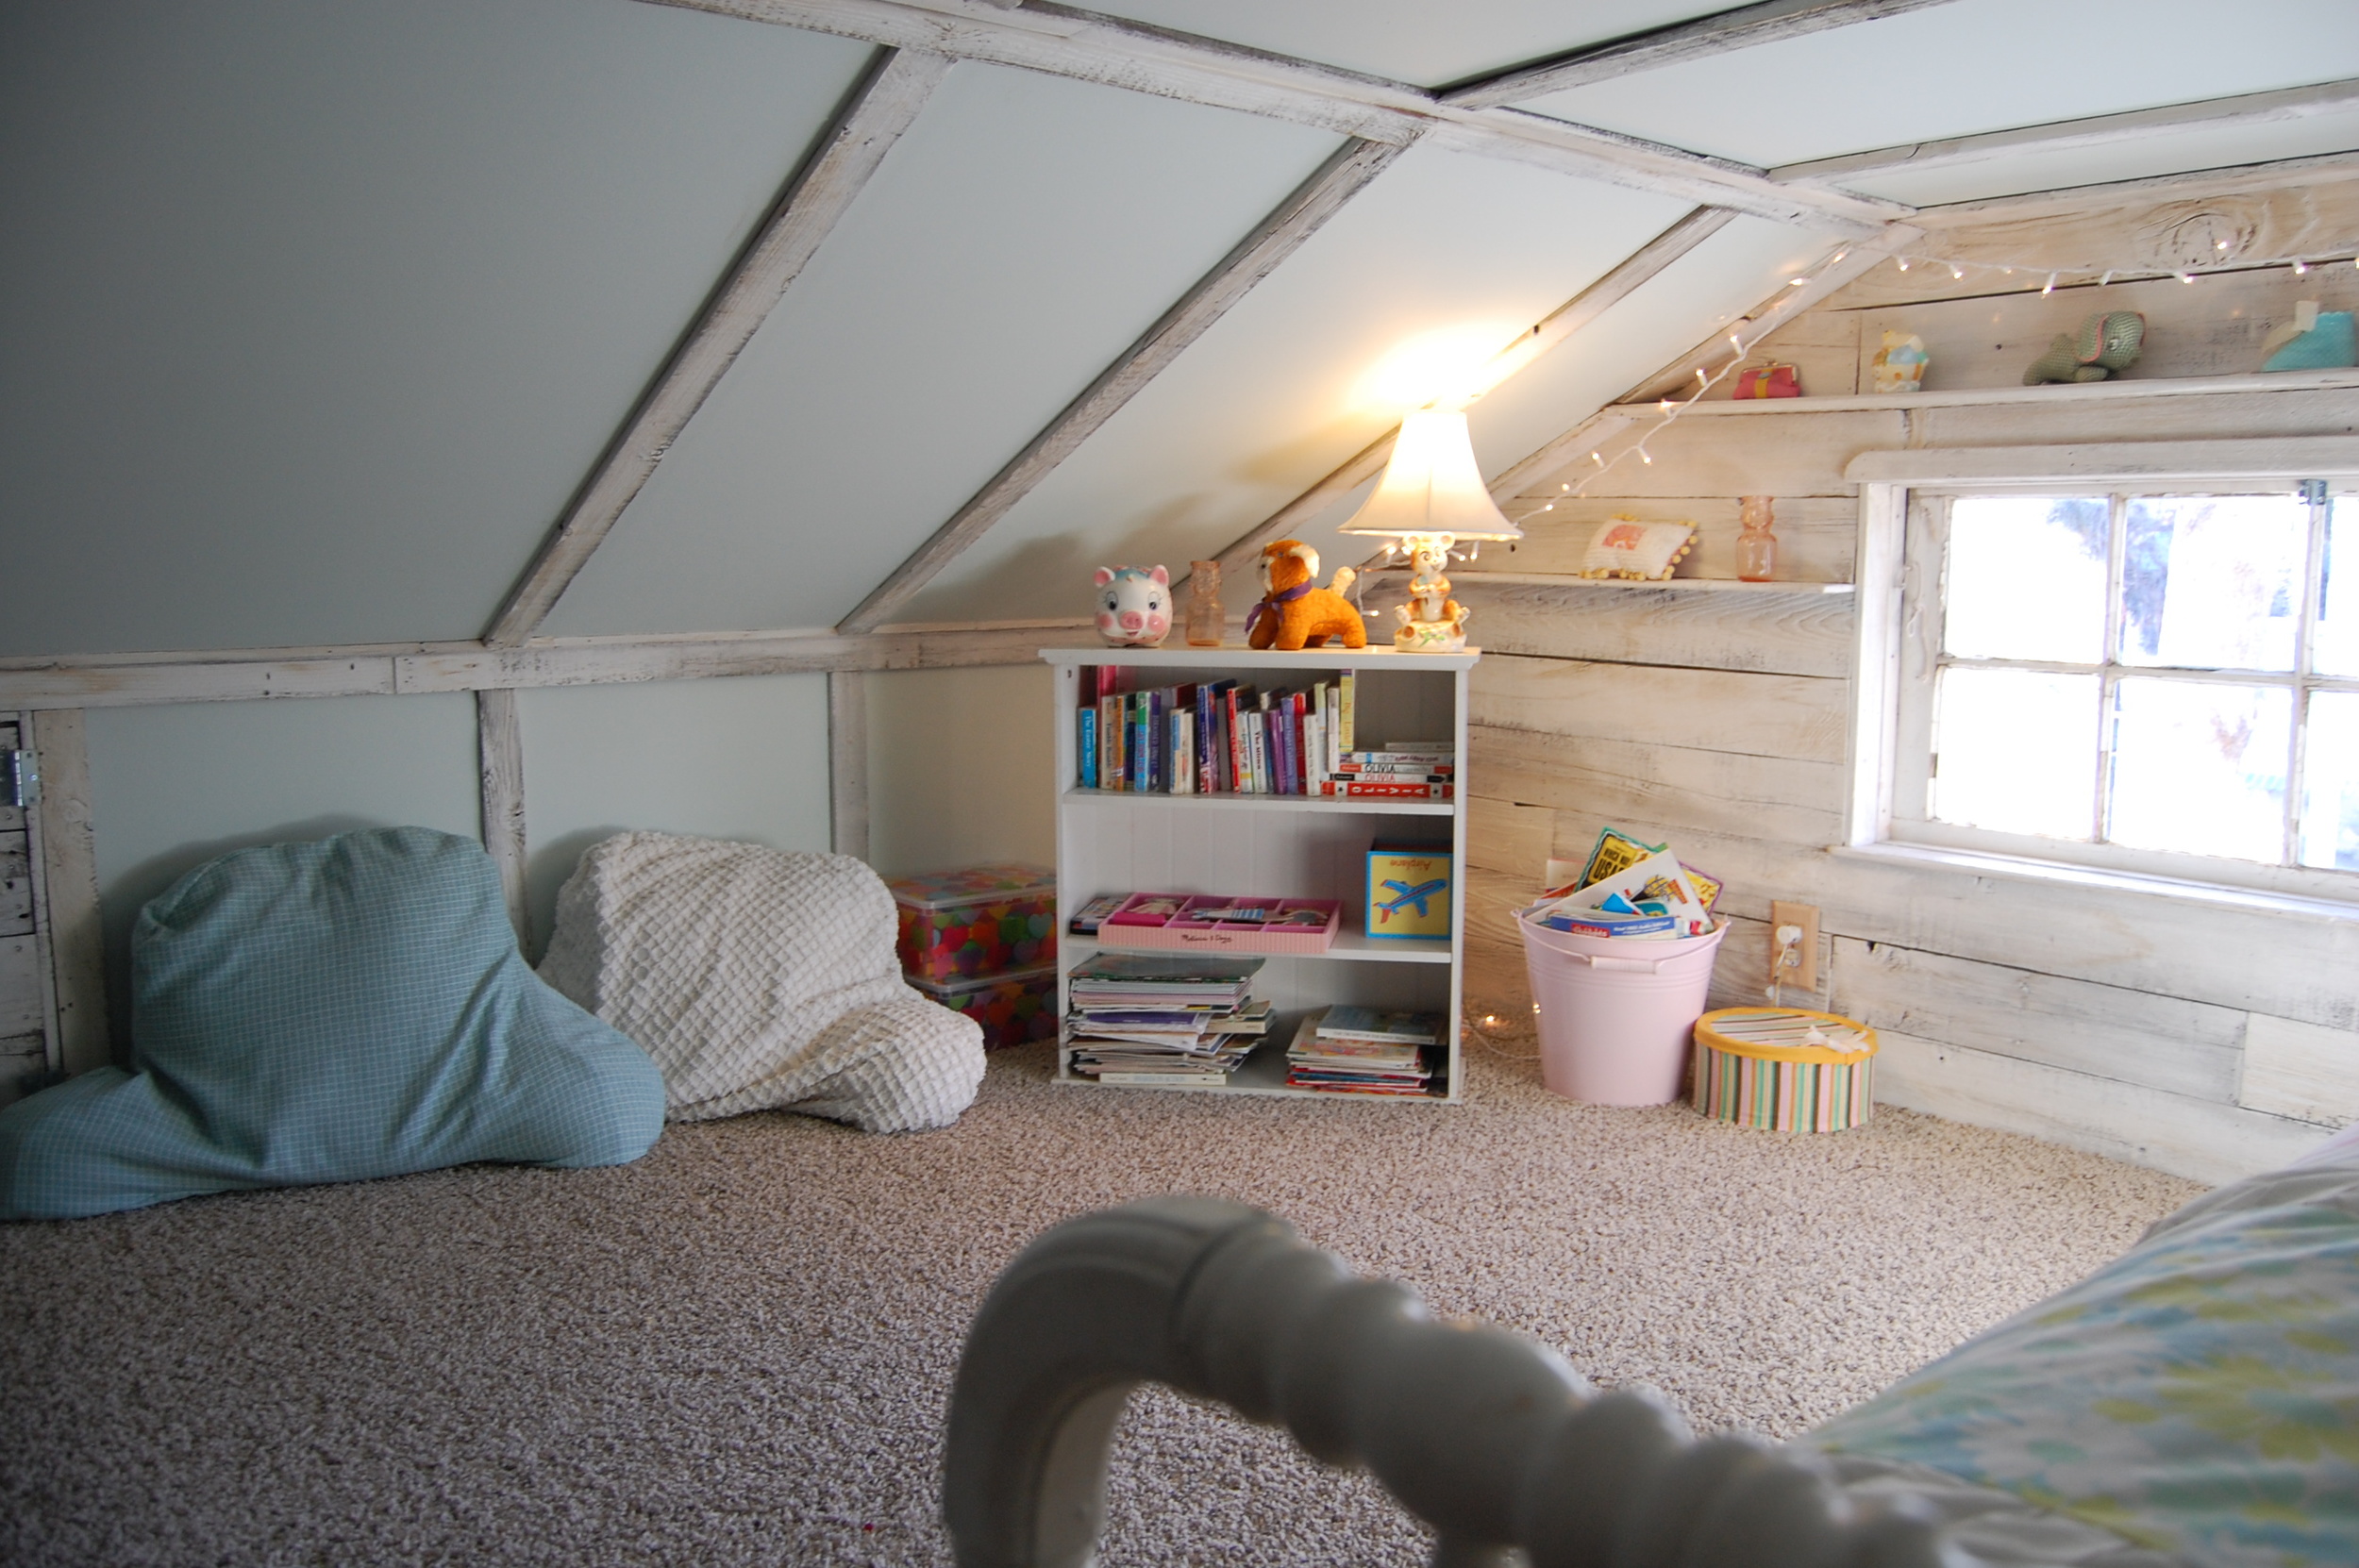
Jump ahead one year.  Our family of 6 is busting the seams of our little 1100 square foot house.  We decide to try and 'finish' one section of our attic ... just to make a fun extra play room for the girls.  We found an old window we loved at our local recycled building supply store.  That went in last summer.  Getting the floor in was SO exciting!  We threw a rug up there and some white lights - and the girls would go up and play games and peek out the window into the backyard.

pre

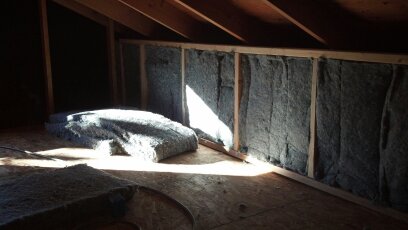
Once the walls were framed in, we could start to picture how the room would feel.   We were excited to find that recycled denim insulation was actually a bit cheaper than the horrible-to-install fiberglass type, so we used this for the walls.   As the room began to take shape - we could tell that this attic was the next perfect place for our reclaimed wood.

1354592054097

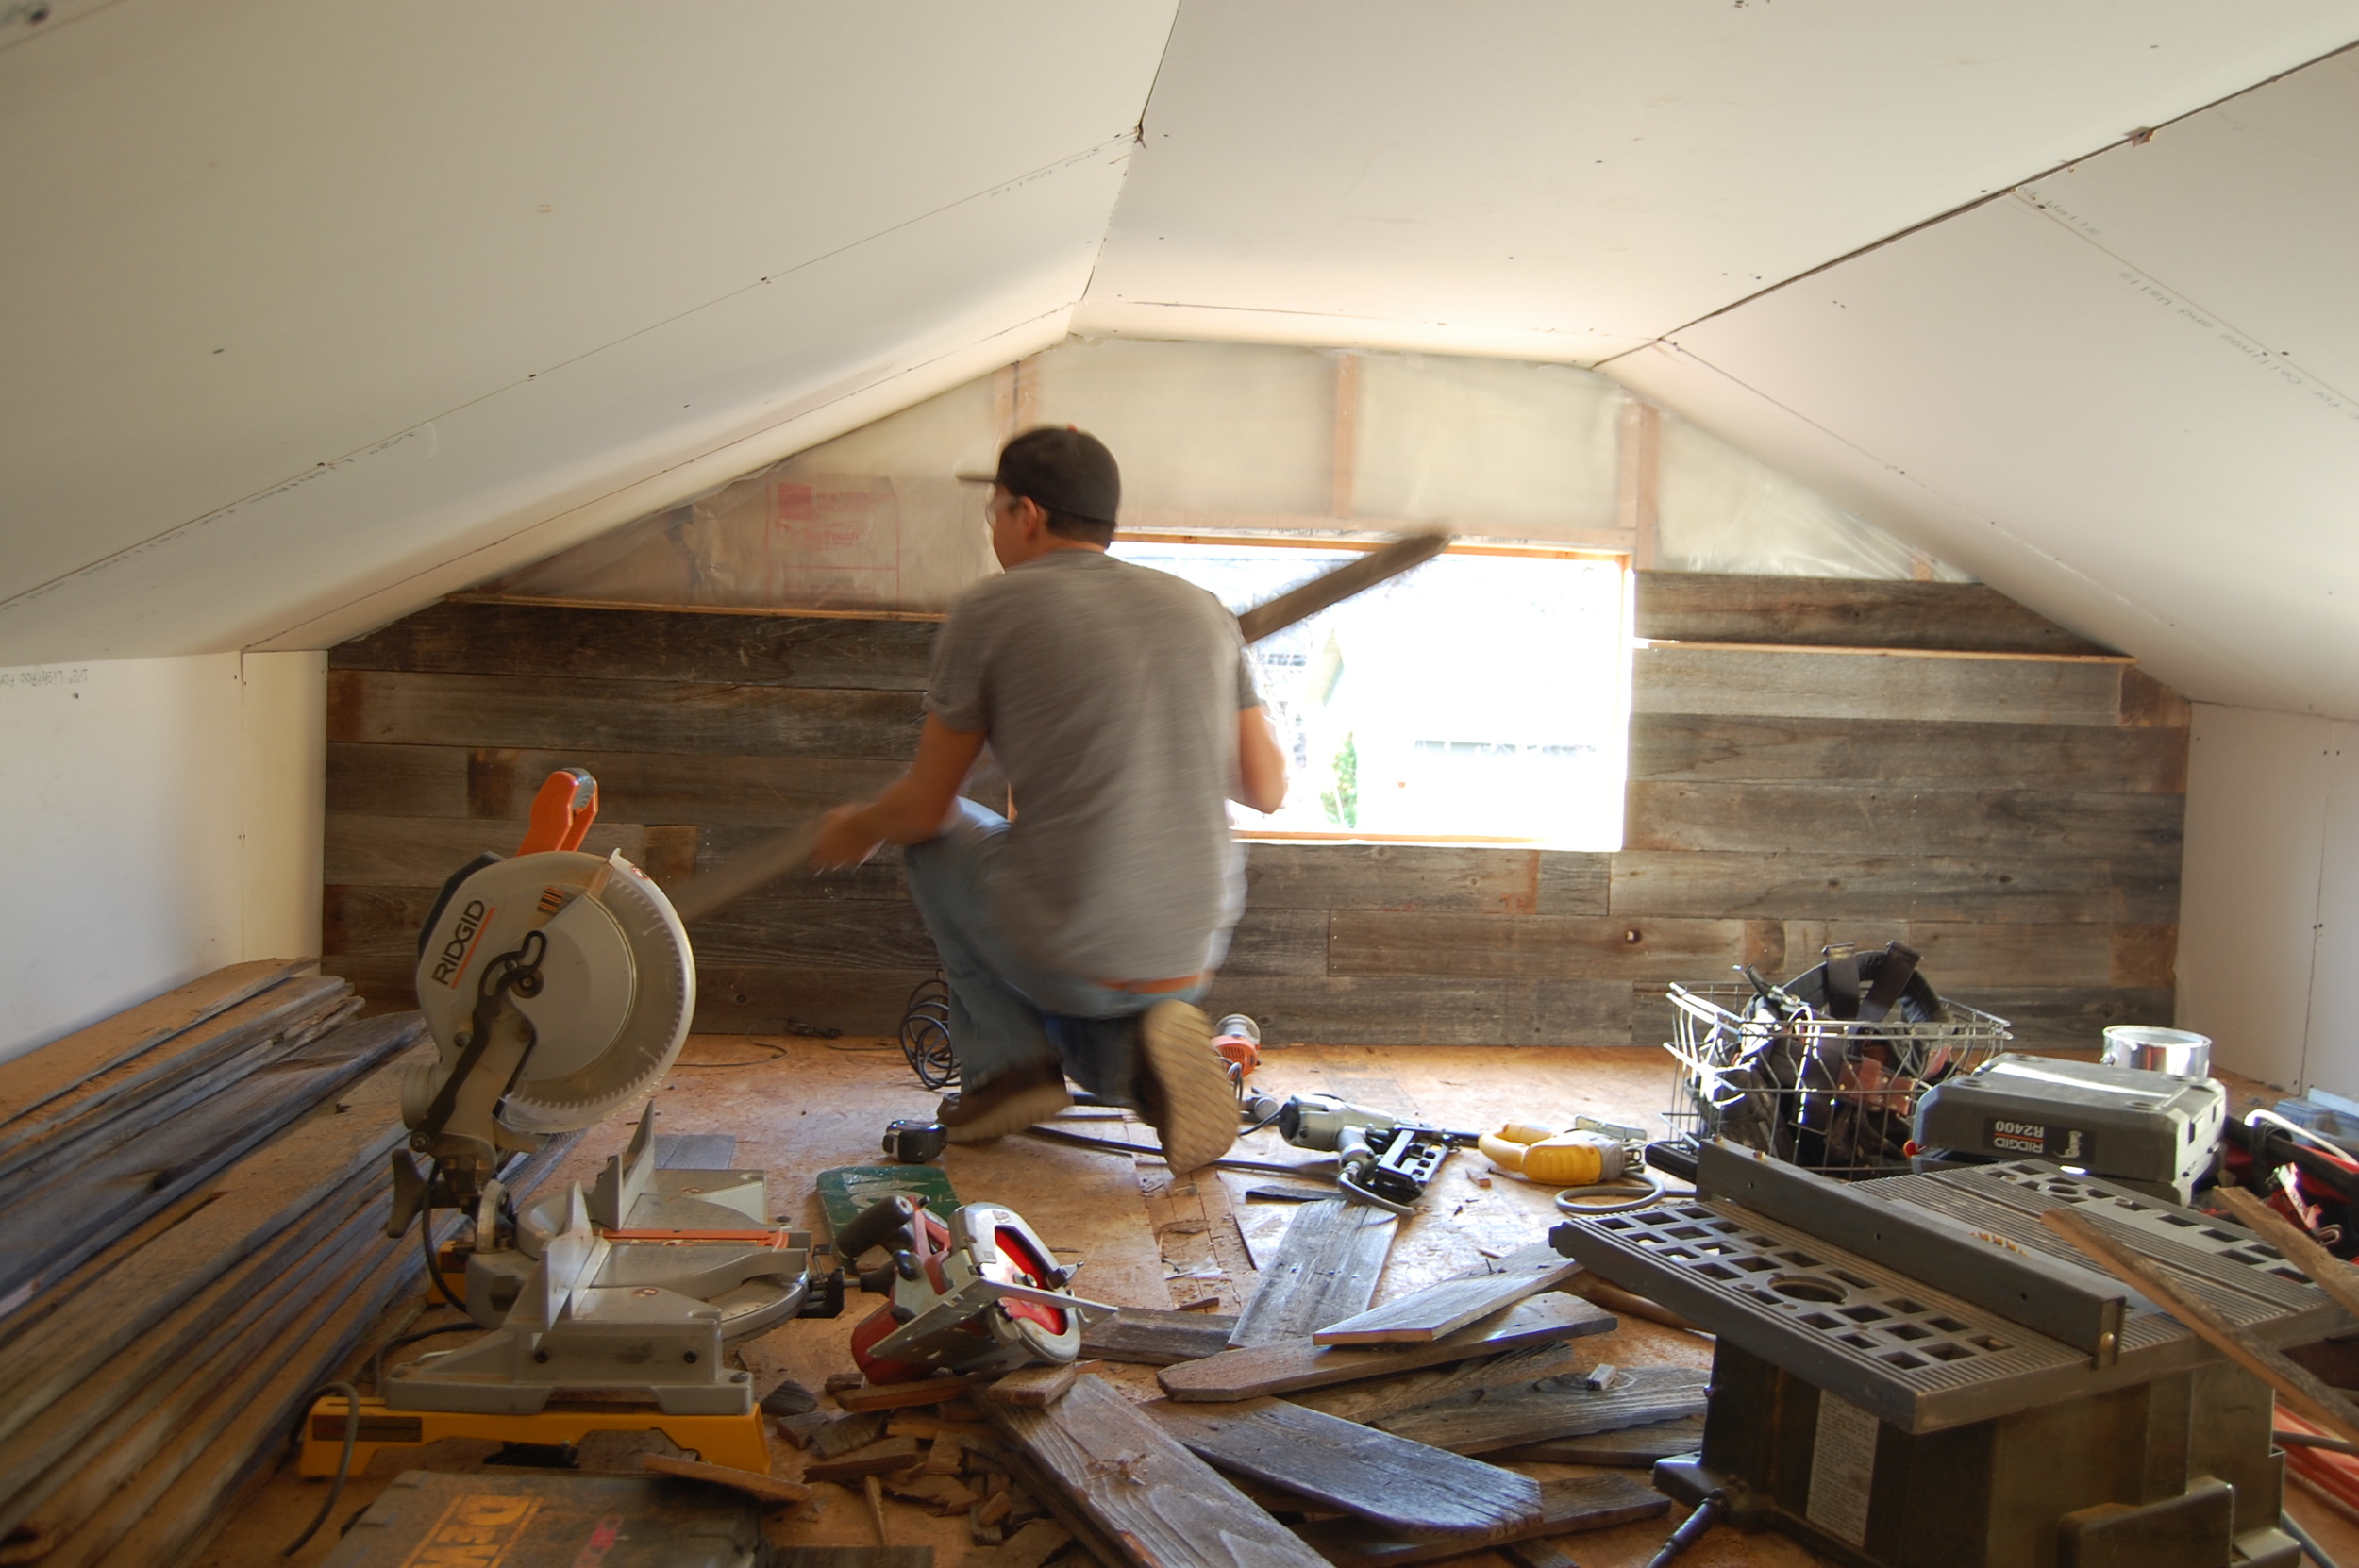
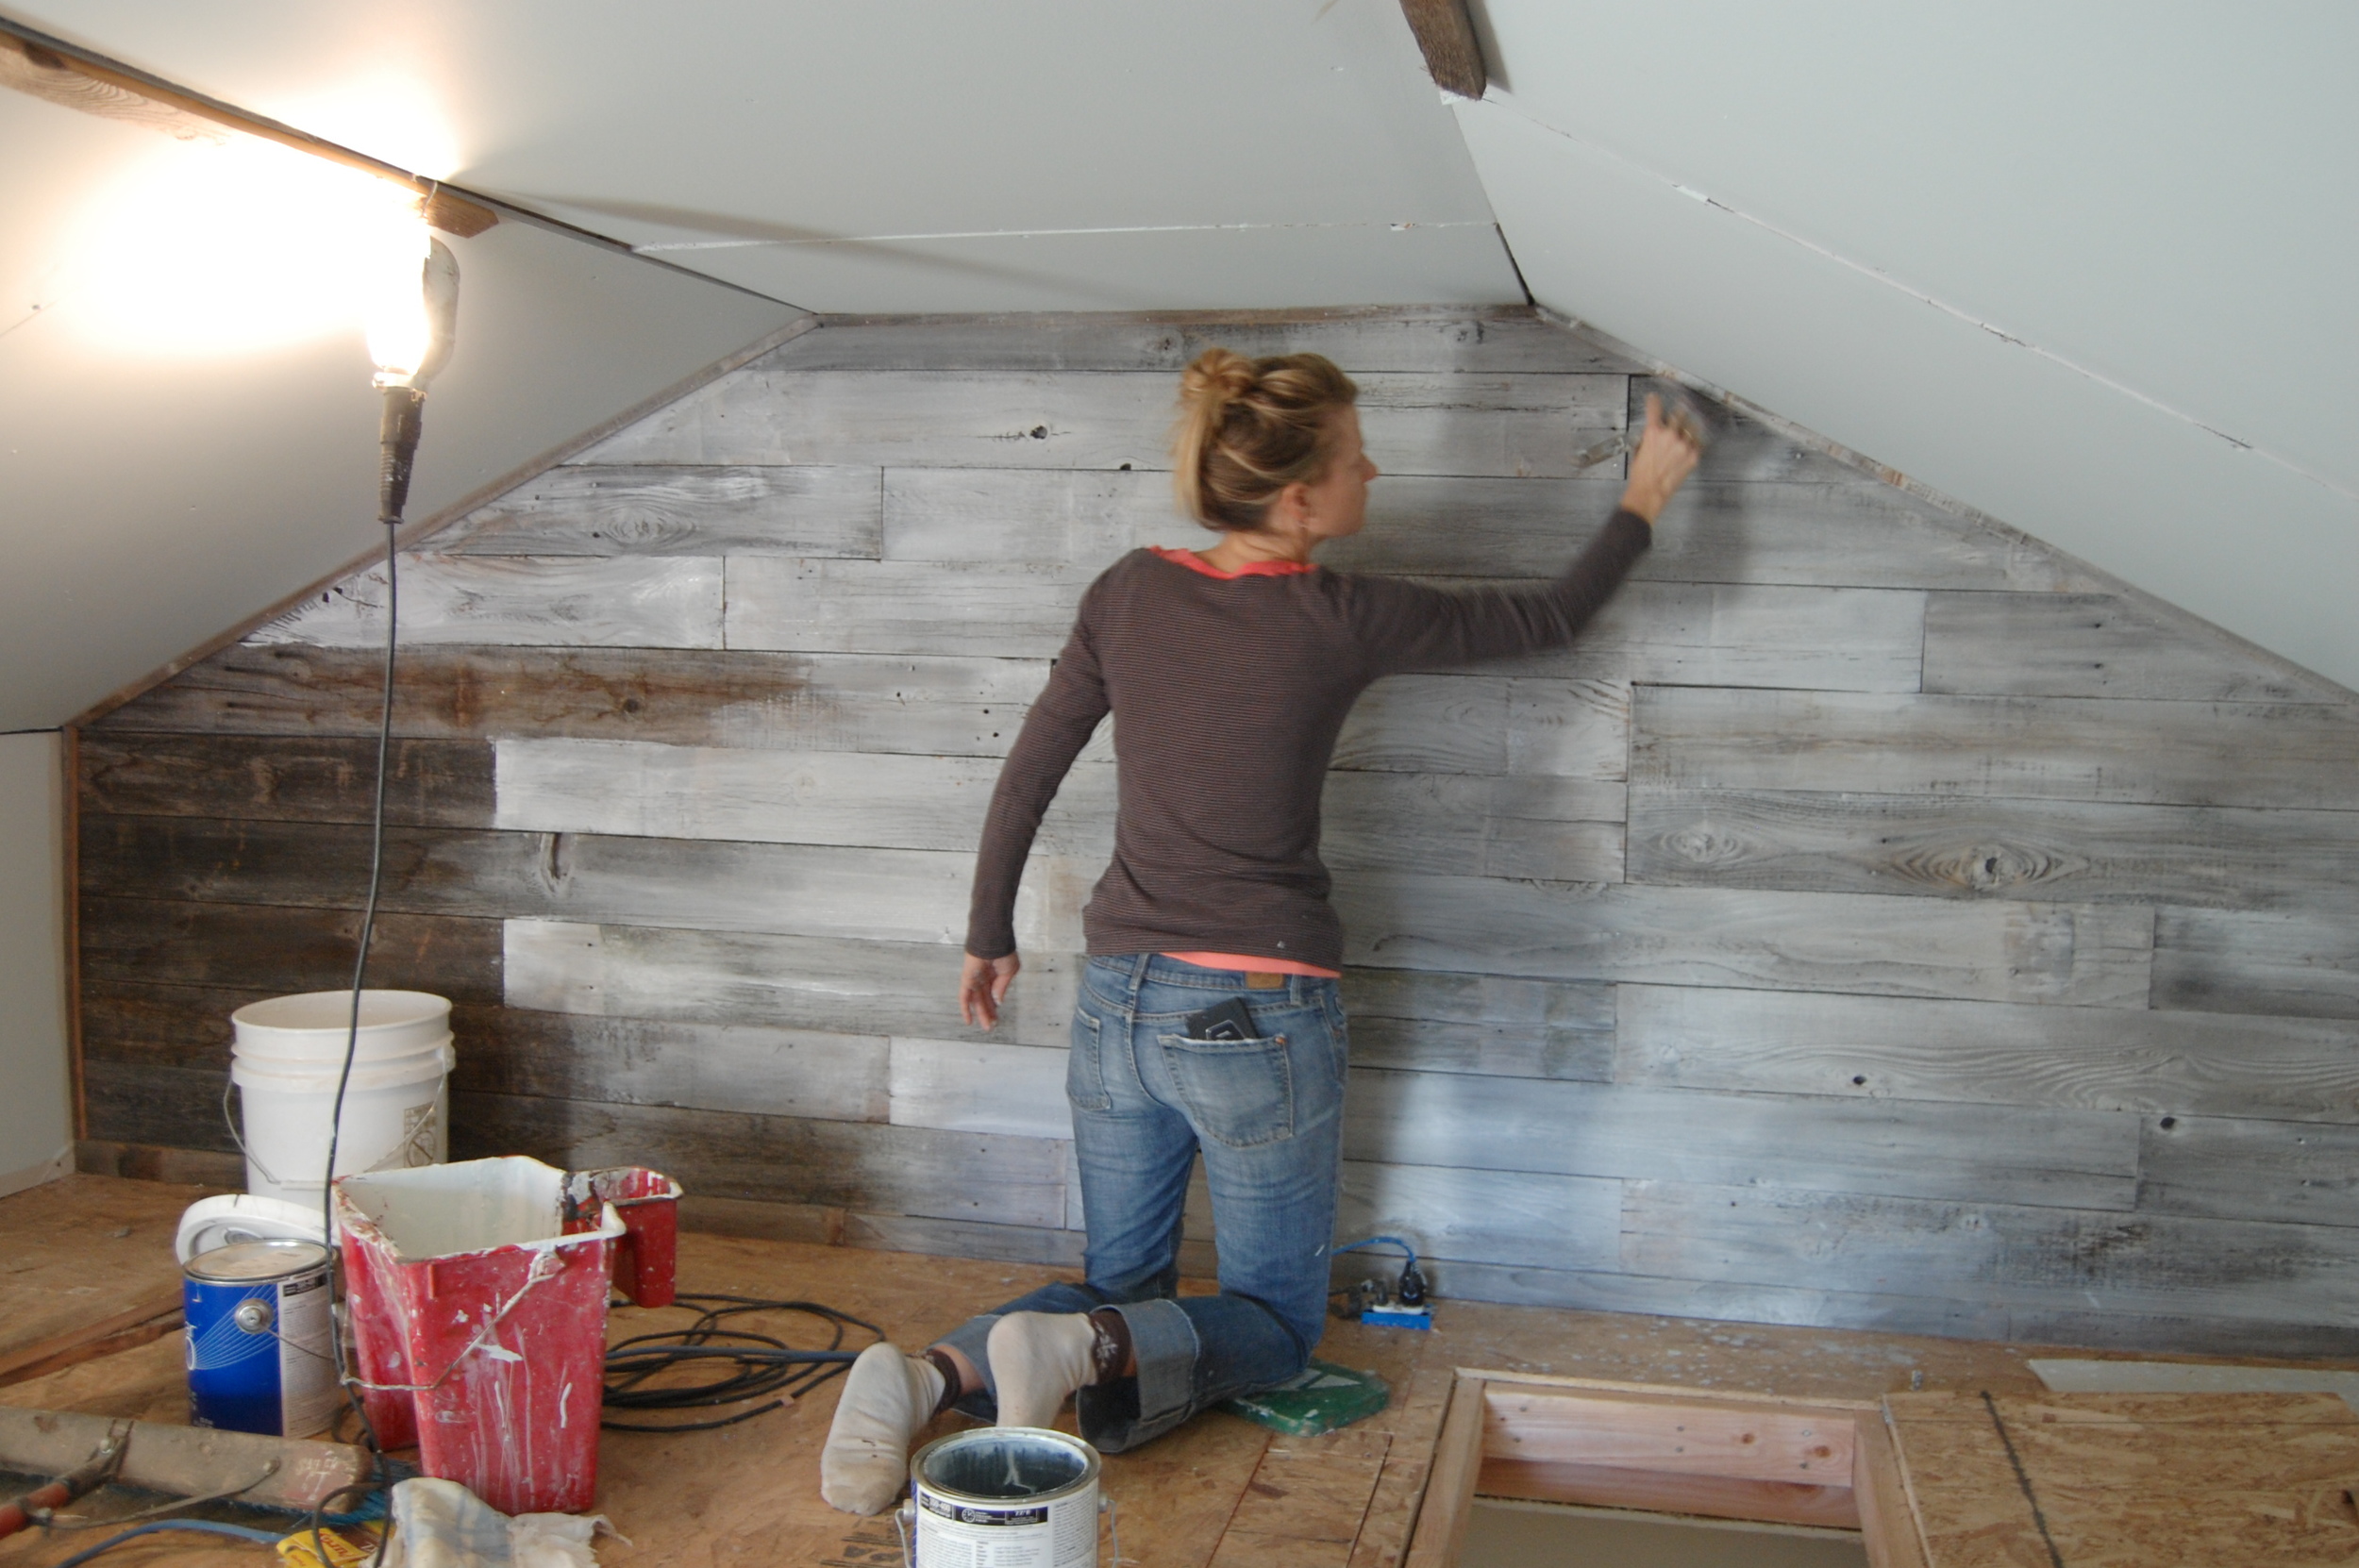
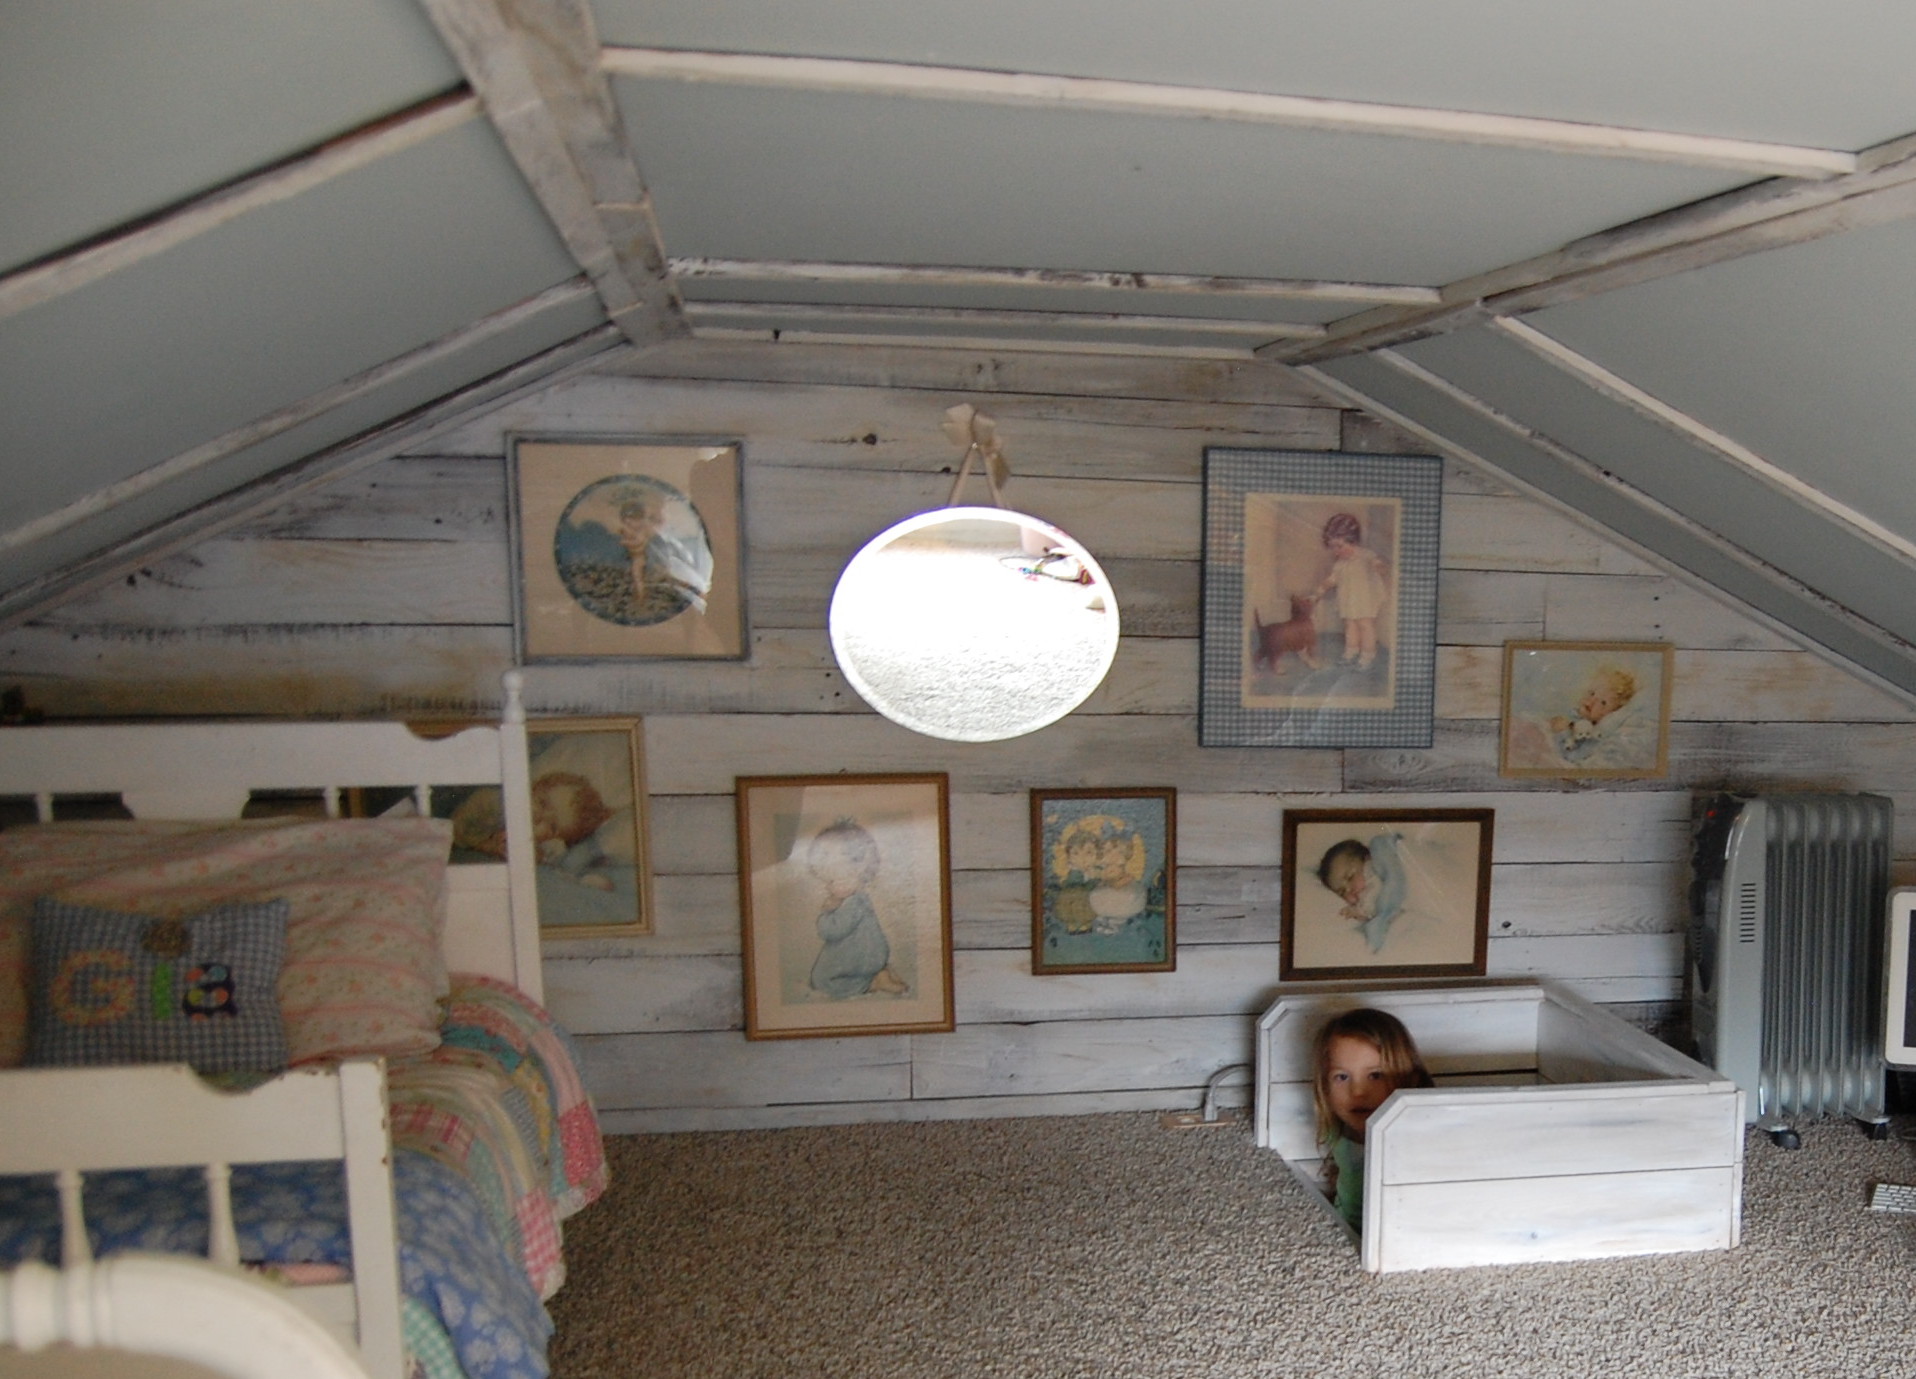
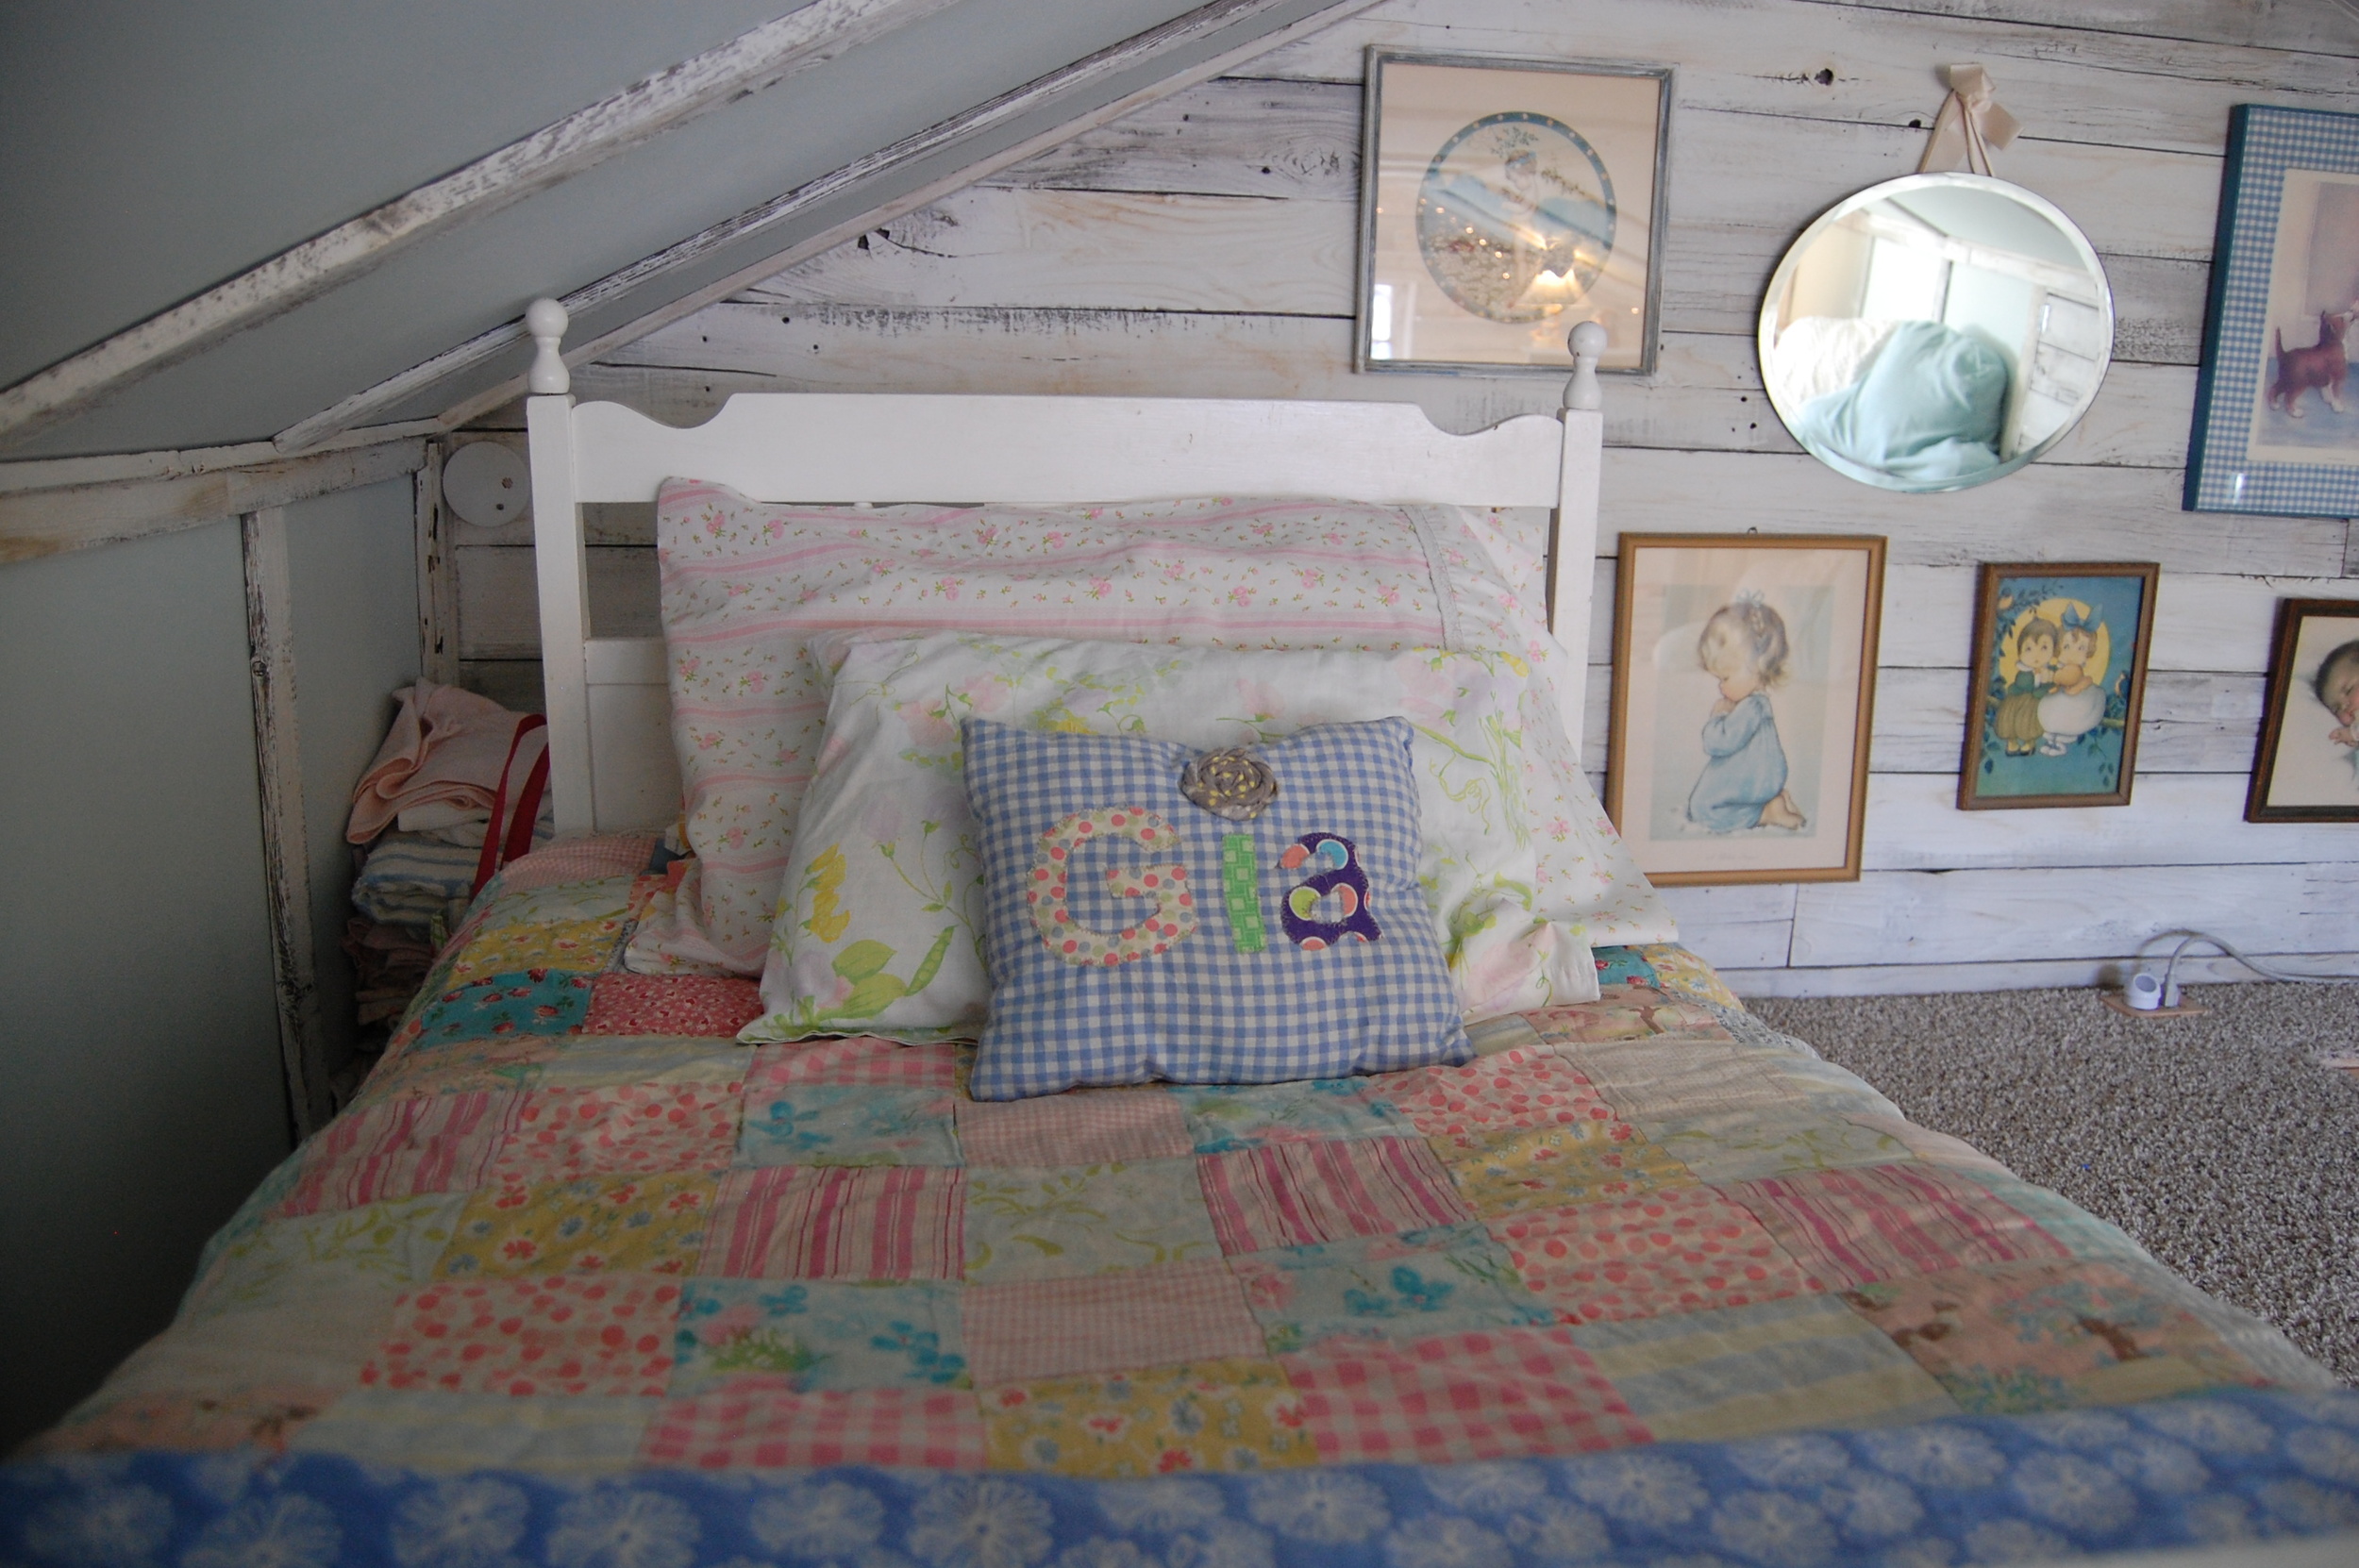
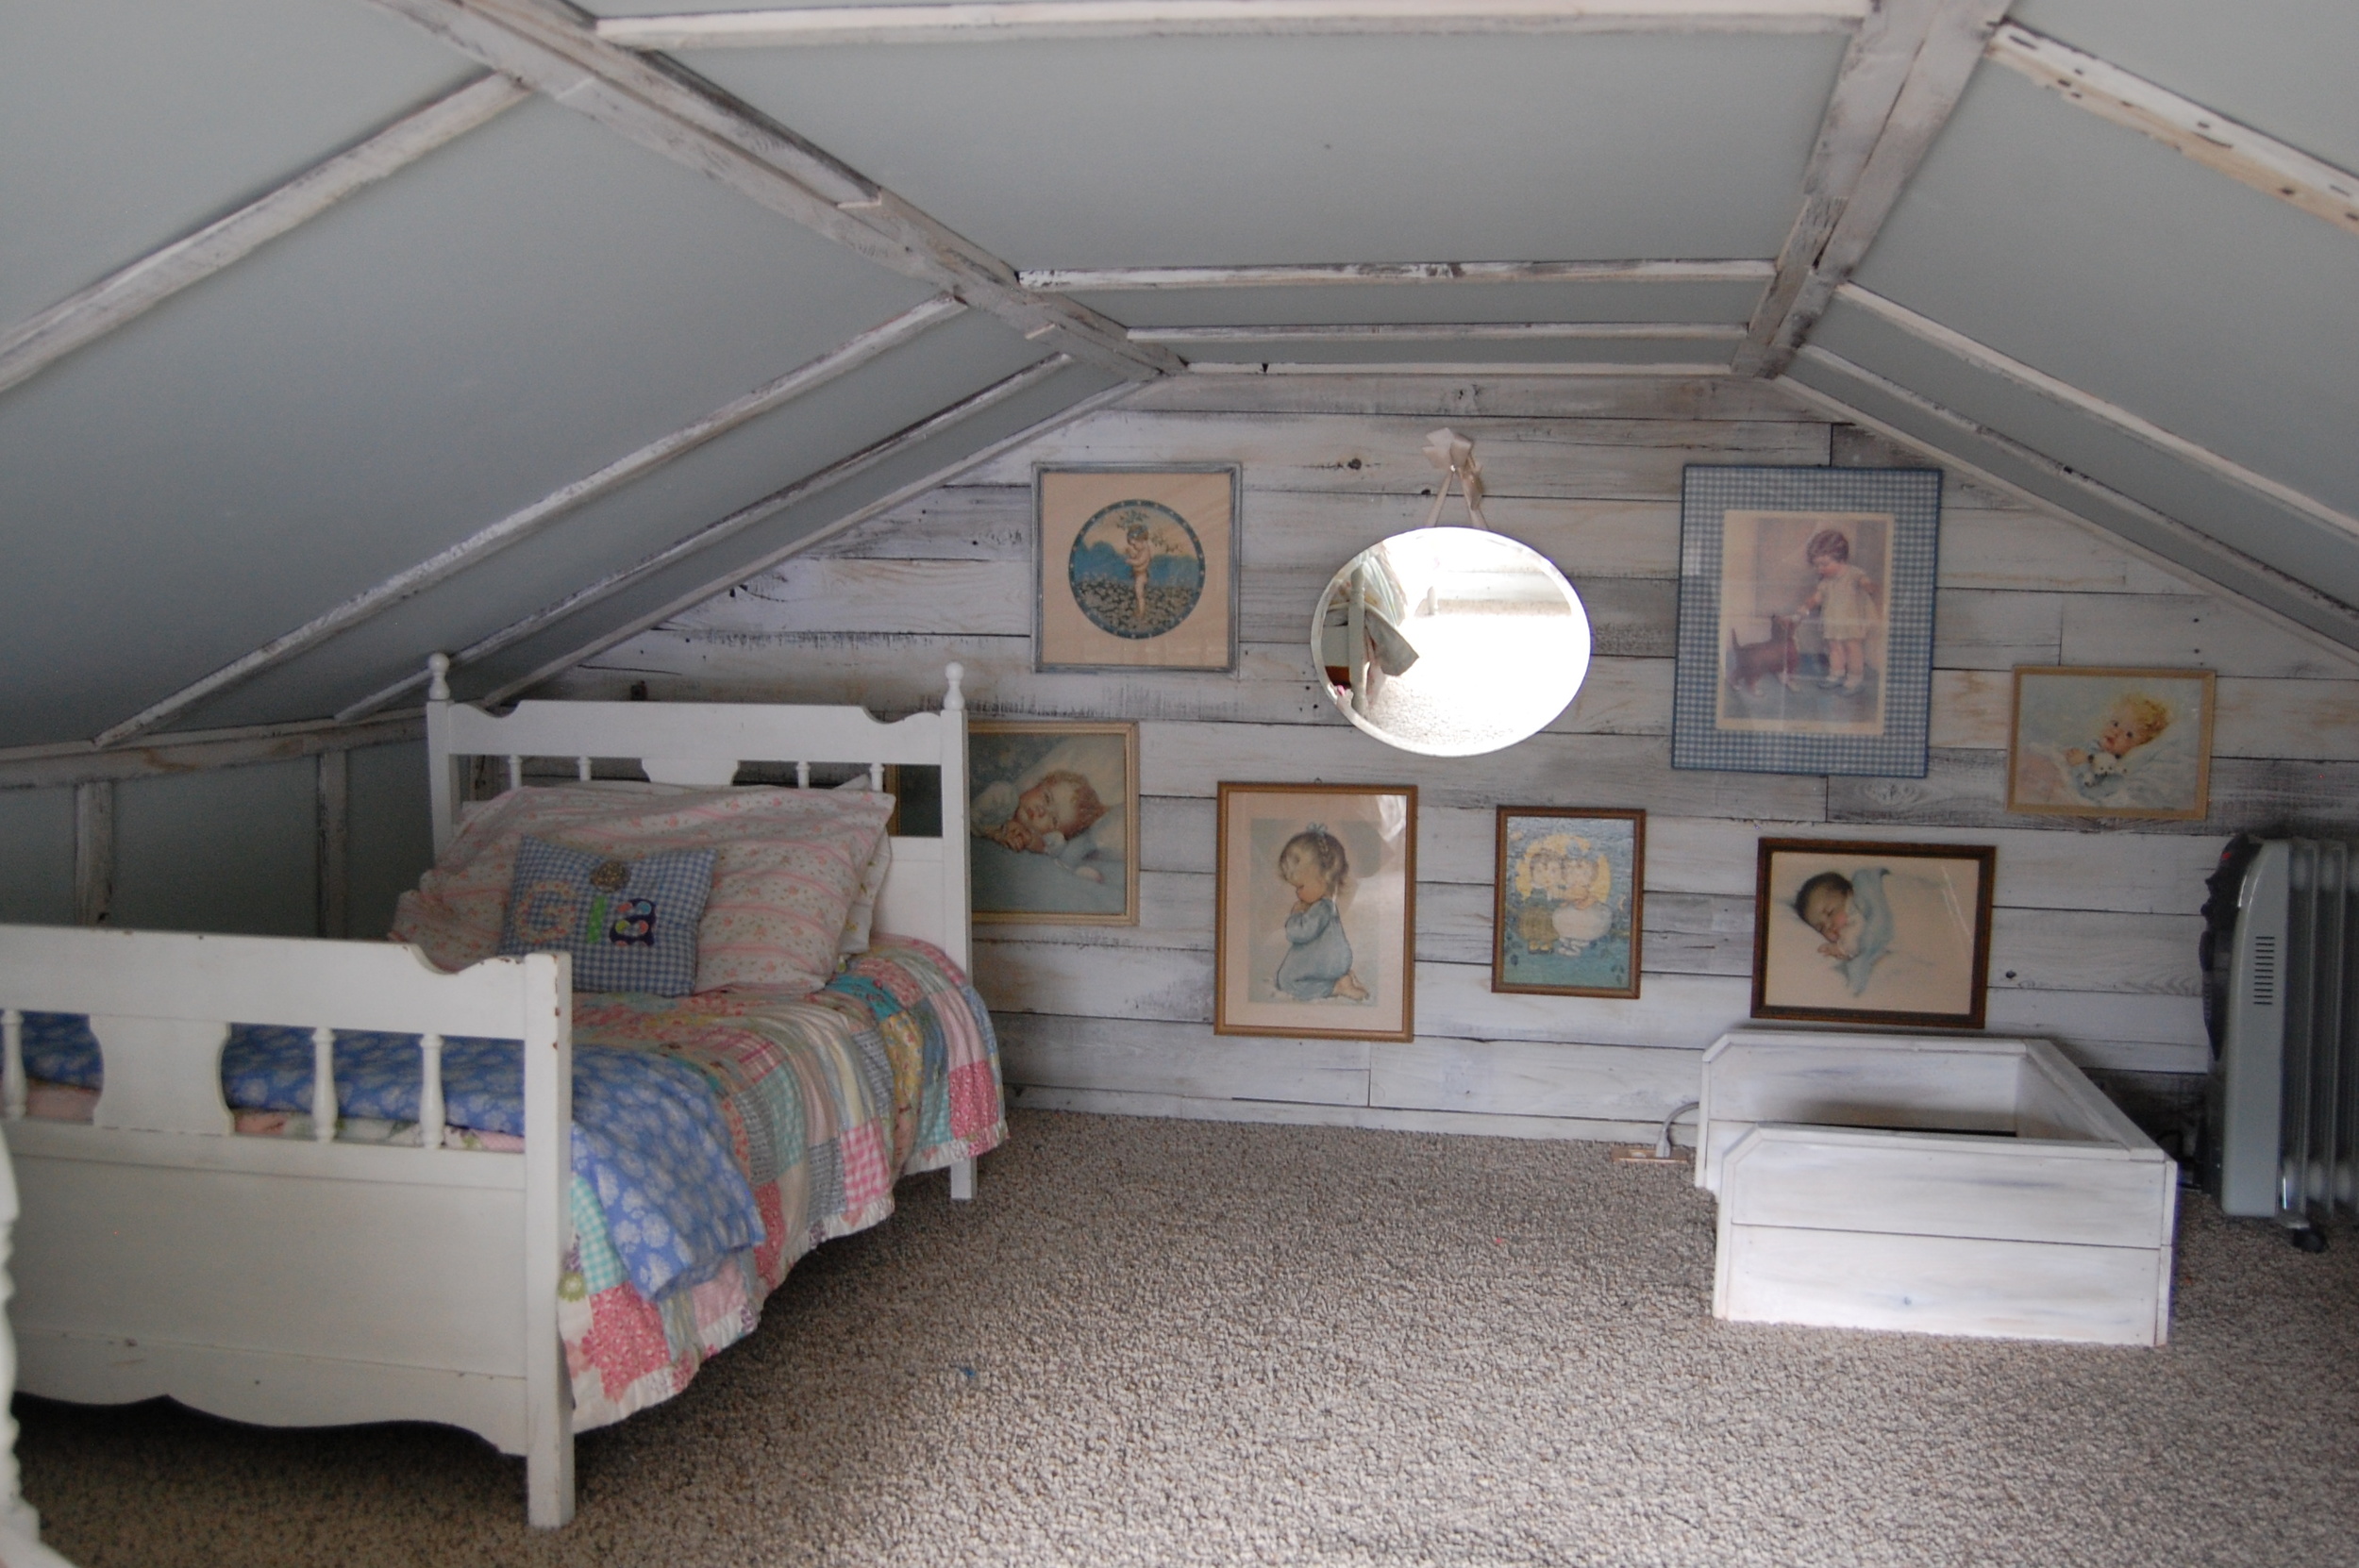
We paneled both ends of the room with the cedar fence panels (just like the greenhouse).

Don't you love how I say 'we'... when I clearly mean 'he'?

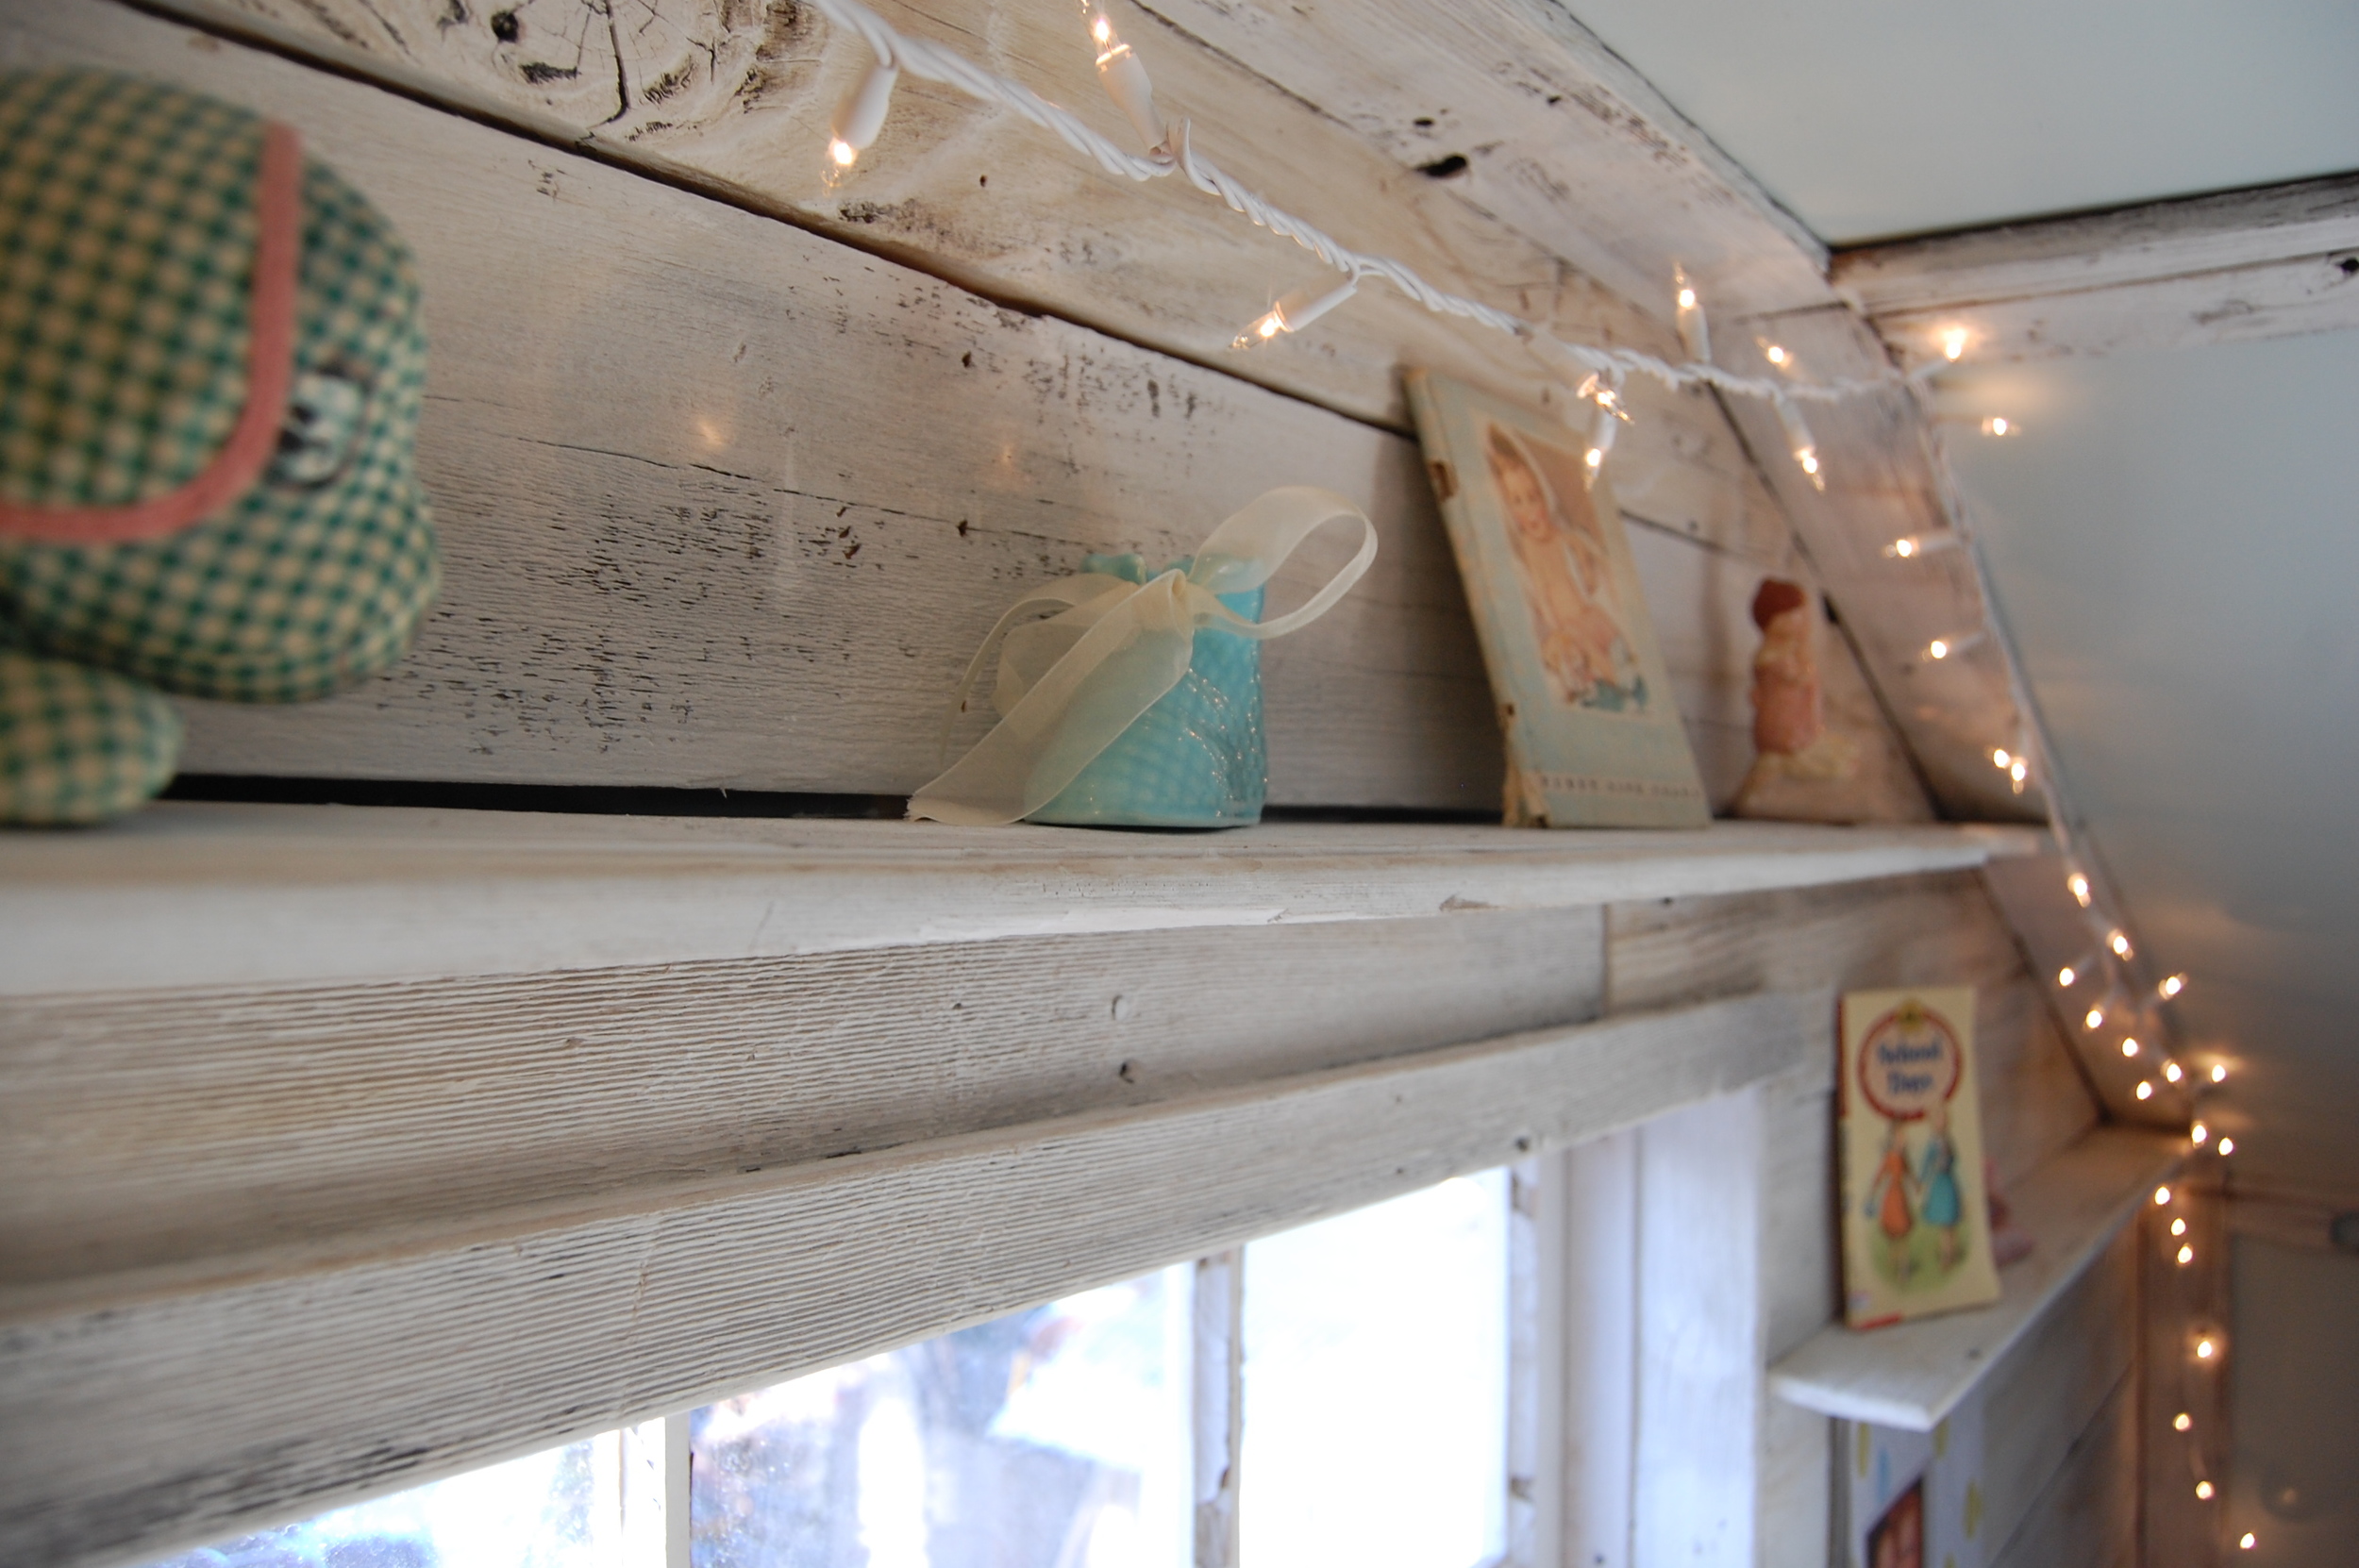
After searching online, we saw a great idea  - to put small shelves into the wall's paneling - so we (he) put those in on the window (west) wall.

DSC_0018

Once both walls were paneled, we used an idea we'd found in a book where they used trim to cover the seams of the drywall in an old cabin.  This creates a seamed/paneled look while avoiding the time consuming step of tape, mud & texturing the walls.  We had extra floor space to the south, so we were also able to add a long storage space with doors to store sleeping bags, toys and such...DSC_0085

DSC_0042

DSC_0082

DSC_0084

DSC_0185

DSC_0177

DSC_0179

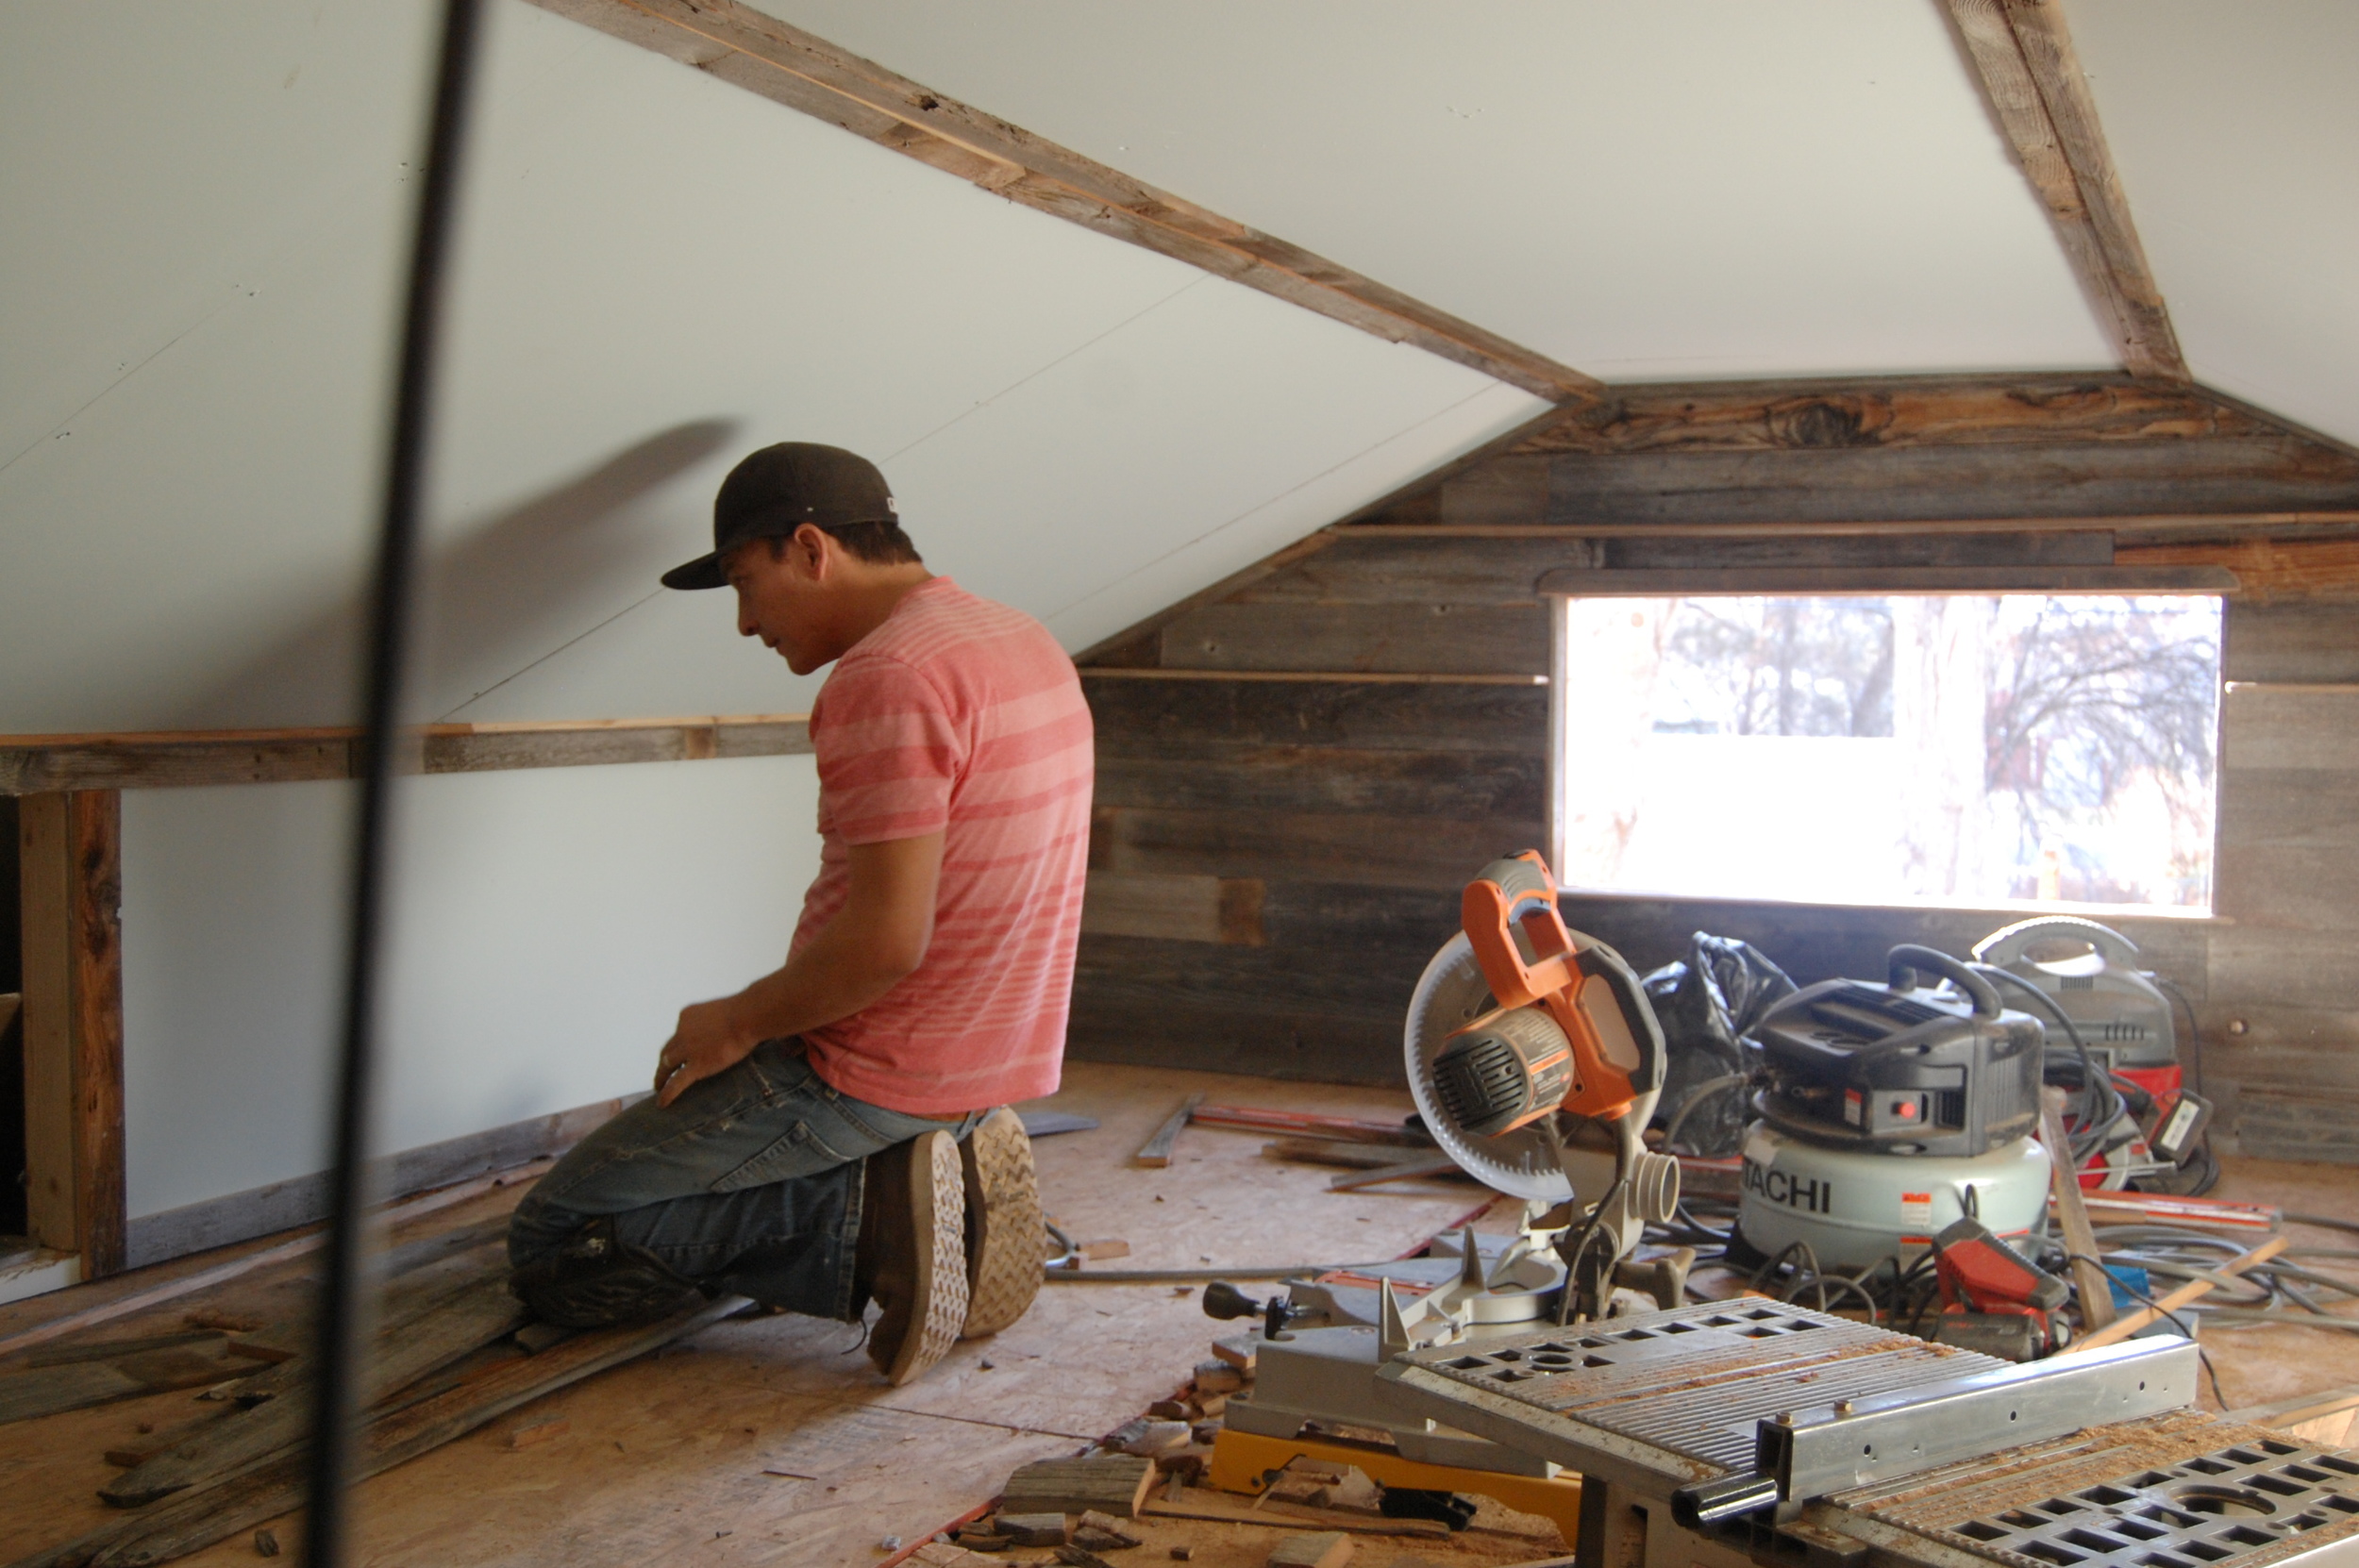
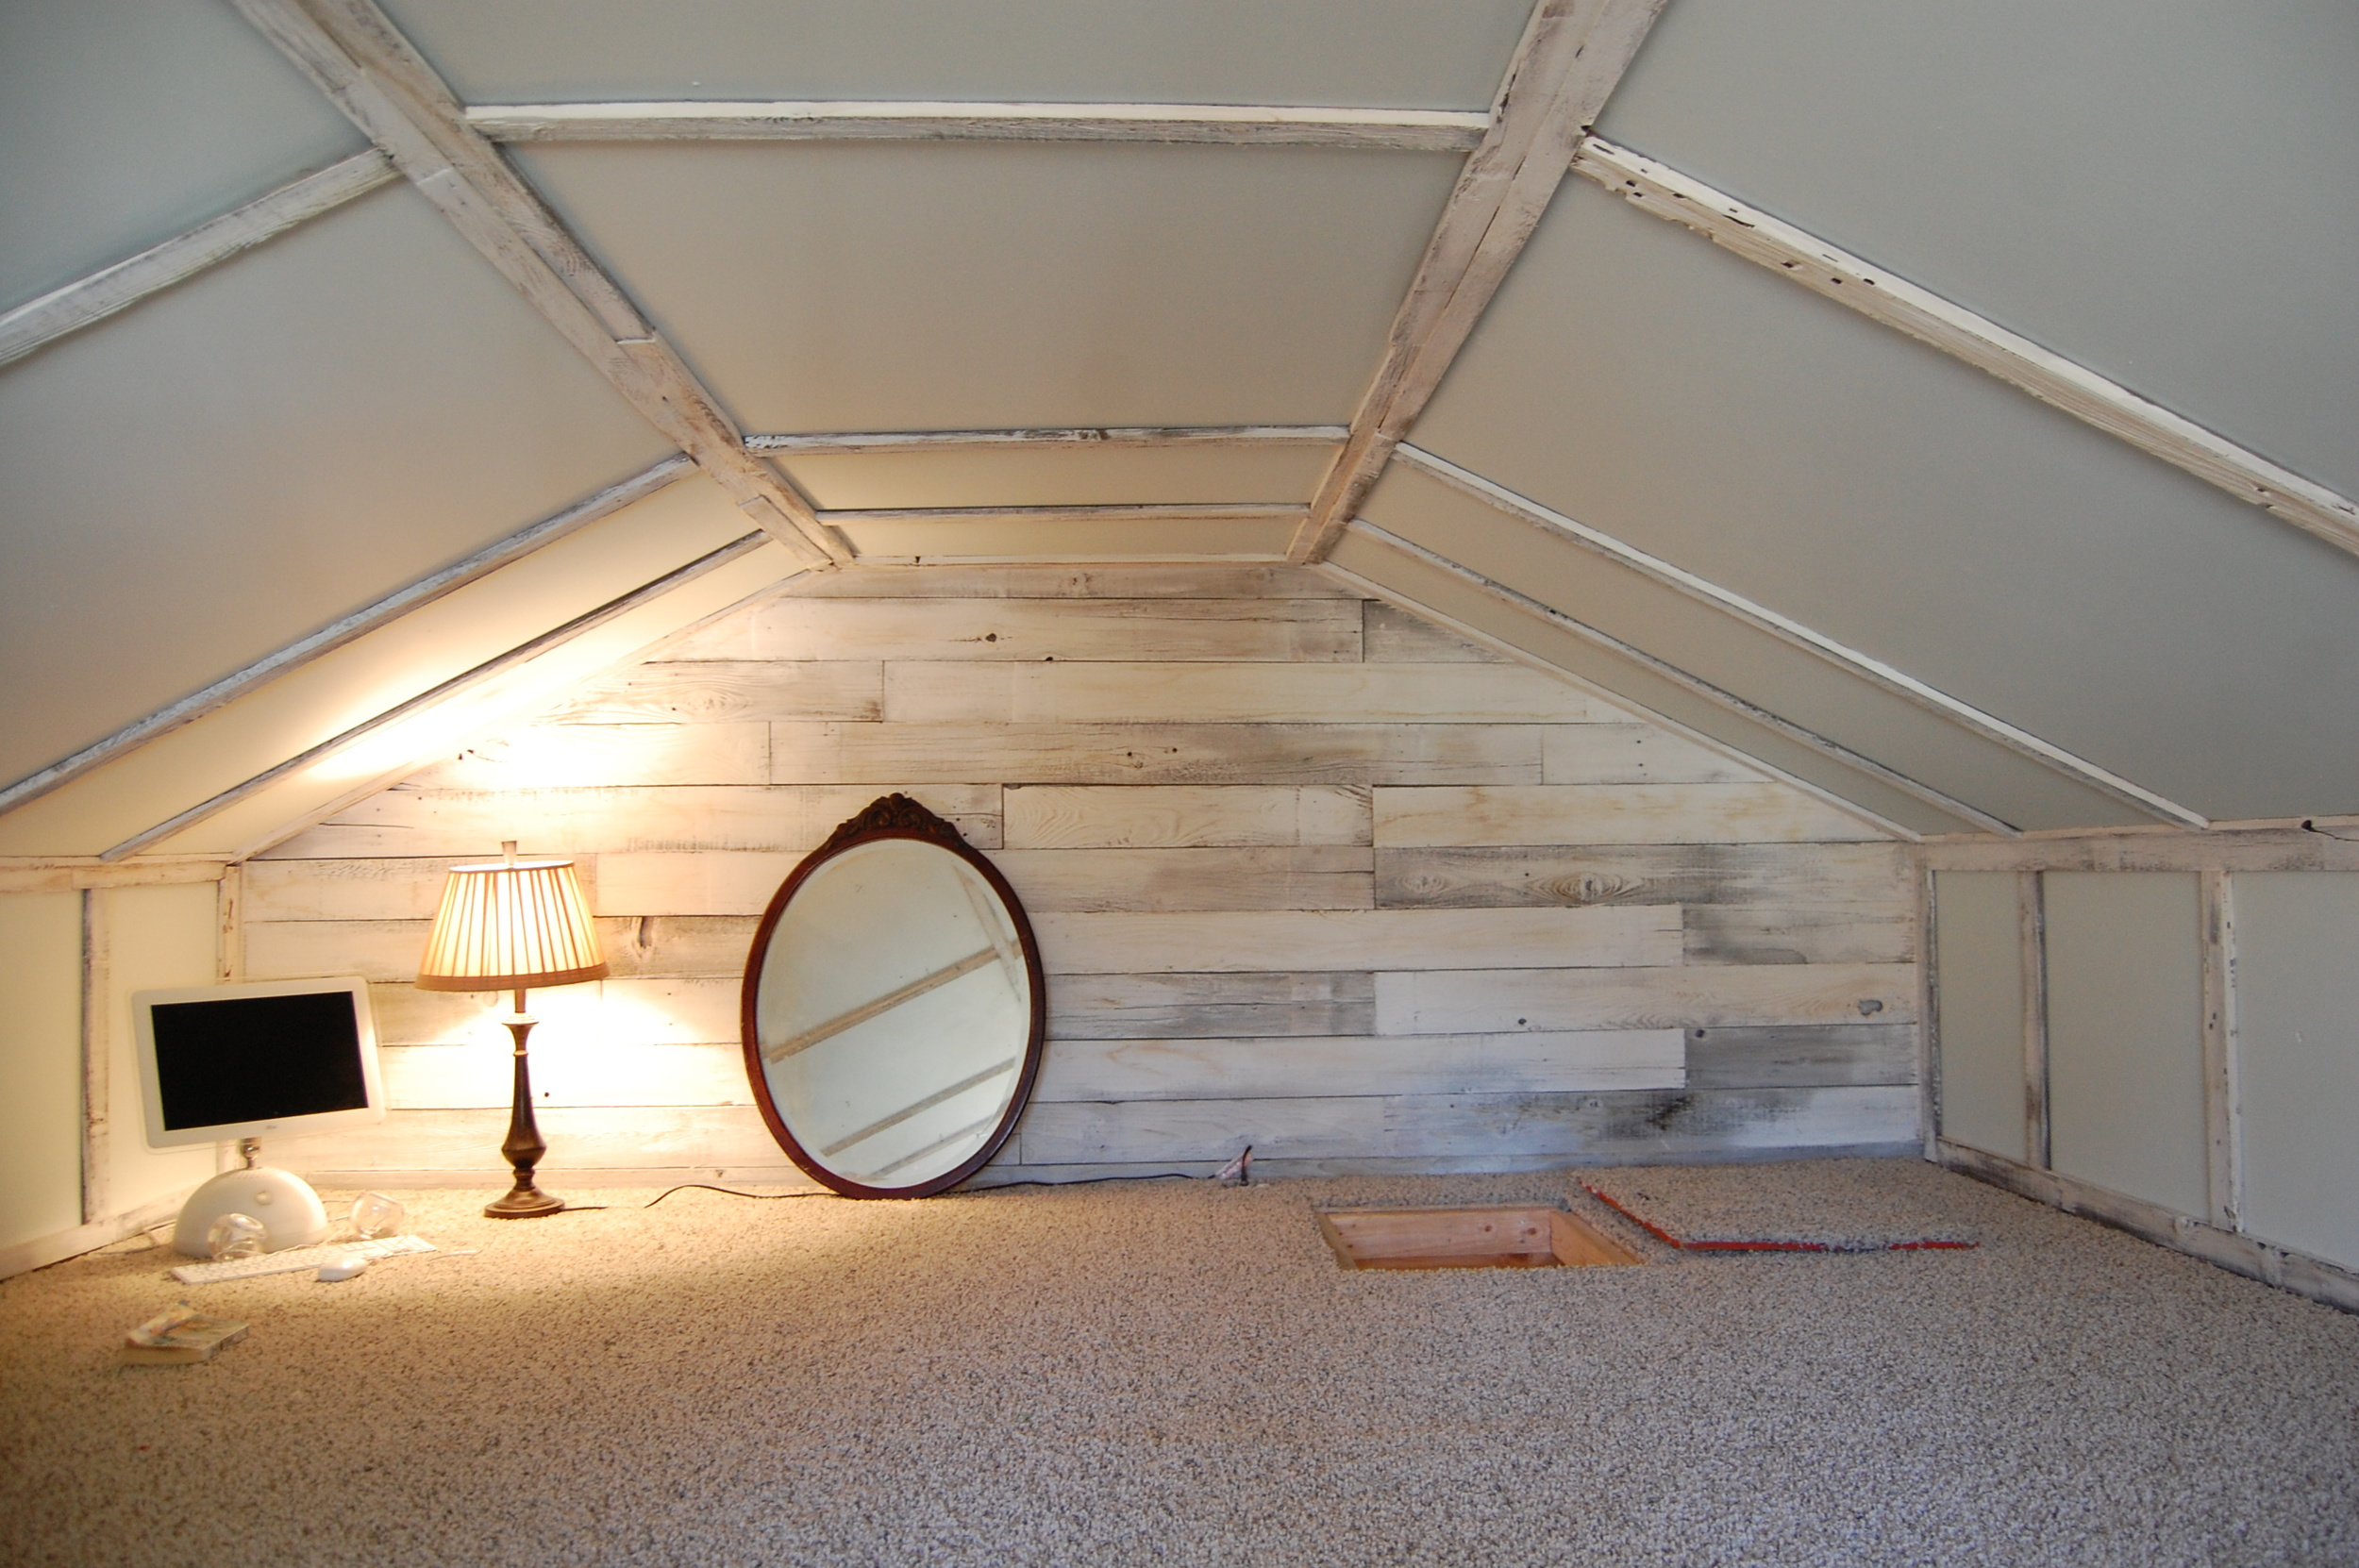
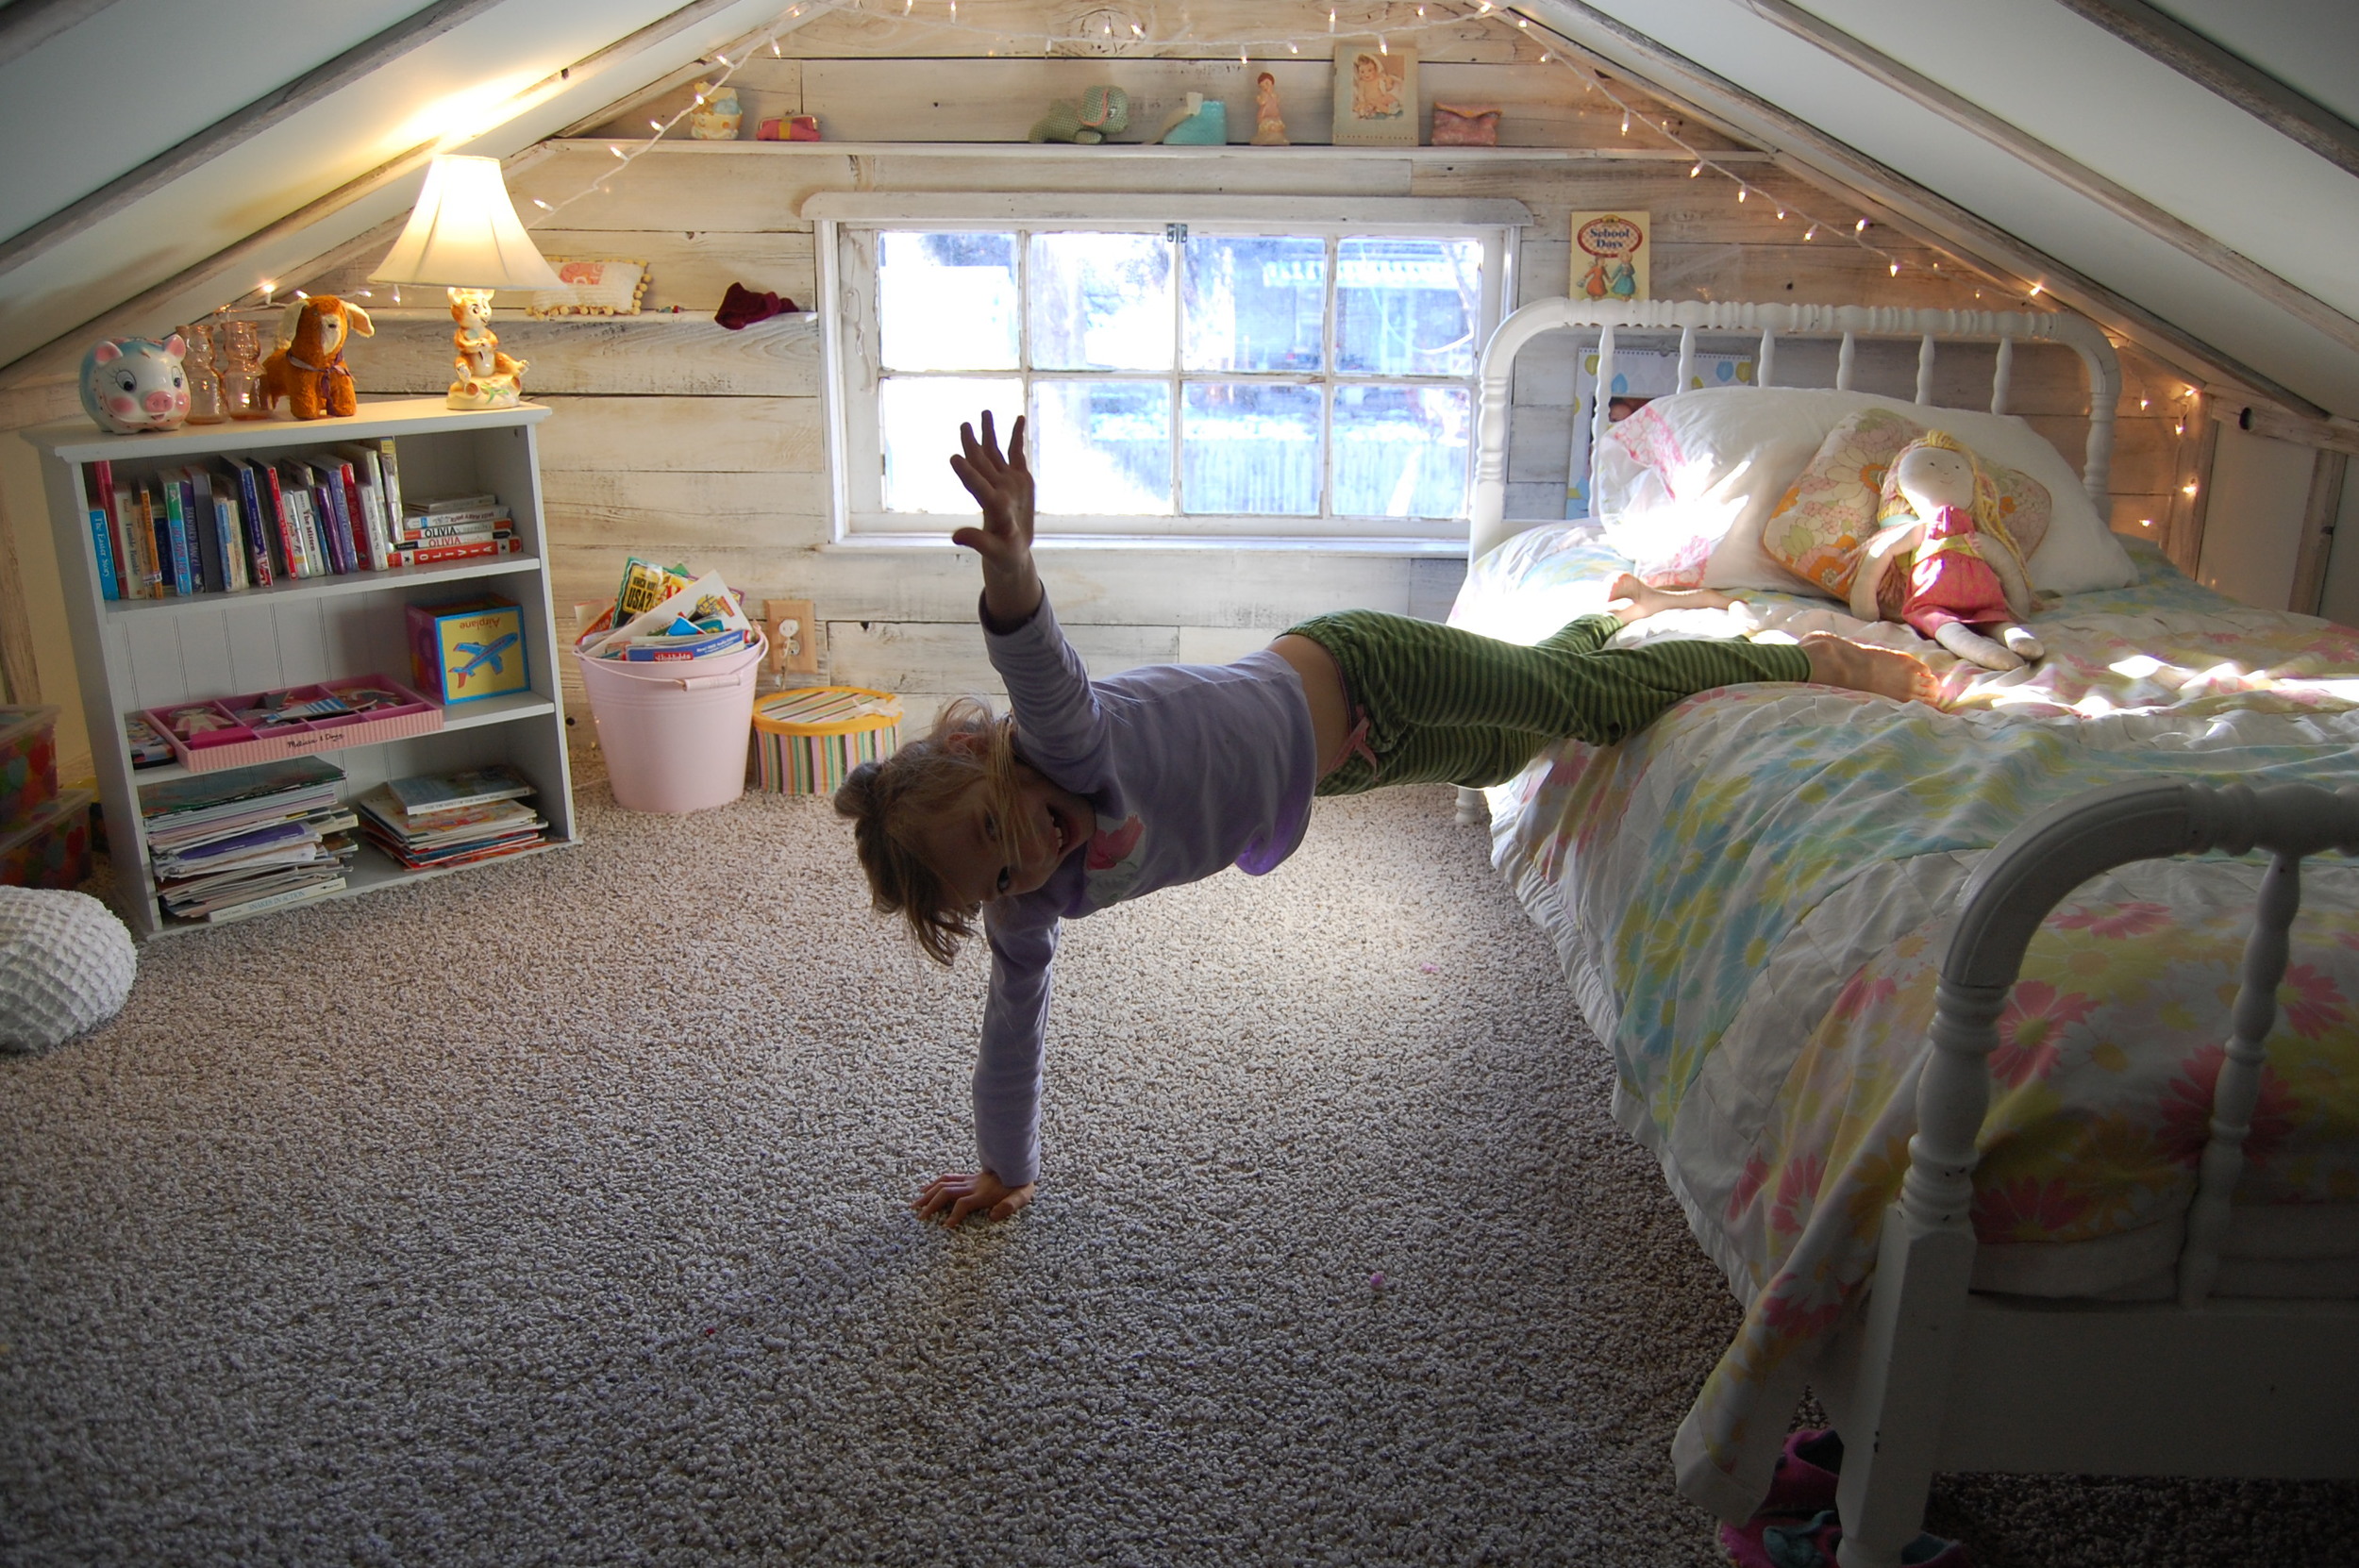
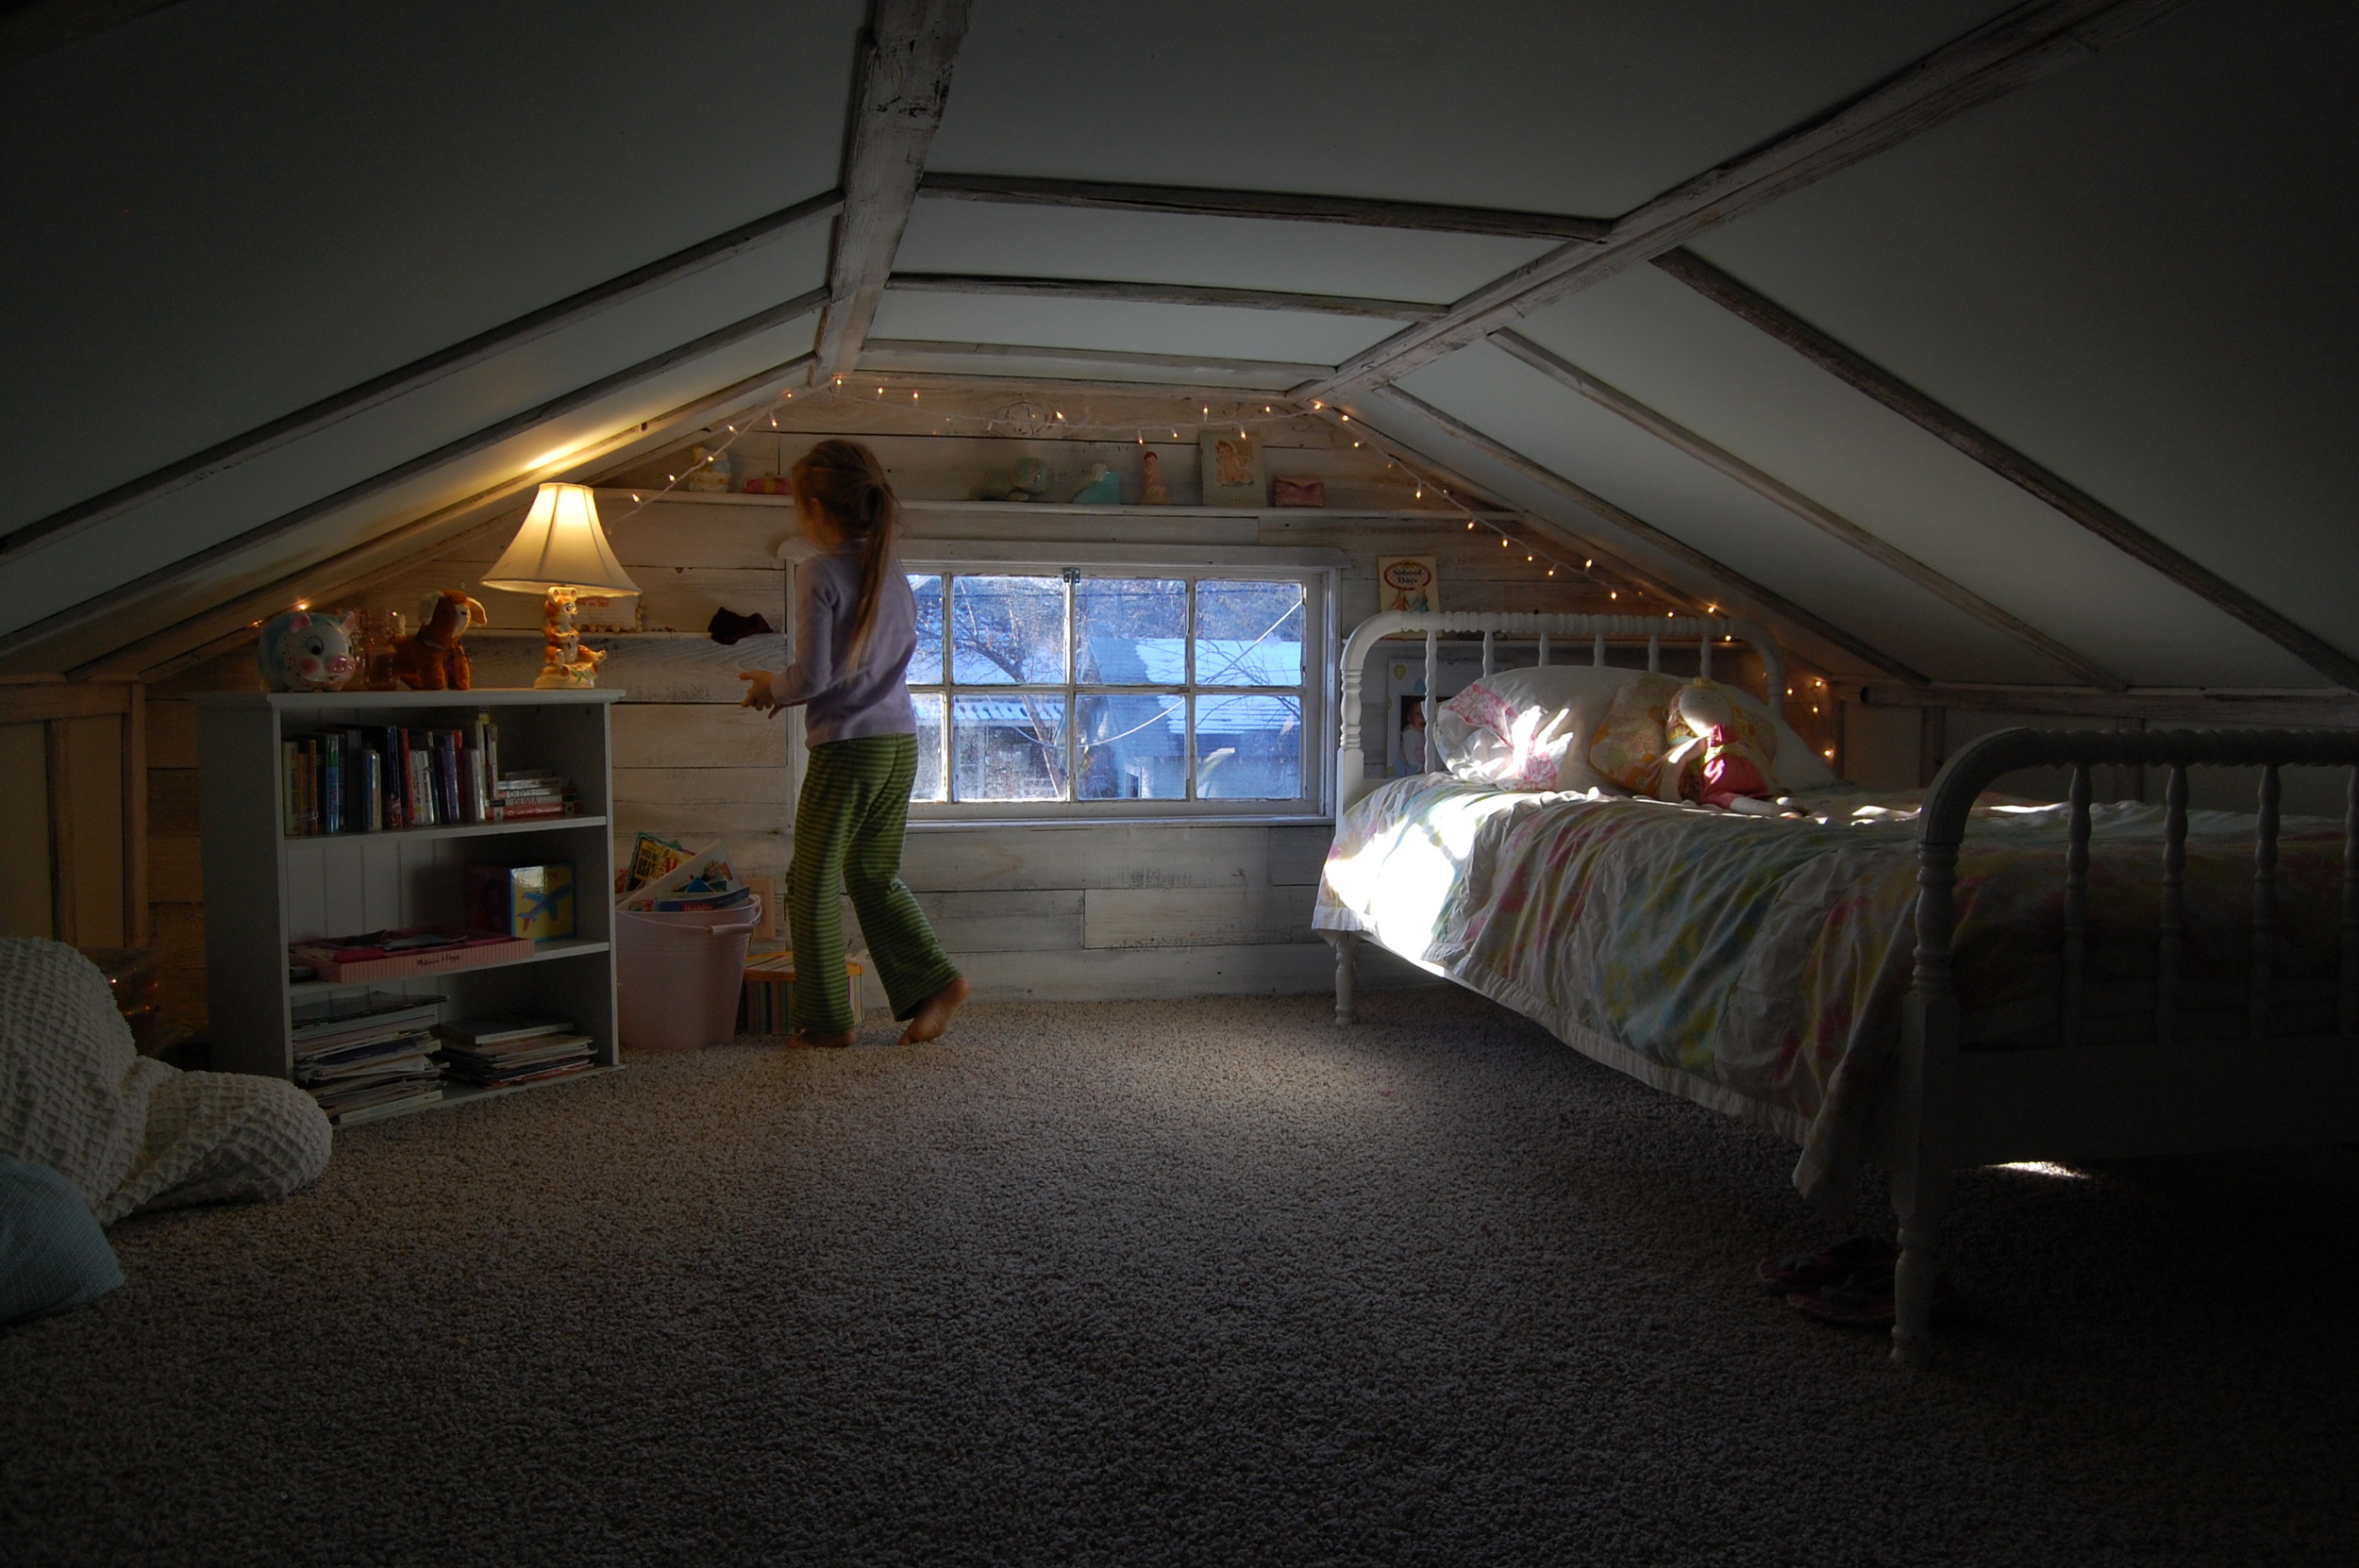
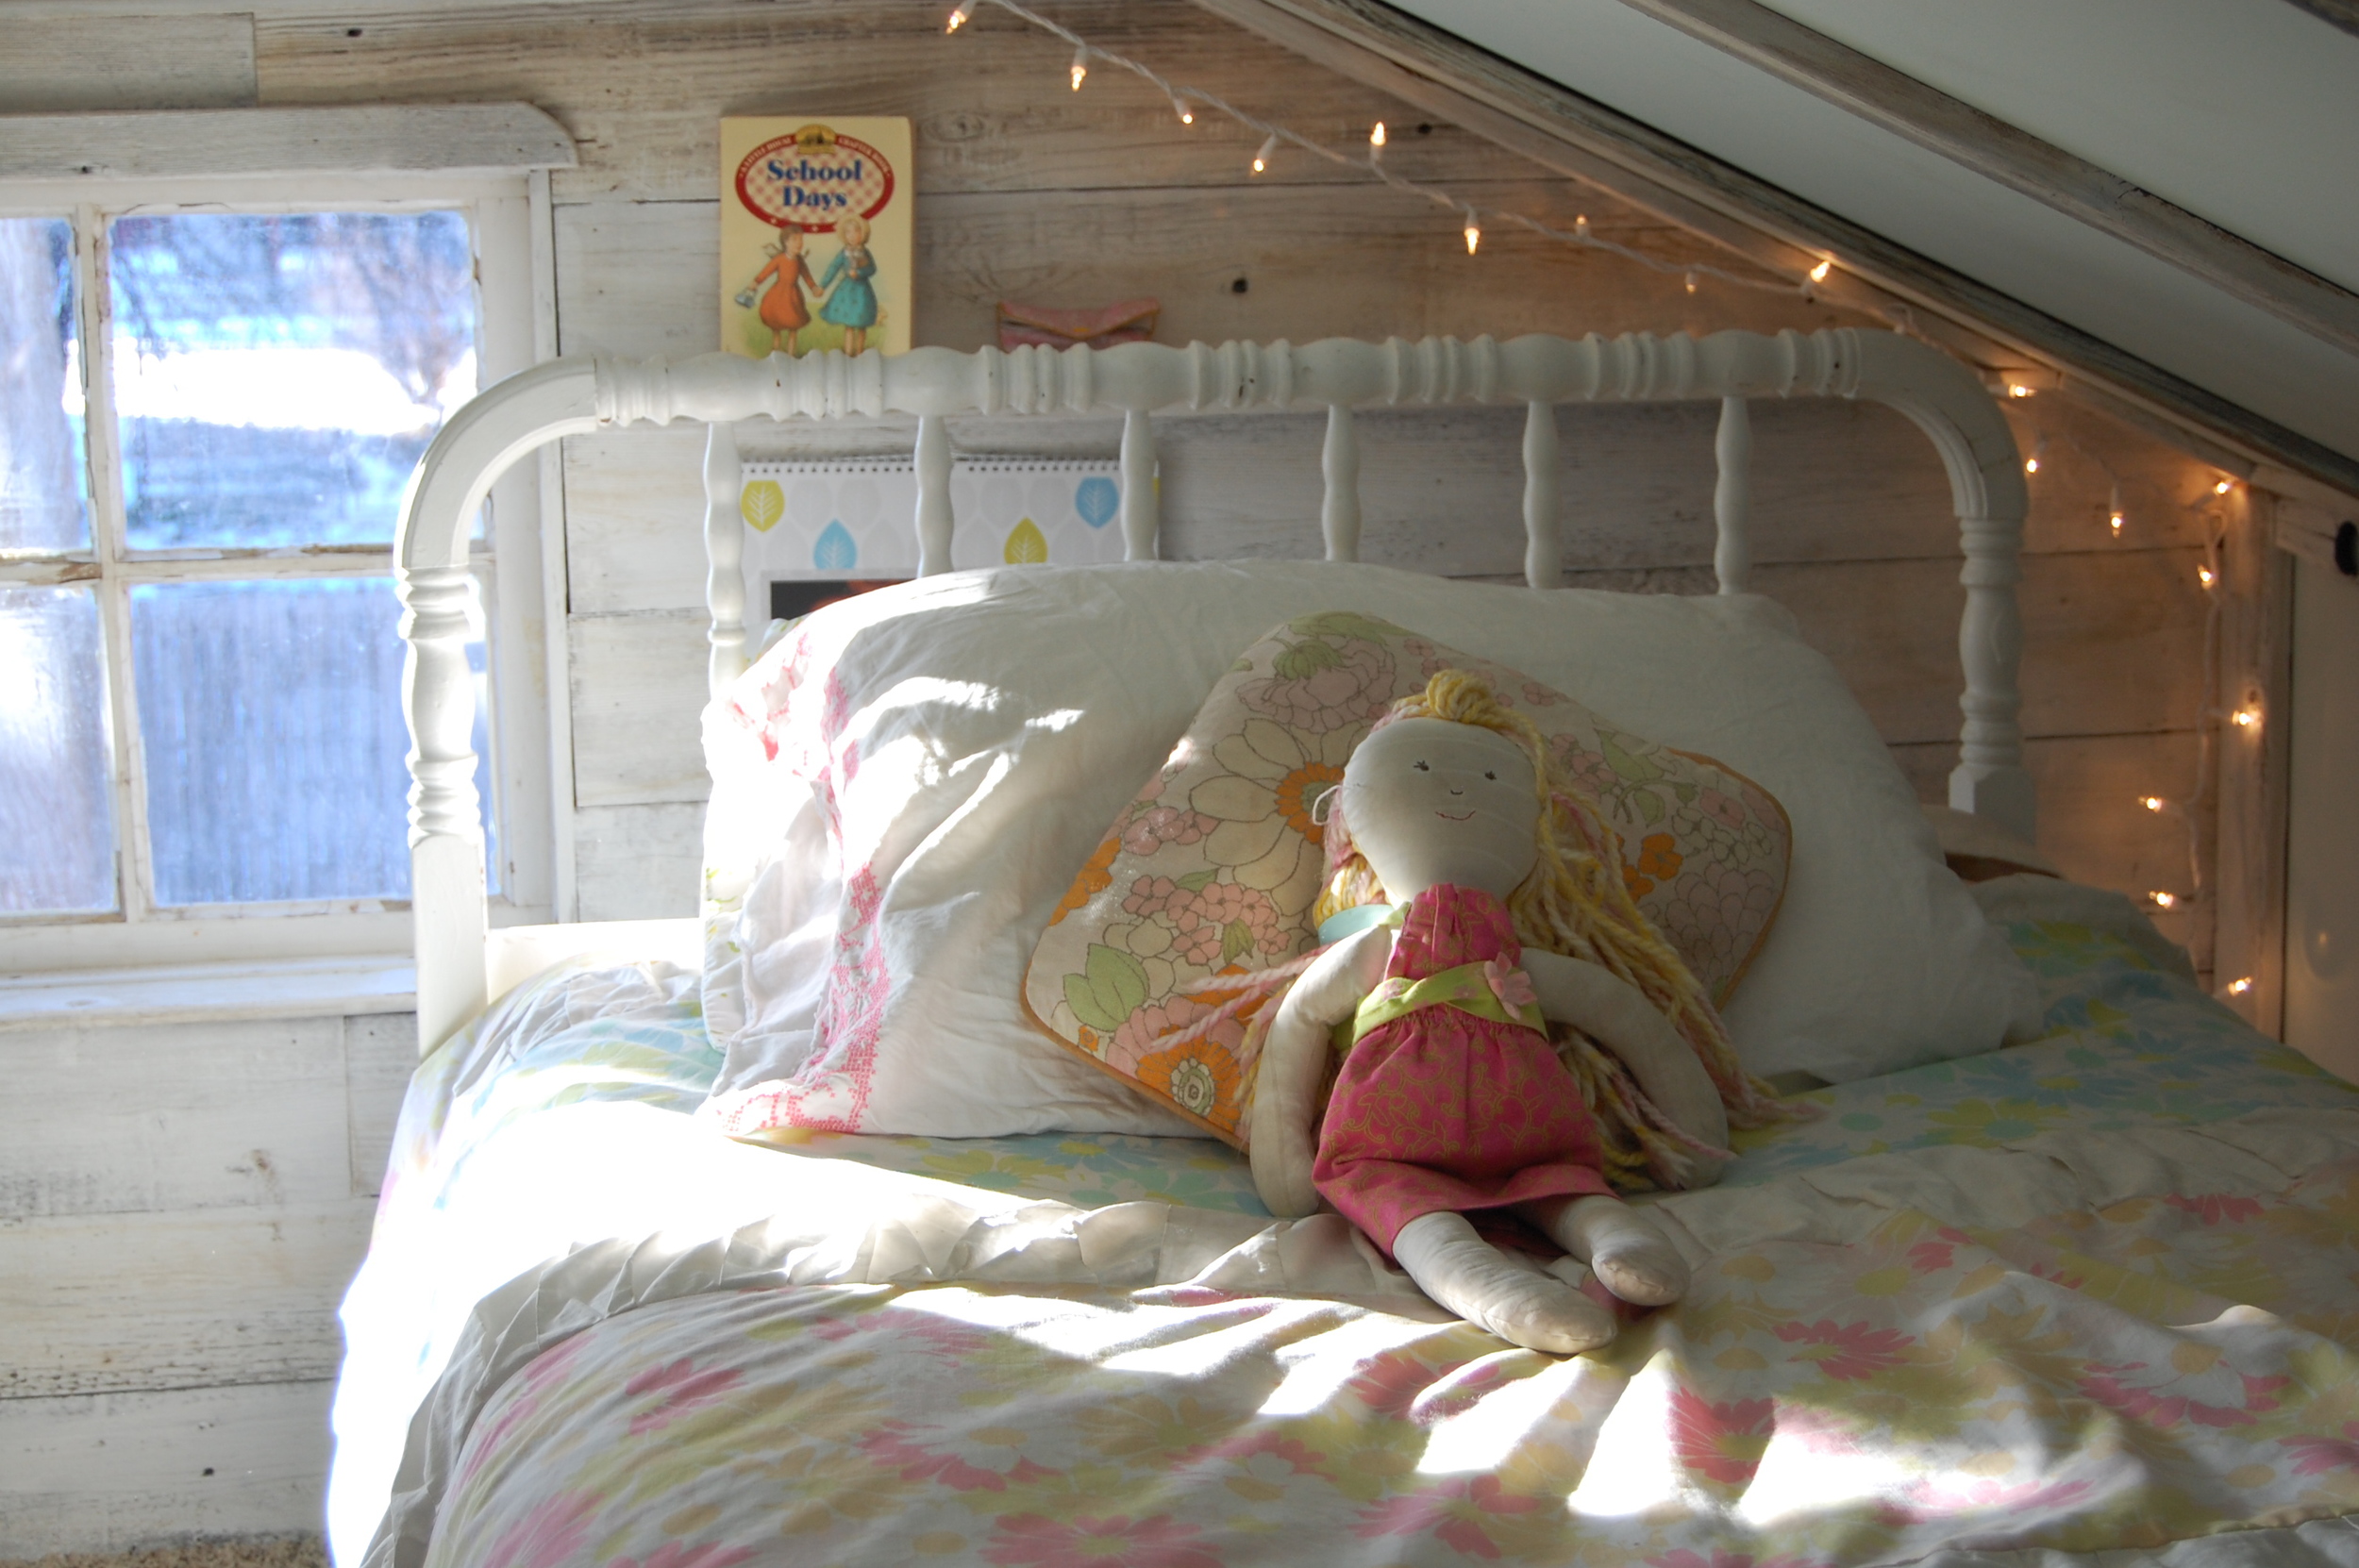
The room turned out to be so cute - we finally decided to make it into a bedroom.  It has added so much room to our home - and our two littlest girls can walk around upright for now - so it works for them!

Here are a few pictures of the room as it is now... beds and all!  Ruby and Gia feel like the luckiest girls around, with their special attic bedroom!

DSC_0502

DSC_0501

DSC_0905

DSC_0492

DSC_0488 DSC_0471 DSC_0475 DSC_0476 DSC_0477 DSC_0480 DSC_0483 DSC_0497 DSC_0903

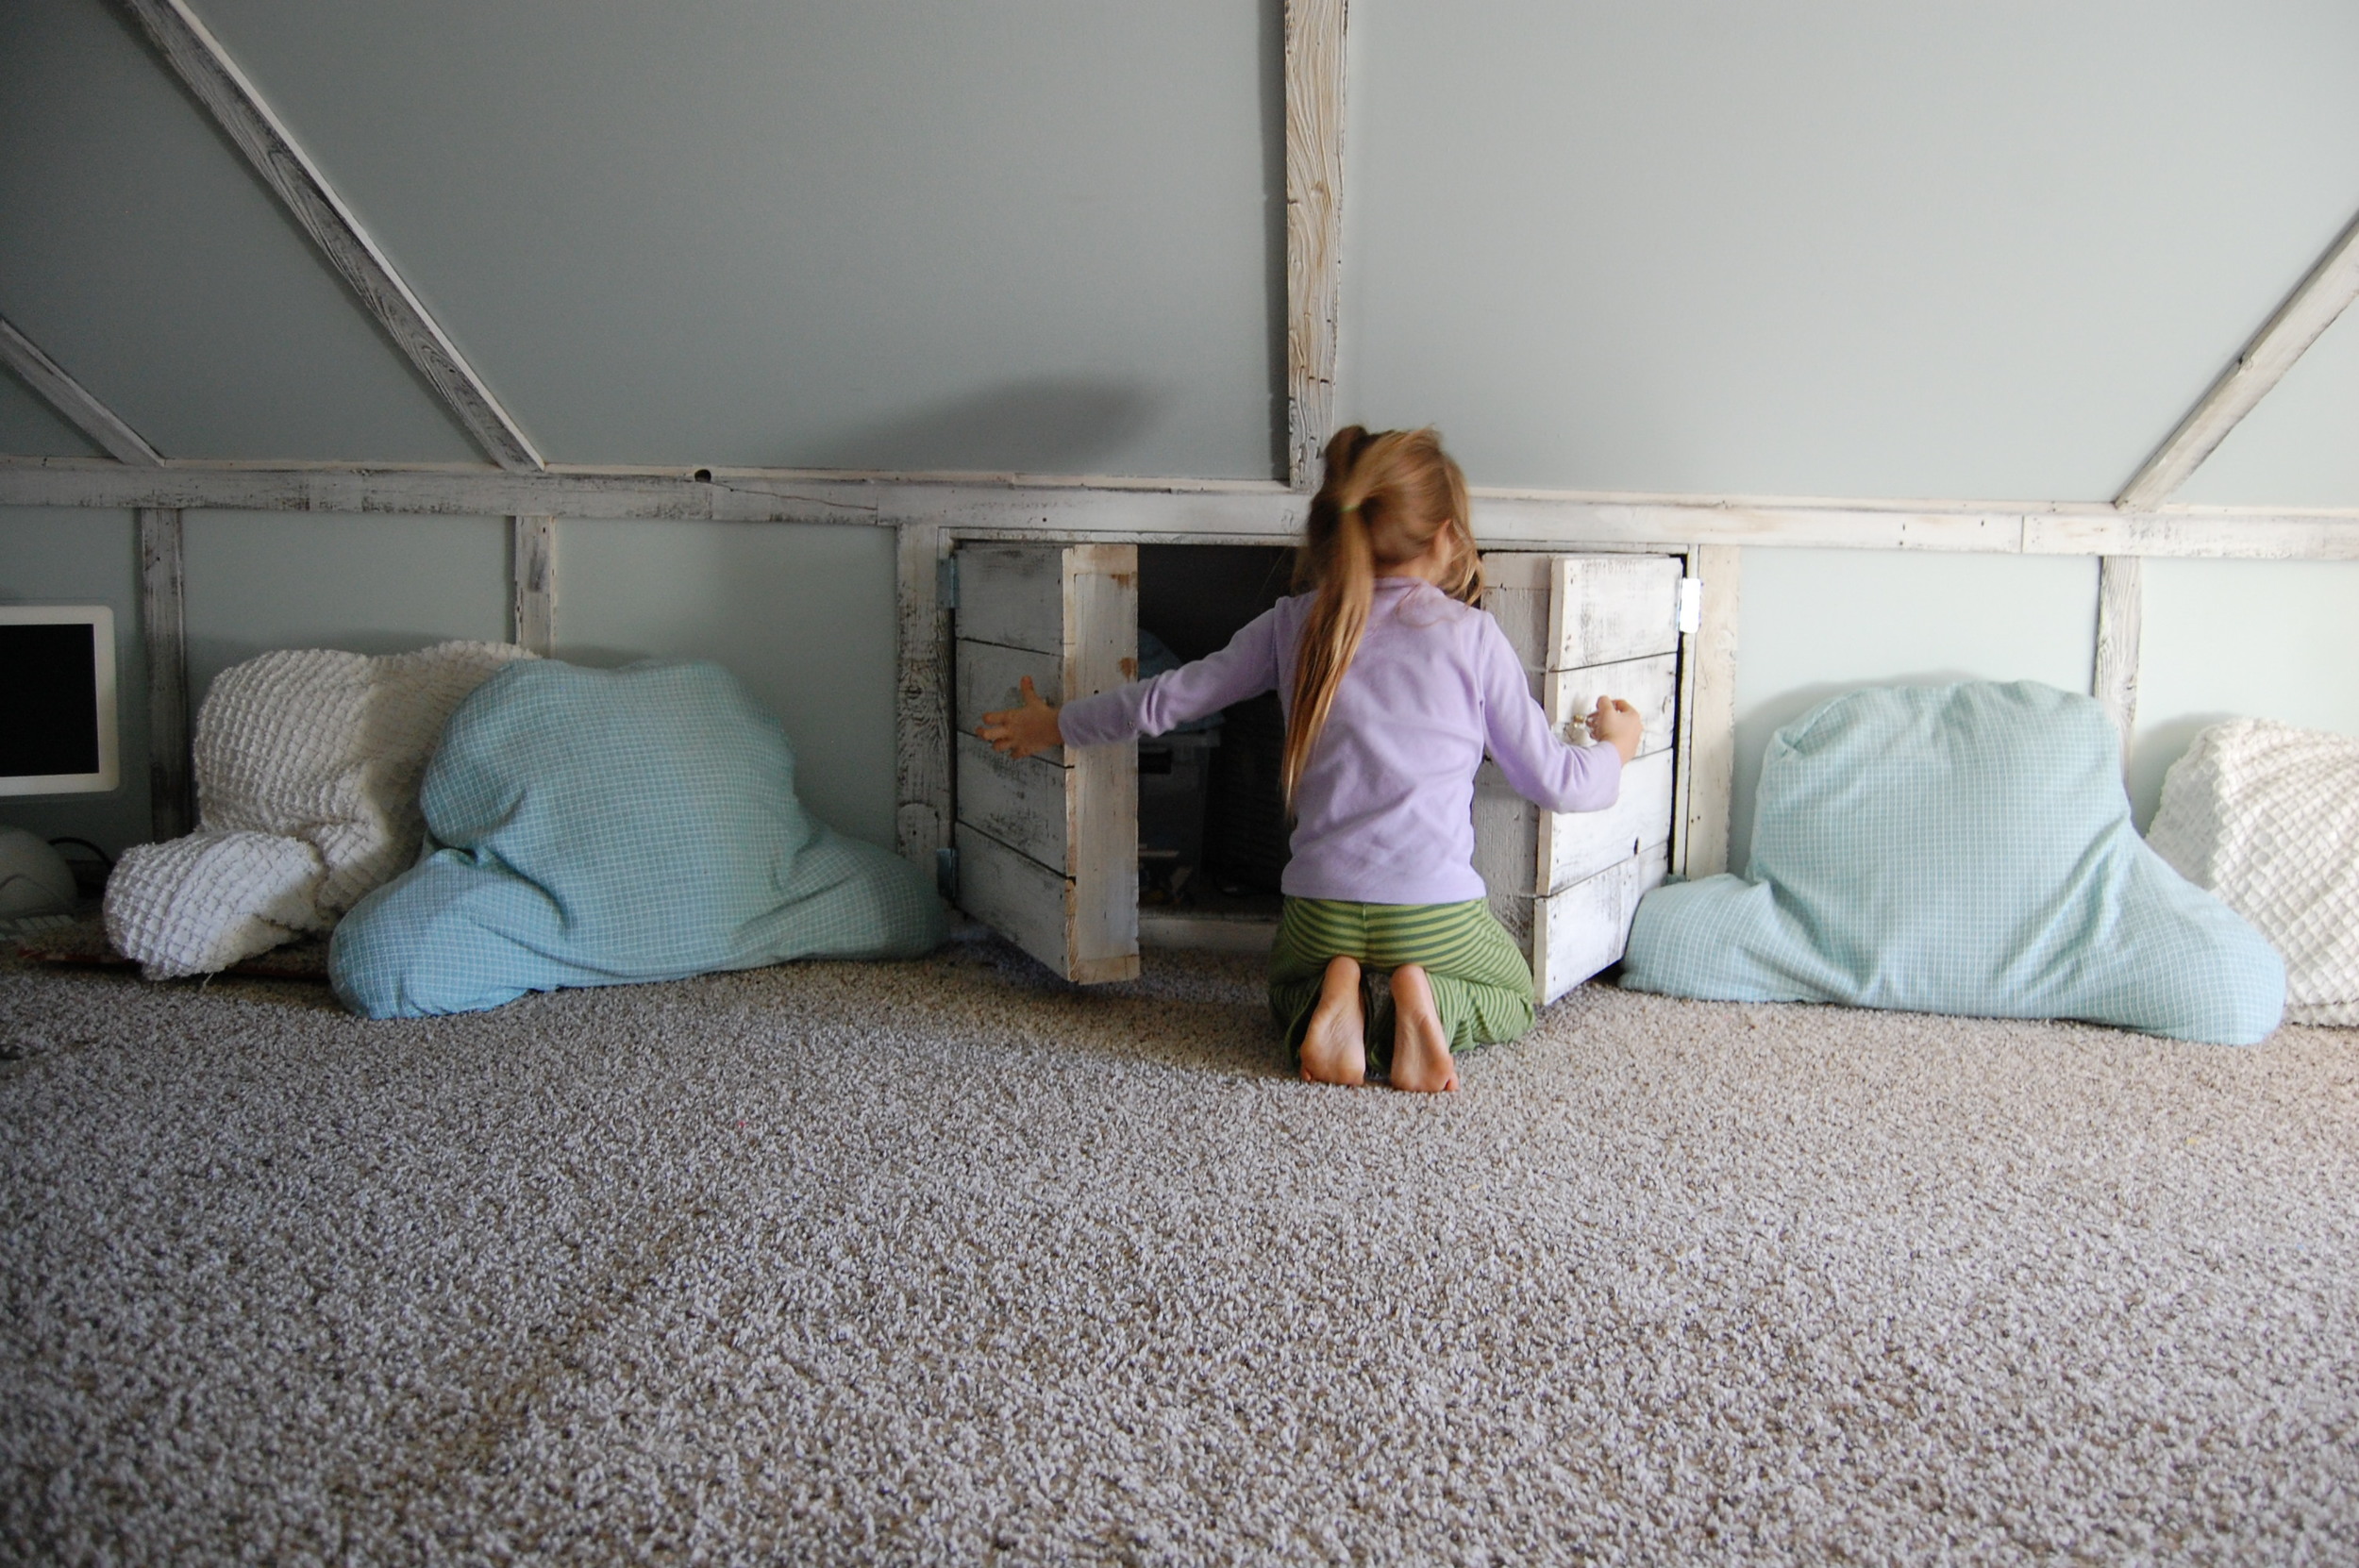
This little boxed wall around the entrance helps make the entrance spot safer, but the girls all know that it's still a place to be very cautious!  Babies/toddlers are not safe without constant supervision up here.

So this is how we got creative and made a small house a little bigger.  Sometimes when you've got a bunch of kids, you've just got to put them up in the attic!

The birth of the Sailer Urban Homestead - Part One

When my hubby and I purchased our home 10 years ago, we did not realize then - what our 1/5 of an acre lot could become. We were just thrilled to have purchased a spot where our girls would be able to play and run.  We could not foresee rising green bean trellises, spreading squash forests, ducks waddling, litters of baby bunnies in the spring, or a greenhouse brimming with veg.

This adventure in growing our own food grew up organically, you could say.

Our own family health issues led us on the journey of discovering how intricately FOOD is linked with GOOD HEALTH. Once this had permeated our thinking, organic produce became a priority.  We'd grown small gardens with a few tomatoes and beans here and there each year (which was a wonderful beginning) but it never amounted to enough to make a difference in our grocery budget.  And a difference is exactly what we needed.  My husband began a new way of eating (no carb, no sugar) for the management of his own health - and I realized we just couldn't afford to purchase such large quantities of fresh, organic veggies.  We had to figure out another way.

This is where my over-confident optimism kicked in (a character trait of mine that I'm not sure whether I love or hate).  "We should just try and grow our own produce!  I am sure if I research enough - I can figure it out!"

I ordered this book:

I determined to read every page until I understood how to grow food well.  I did read every page.... and I did learn a lot.  In reality - it was a wonderful place to start - but I would learn MUCH more from the experience of trying, failing, succeeding, being inspired by other gardeners and tasting the wonderful results of our hard work.

This is Part One of our Homesteading story.  When we bought our house - the yard was very run-down.  The lawn was dead, the house needed work - but we soon had it looking nice.  Here is our side yard before any big garden had even entered our minds:

Later - we put up a fence - and the side yard seemed so much larger:

My hubby built me some garden boxes (you can kind of see them behind the pool here) and we packed in as much as we could (2010):

Those were great beginnings, but 2011 was the year we decided to GO BIG....

We spent time sketching out where we wanted the beds... and although it was January (and much of the deep ground was frozen, we rented a sod cutter and started in on removing the lawn!)  It's amazing that we didn't break the machine... (I'm a little impatient, I'm sure it was my idea NOT to wait until Spring).  It did work!  We got most of the sod out.   (I did not like the fact that my hubby used spray paint on my soon-to-be organic veggie bed - but some things can't be battled over.)  I shouldn't complain... he does so much to turn my dreams into realities!!

I will admit to some mild panic after we dug these huge patches out of the lawn.  I wondered if I'd just totally ruined our beautiful yard (though NOTHING looks very beautiful in the brown mid-winter).

We rented a tiller and really turned the sod in and under to break things up after a week or so.   I have learned, since - that tilling is not the most beneficial way to improve the soil.  Adding compost to the top, and then covering well with mulch will draw up the earthworms and they will do the hard work for you.  I think it would have taken much longer, though if we hadn't tilled.  We have not tilled since - and the results (with heavy mulching only) have been wonderful.

Here is an incredible video about the benefits of mulching instead of tilling (saves water, keeps weeds at bay, enriches soil).  Ruth Stout's 'no work garden' has given me inspiration, for the years since.  I have learned to mulch, mulch, mulch from this funny lady.  I don't leave my garden as 'untidy' as hers... nor do I garden naked...  but her methods are amazing!

We ordered seeds online from Baker Creek Heirloom Seed Co. and Seed Savers Exchange, and in February we got prepared to plant indoors.  There's nothing like potting mix on the kitchen table!  Although we did purchase some standard seed starting trays, we also had fun creating pots from toilet paper rolls and newspaper.

It was fun for the girls to be a part of the whole process.

This year - we made our own seed start mix.  I spent a lot last year on pre-made bags of potting mix.

Here's a simple seed start mix recipe:

  • 3 parts peat moss or coconut coir (coco coir is ground up coconut husks and is more environmentally friendly) - this is your water holding agent (acts like a sponge)
  • 3 parts compost-  this is your feeding agent - rich in nutrients.  Starting a simple backyard compost pile will keep you supplied with rich, home made compost each spring.  
  • 1 part perlite - (the white puffed rock) - this is your air agent - keeps the soil aerated and not compact.
  • 1/2 part greensand - this is a natural mineral agent that slowly releases nutrients and retains water.

* note * - I purchased organic compost this year for my seed starts.  I hadn't started my worm bin in time - and my outdoor compost pile is still quite frozen.   Sometimes you've got to use whatever you can and just get started!

Jeremiah installed grow lights in the basement, which has been the perfect place to give our seeds their start.  He was given some of these old light fixtures - and fitted them with plant bulbs.

In this first year - I started a lot of the wrong things - too soon (beans, squash & tomatoes) - and was just SO eager that I ended up losing most of them because I didn't harden them off before planting them outside.

Still... it was SO exciting to see the basement filling up with green, while it was still drab outside.

The next step was re-potting a lot of these little starts into larger pots, and then 'hardening them off'(once large enough) to move to the outside greenhouse.  Jeremiah started building this for me in 2011, but we finished it in 2012.  The first year, I kept my pots all throughout the house (near windows, in our bedroom... everywhere!) until the weather was warm enough to plant out.

More details on the making of the greenhouse in The birth of the Sailer Urban Homestead - Part Two ... but here's a sneak peek!

It's not too late to get your seeds started for this year's garden... make a plan (start small) and give it a try!  The rewards of this rich learning experience are so worth the effort.

-Sarah